Office365 Exchange2010 Hybrid mode deploy guide book
—— James Rong 2019.04.18
If you have run exchange server for school and also willing to use office 365. I personally suggest you to keep using the local exchange server and migrate all user to the cloud. The local exchange server used to send out the report card, or some announcements which send out from third part local host server. Because the could base exchange online serer has some speed limited and not allow to send out a email to a large group user. So if you still have the local exchange server, strongest suggest you to keep using for it as a local email relate service. The following guide line is a sample to deploy a exchange 2010 hybrid mode server for Office 365. As we set it up long time ago so if you are running exchange 2013 or 2016, maybe the deploy process may be a little bit different. Meanwhile, it is very important for you to back up exchange server before you deploy the hybrid mode just in case any surprise happen. Some of the screenshot I attach to this document is written in Chinese as I won’t have two production server upgrade by myself, so I will try to translate into English and if you have any questions about it, feel free to let me know.
Exchange2010 hybrid mode deploy process:
1.1、Login to Exchange 2010 admin page like the screenshot below:

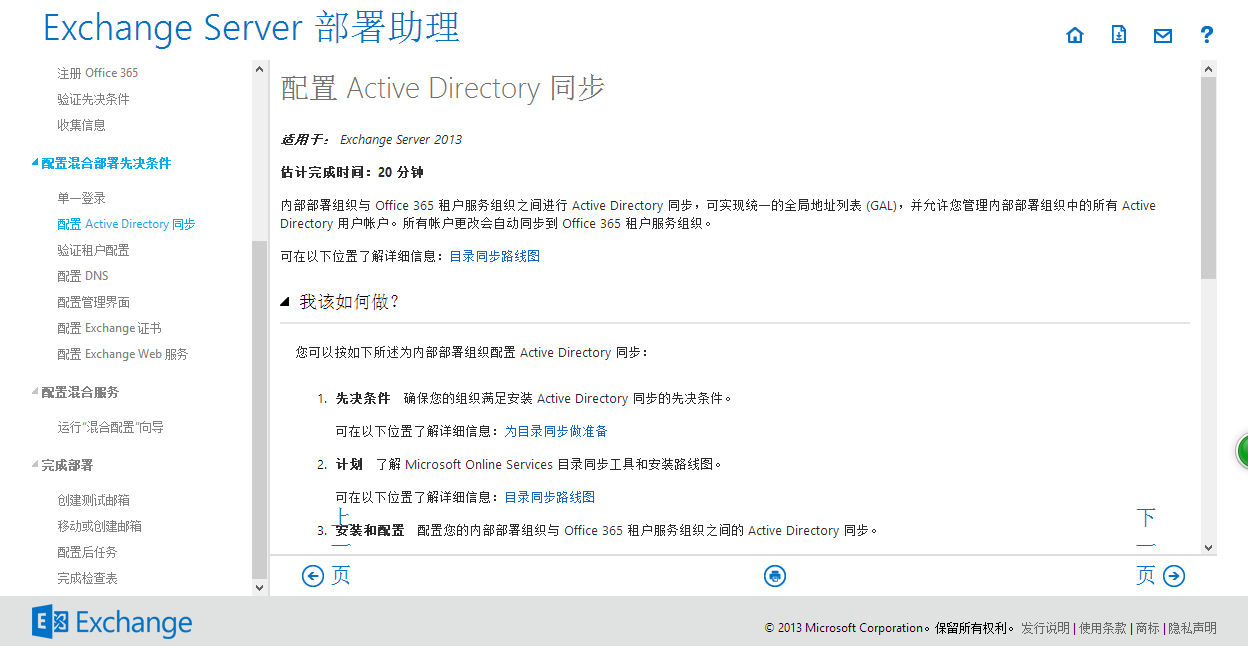
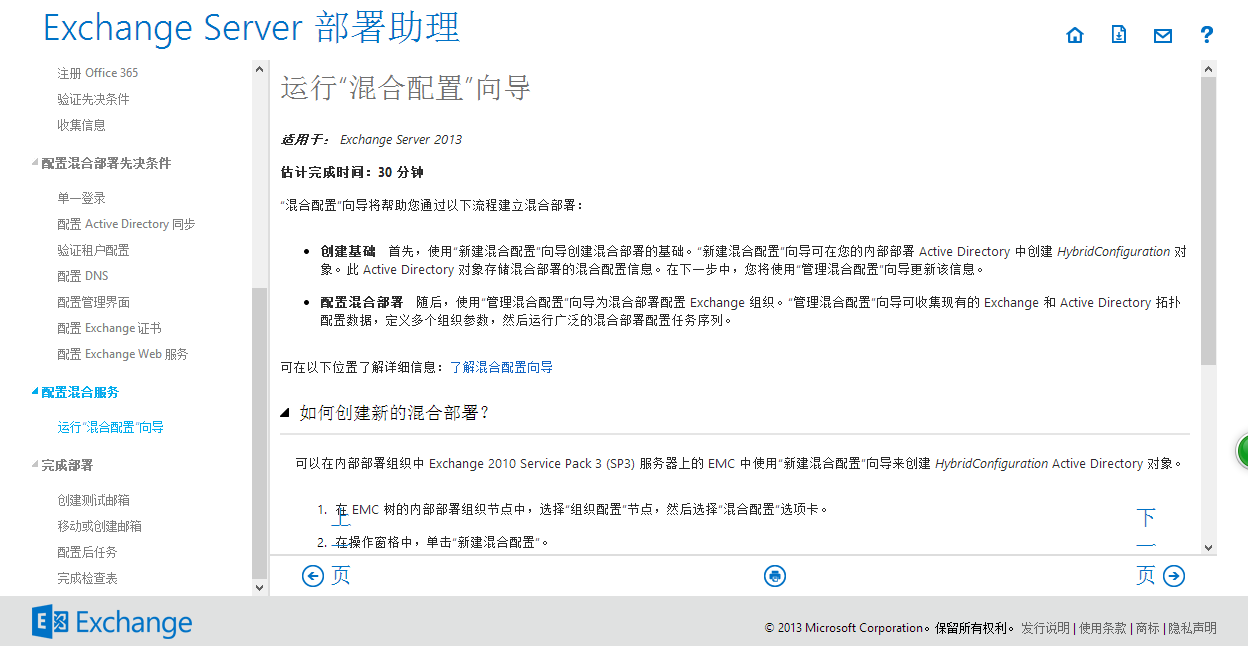
1.2,Access exchange server deploy assistant site from the link below: (http://technet.microsoft.com/zh-cn/exdeploy2013/Checklist?state=2419-W-AAAAAAAAQAAAAAEAAAAAAAA~),Then choose hybrid mode deploy.
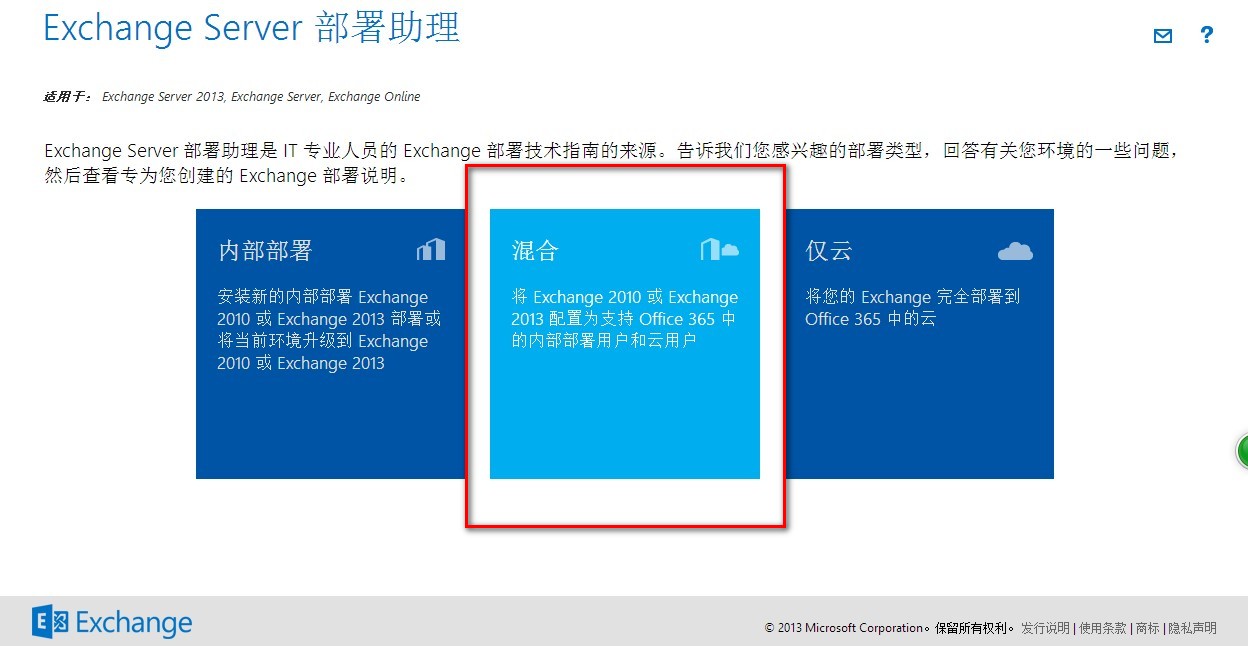
3、Choose “ base on exchange 2010 deploy”, like what I just mention, if you are running exchange 2013 or any later exchange version, you should choosing the right place base on your need:
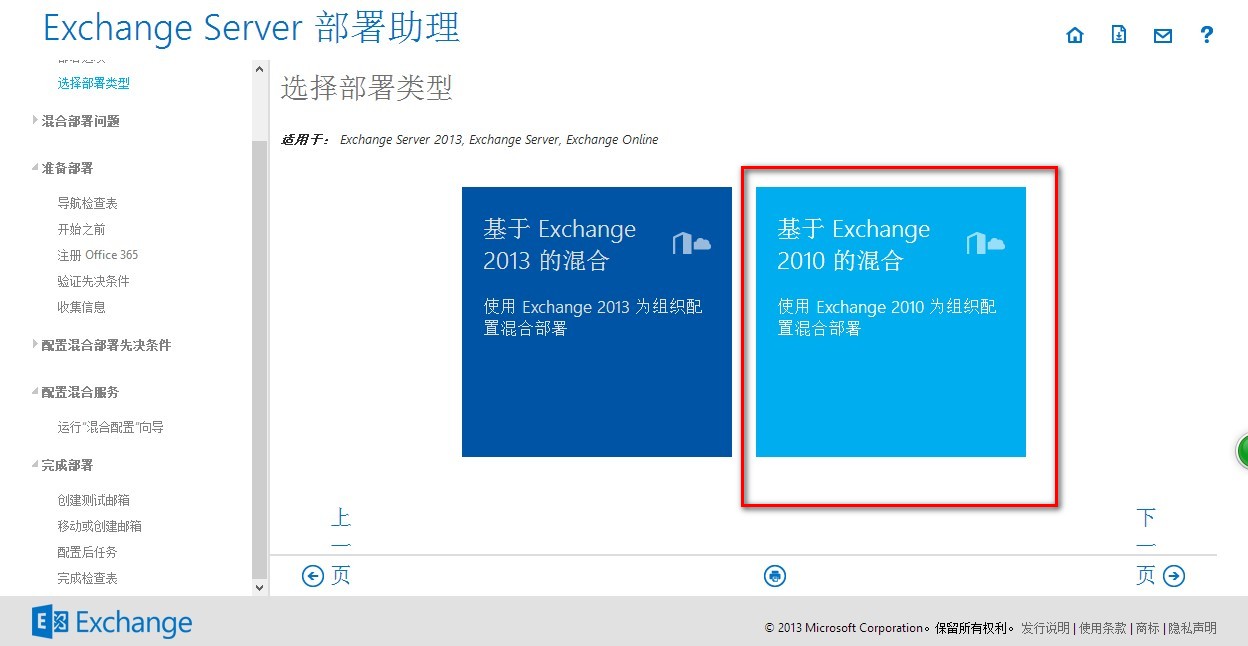
4、Choose the version you run for you exchange server, so I will use exchange server 2010 as a sample ,Then click next page:
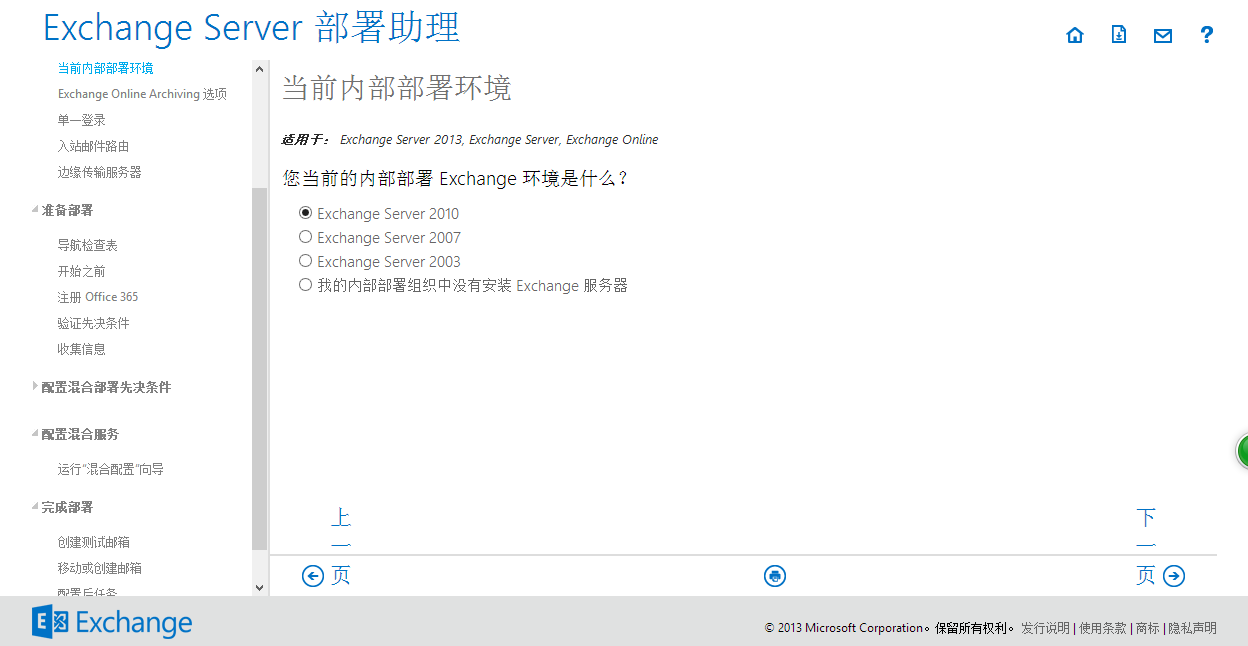
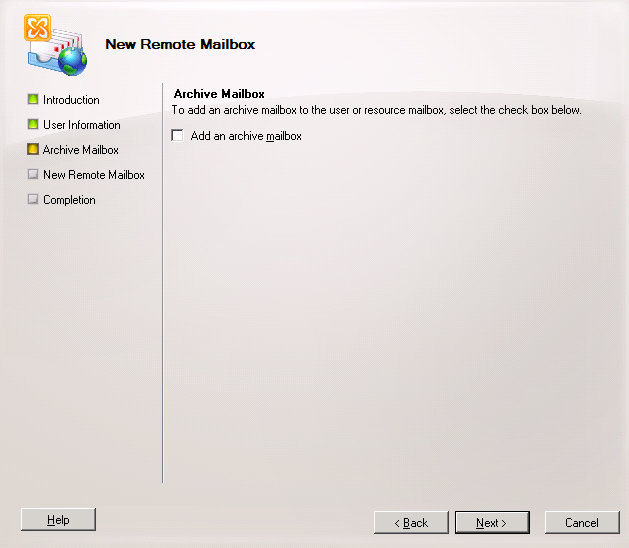
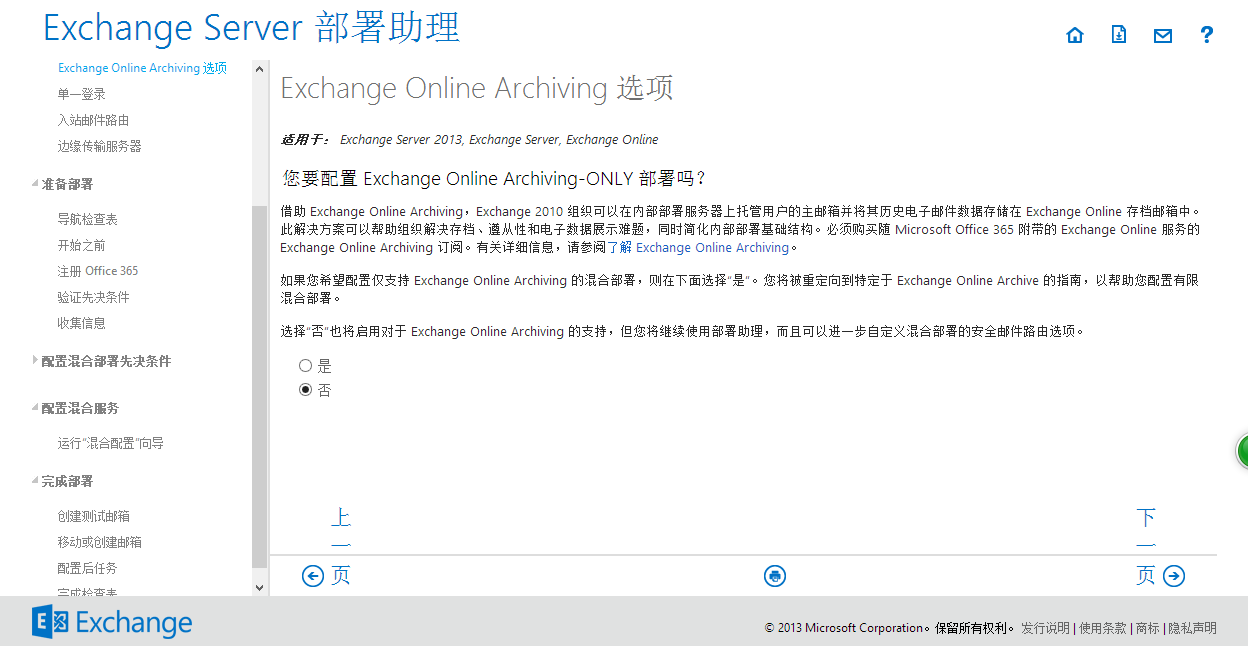
5、Select “No” for Exchange Online Archiving:

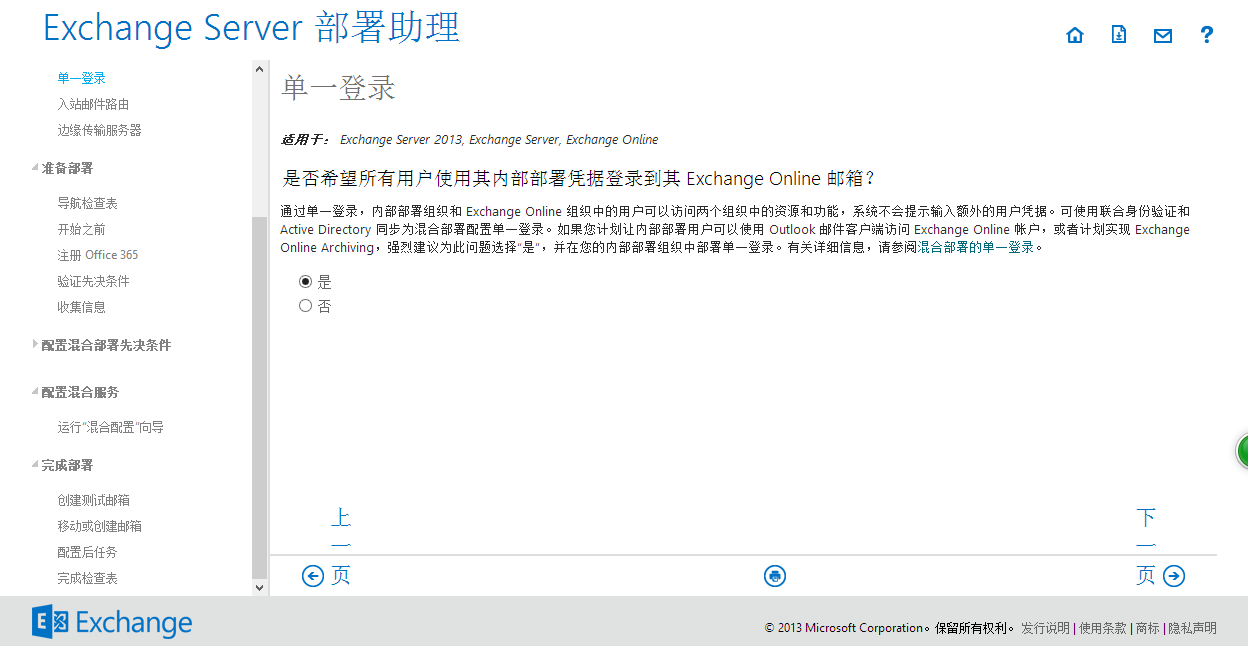
6、Select “Yes” for single sign on:

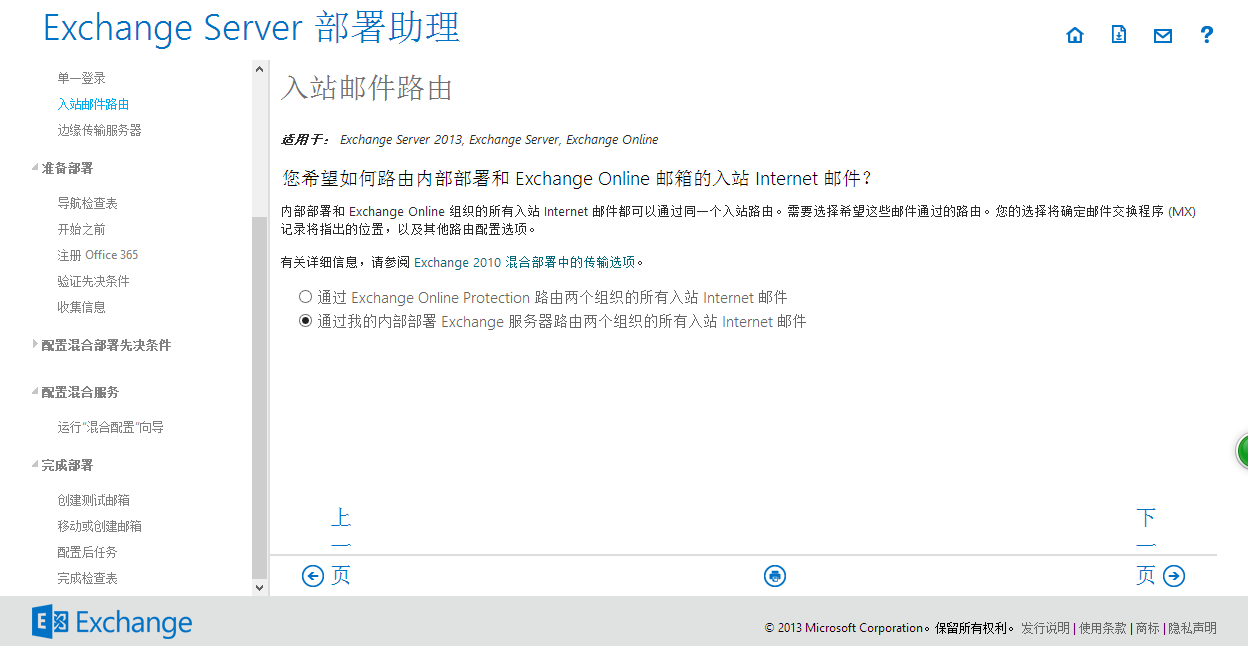
7、Select “通过我的内部部署 Exchange 服务器路由两个组织的所有入站 Internet 邮件”,for inbound mailing route:

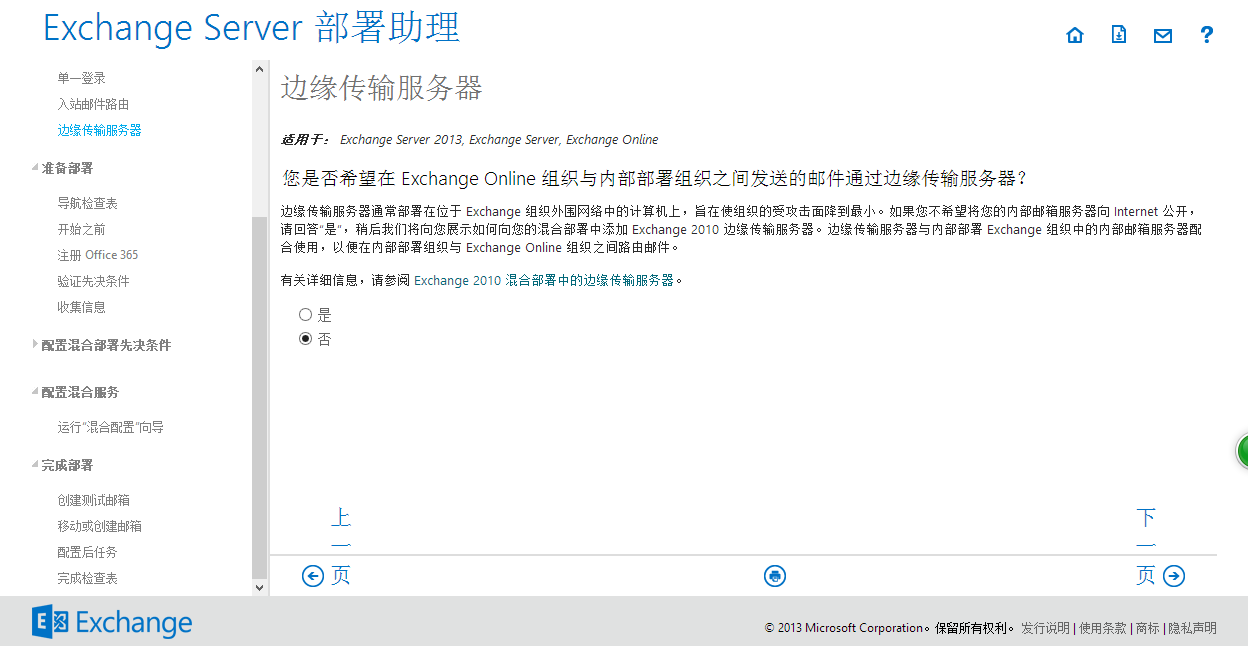
8、Choose “No” for Edge server,That means you don’t want to use the edge server to transfer email between your exchange online user and local exchange user.

9、Click next page:
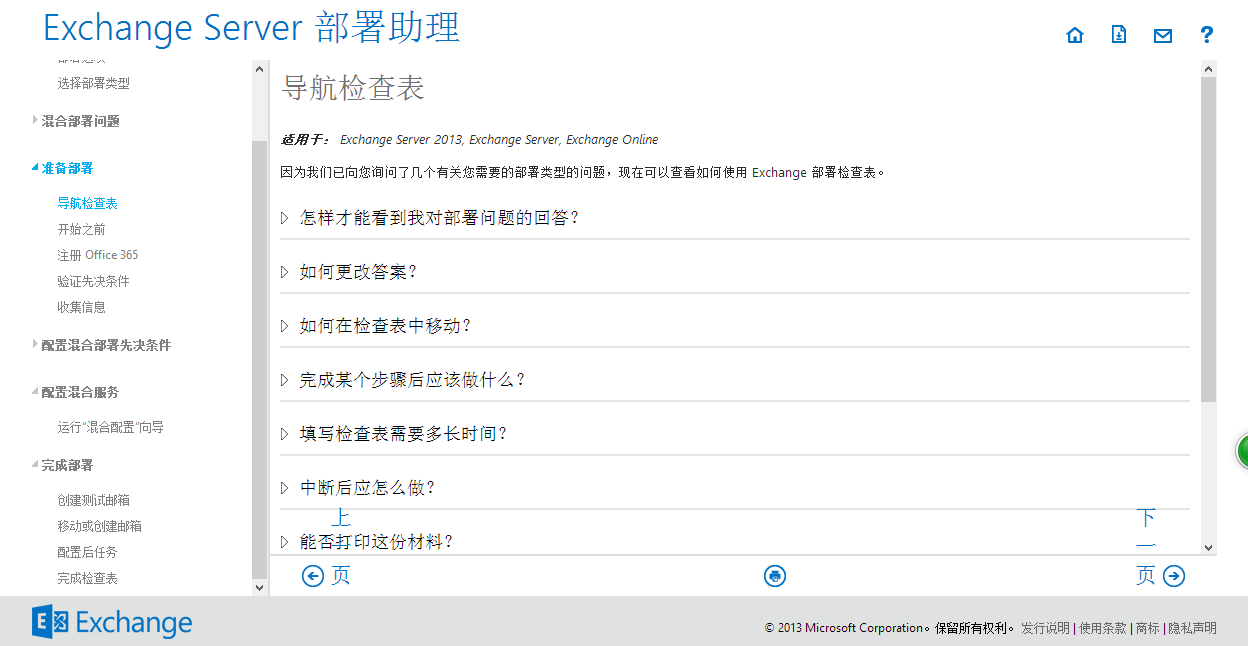
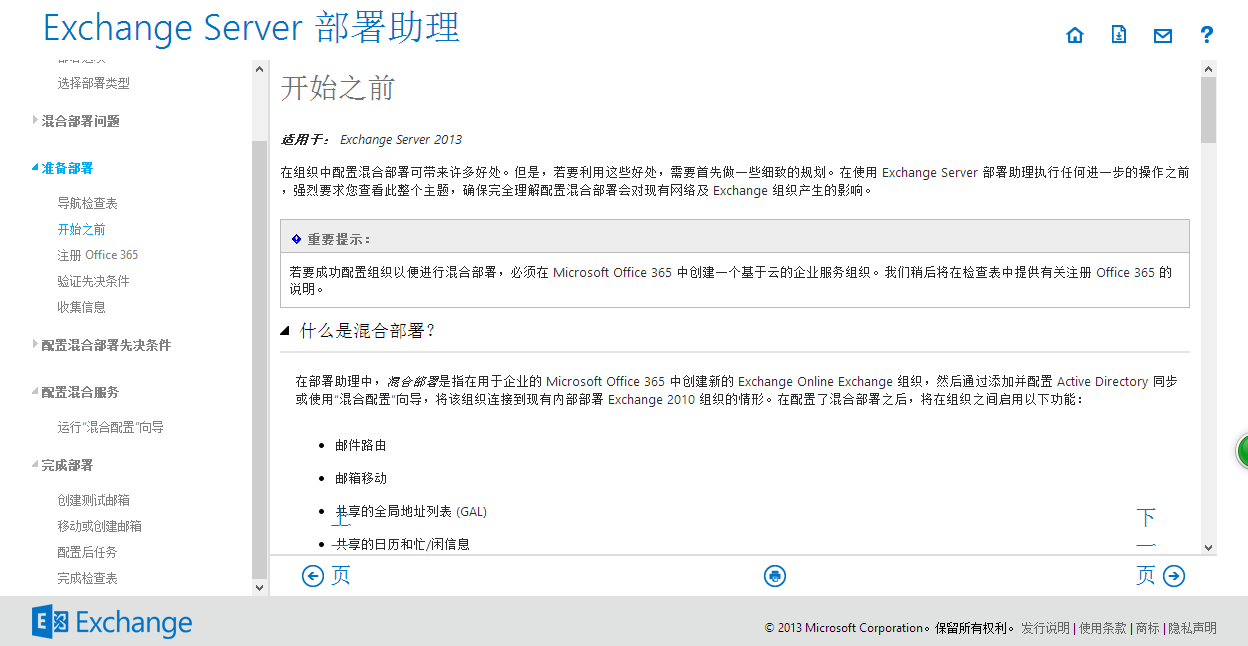
10、Read the document first to understand the detail for hybrid mode then click next page:
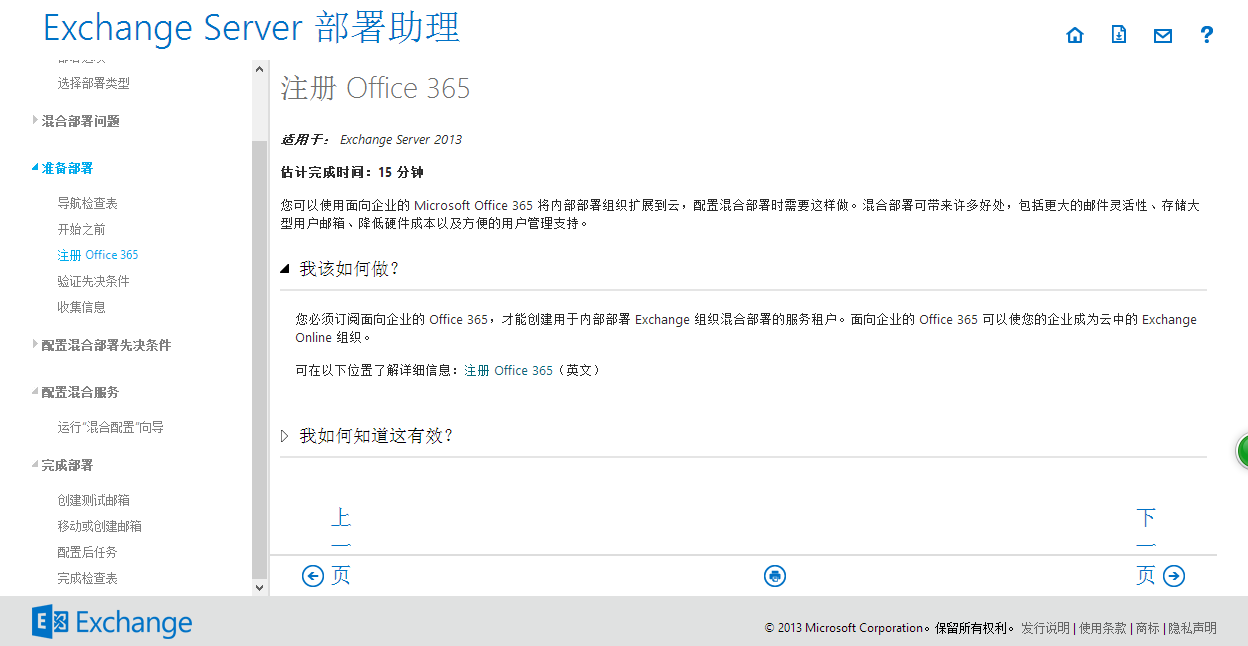
11、Register your office365 then click next page:
12、Read the info first then click “Next Page”:
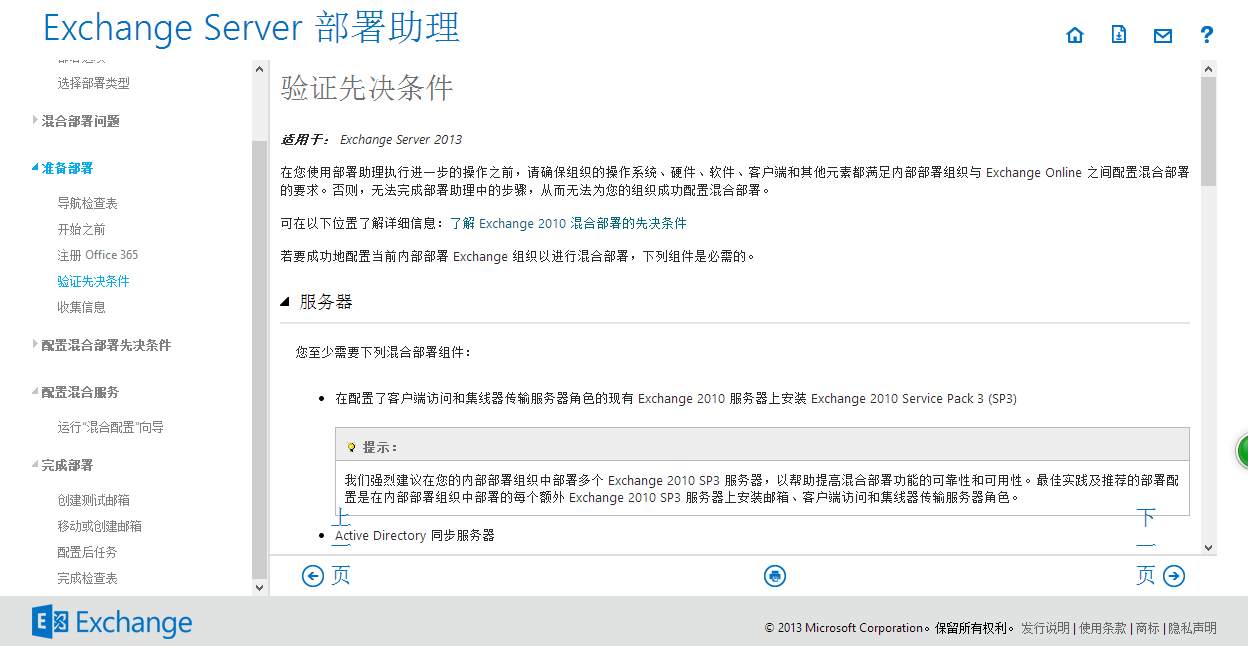
13、verify you prepare all the detail info for the exchange hybrid mode deploy process, then click next page :
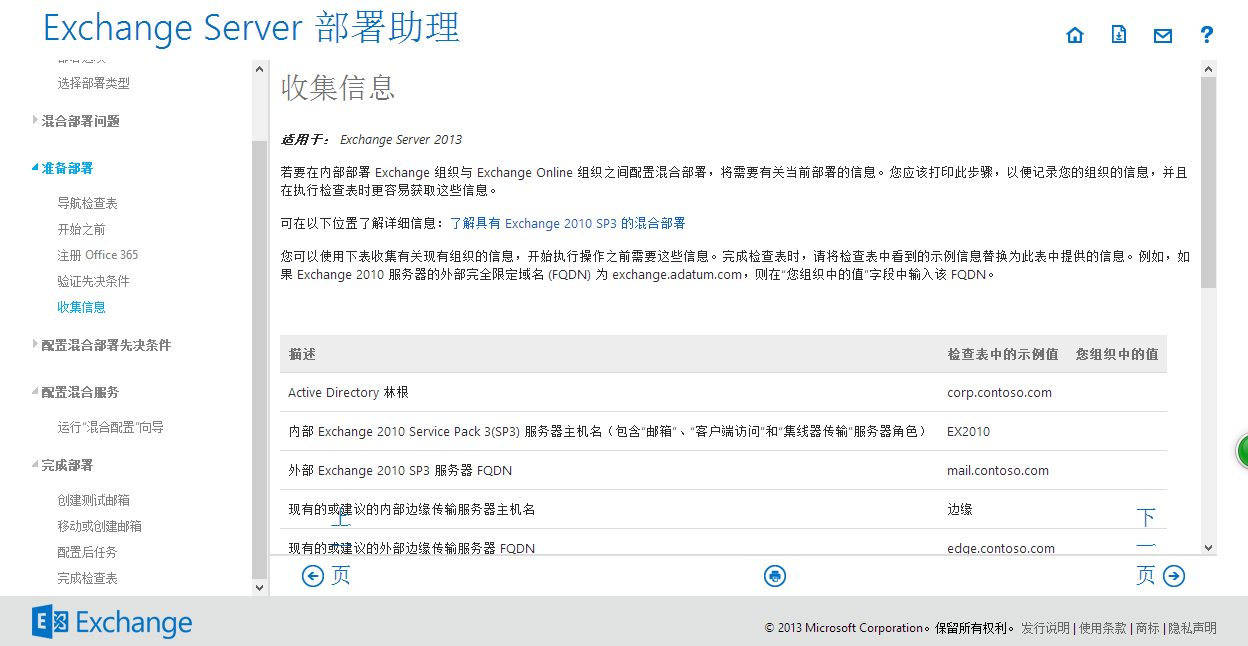
Here is all the detail info you need to prepare when you deploy the hybrid mode:
|
描述 |
值 |
|
Active Directory 林根 |
|
|
内部 Exchange 2010 Service Pack 3(SP3) 服务器主机名 |
|
|
外部 Exchange 2010 SP3 服务器 FQDN |
|
|
主 SMTP 命名空间 |
|
|
用户主体名称域 Microsoft Online ID 域 |
|
|
选择部署单一登录的组织的内部 Active Directory 联合身份验证服务 (AD FS) 服务器主机名 |
|
|
外部 AD FS 服务器 FQDN |
|
|
内部 Active Directory 同步服务器主机名 |
|
|
内部部署自动发现 FQDN |
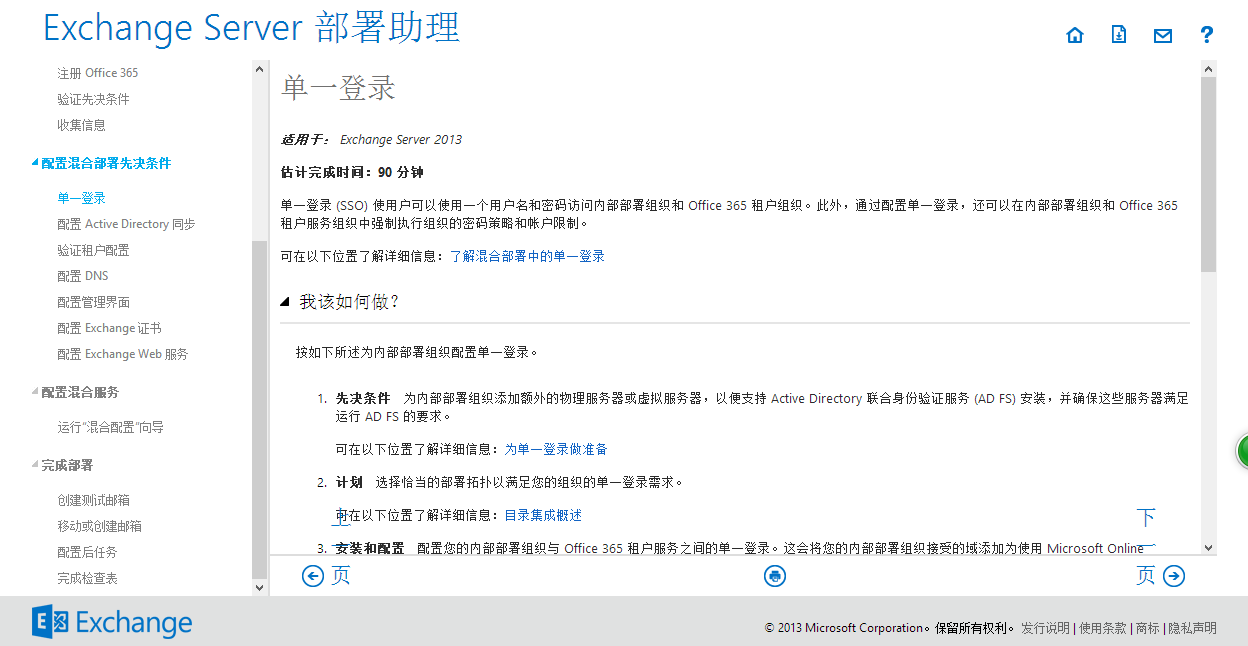
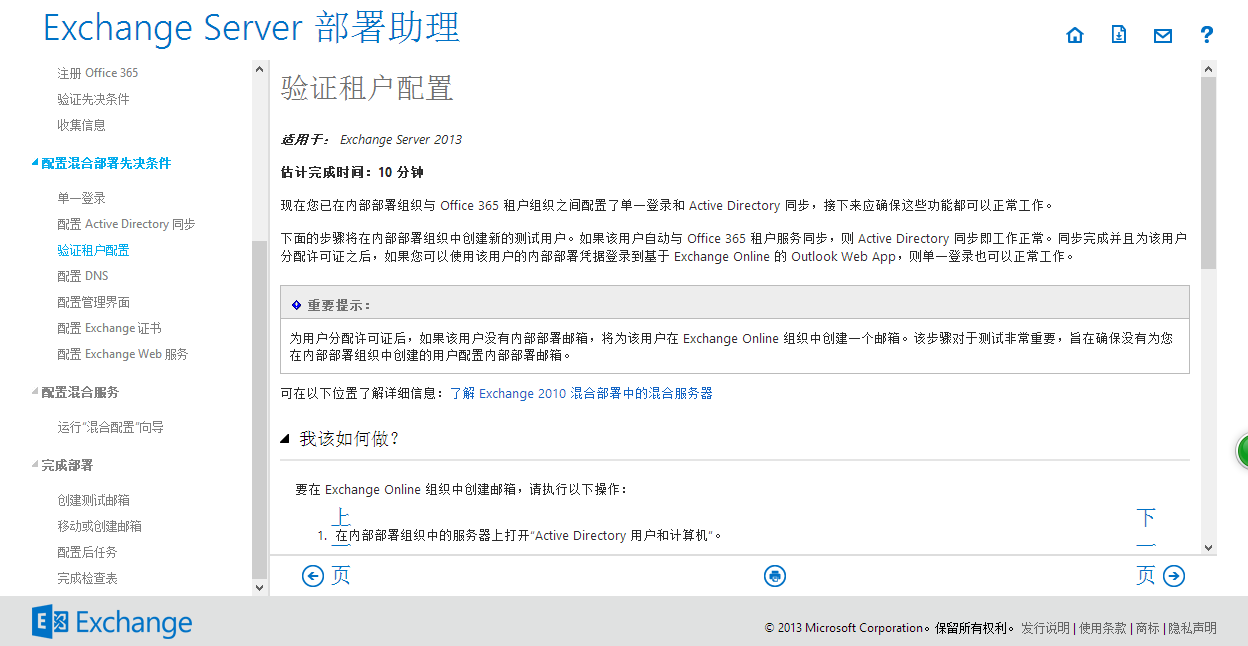
14、Check the guide for single sign on. Pls noted that this screenshot is I make couple years ago and we still using ADFS to syn local ldap server to Office 365, and now we use Azure AD connector to syn all the record, so the process should be different:

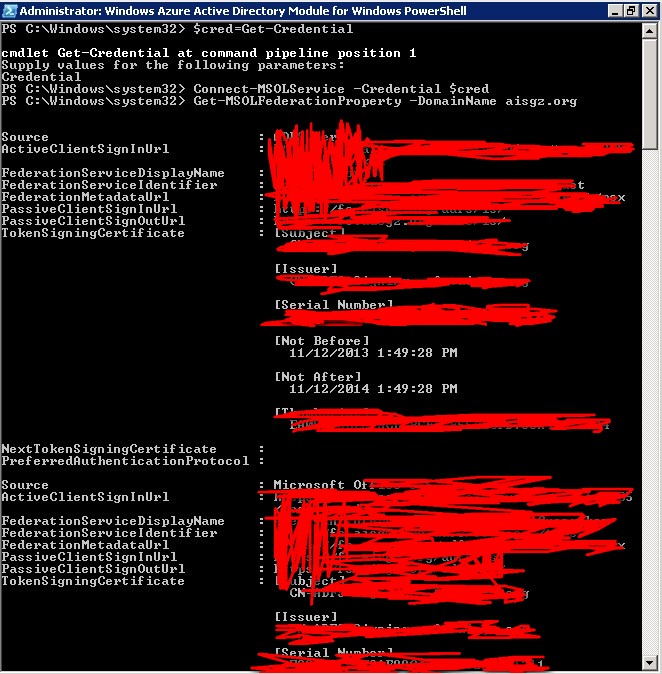
Using the following command to check the single sign in setting. Note: as you should running with the Azure AD connector, so the process should be different:
$cred=Get-Credential

15、Deploy the Active Directory Syn:
16、Verify the setting:

17、Verify the your DNS setting, you should change your dns record base on the MS guide. Everyone is different, if you don’t know where to change your DNS, ask help from your tech team:

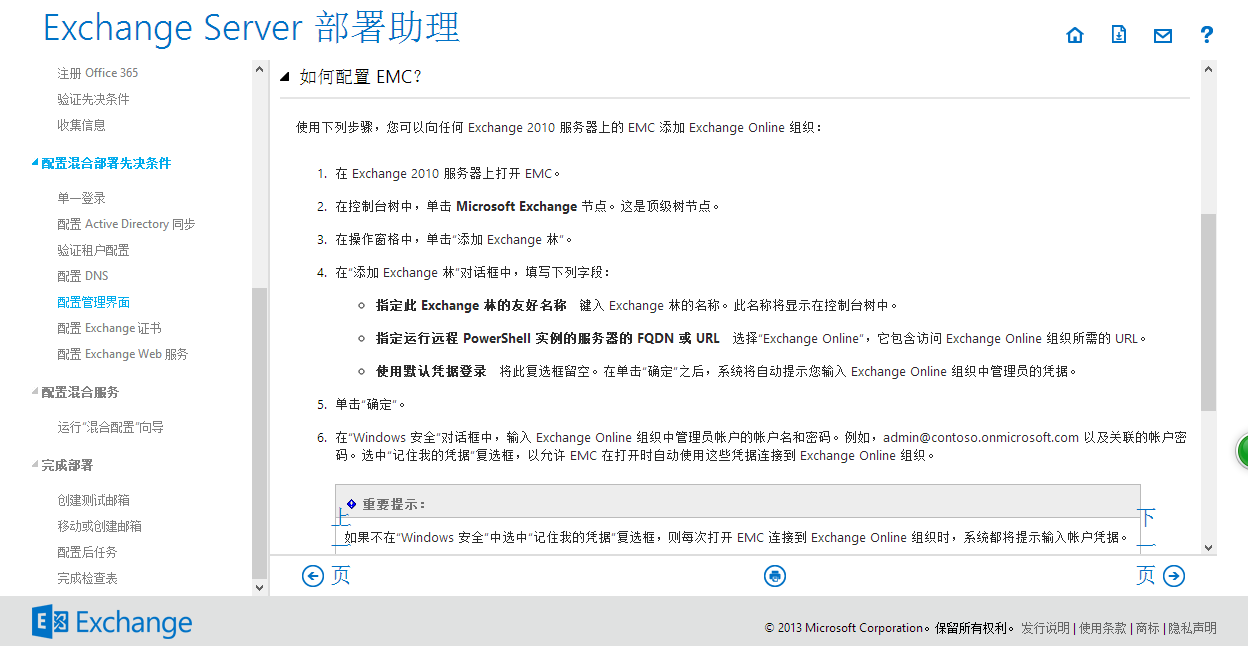
18、Check the guide to deploy EMC:

Here is the detail step:
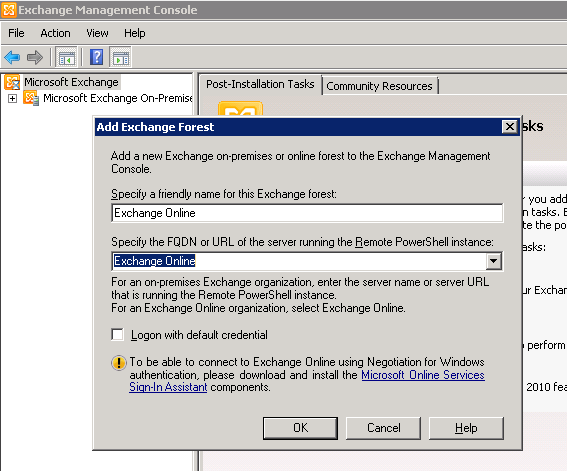
- Login to exchange2010 Management Console ,right click “Microsoft exchange”,and select “add exchange…”:

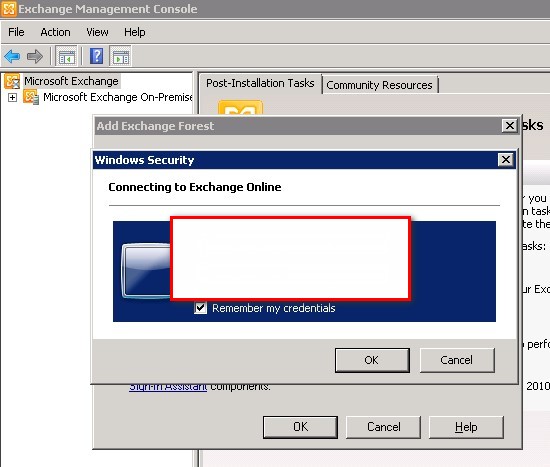
- Type in your exchange forest name like the screenshot below

- Login to your office 365 admin account:
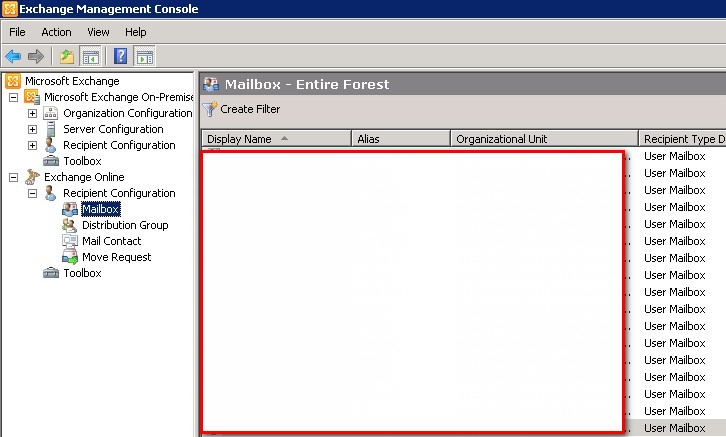
- You should get the Exchange online showing on your Management Console:
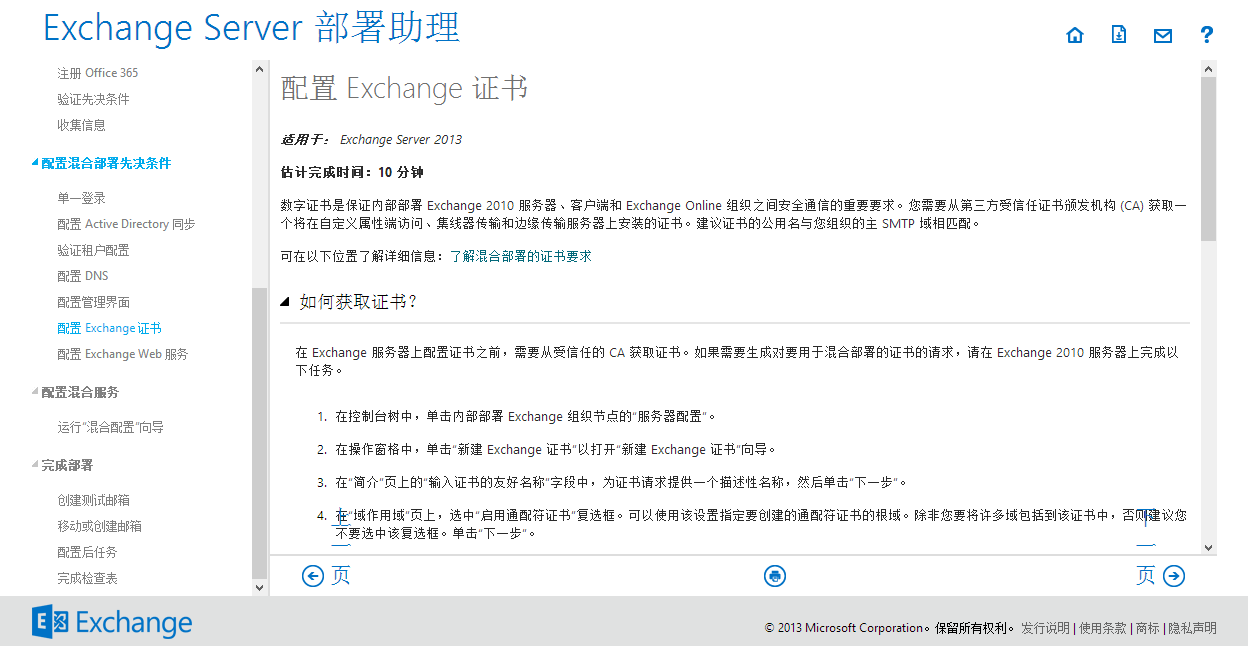
19、Check the guide to deploy exchange SSL certificate:

Here is the detail step for deploy the certificate in Exchange 2010 server:
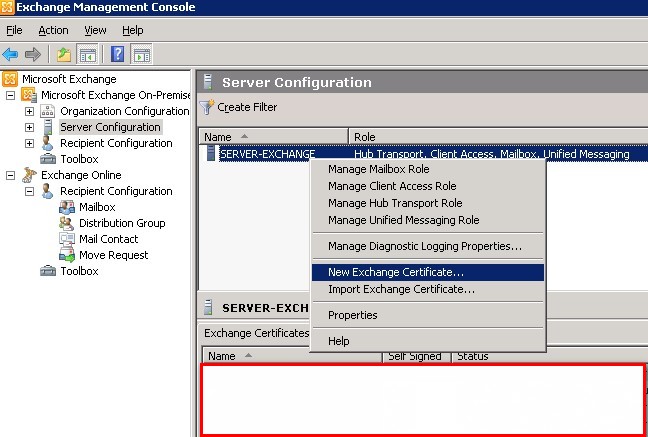
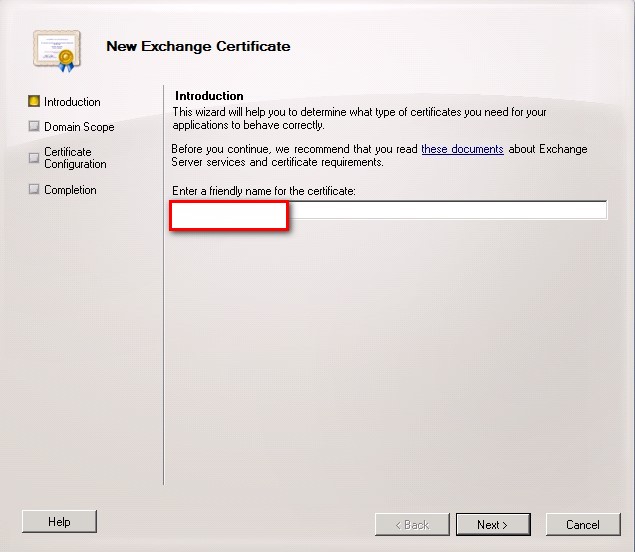
- Click “New Exchange certificate..” under server configuration on you your Management console, like the screenshot below
- Click “Next” after you enter a name for the certificate:

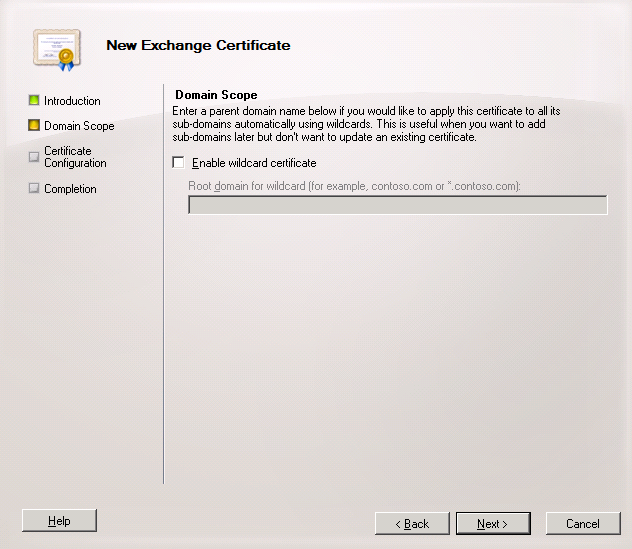
- Click Next:

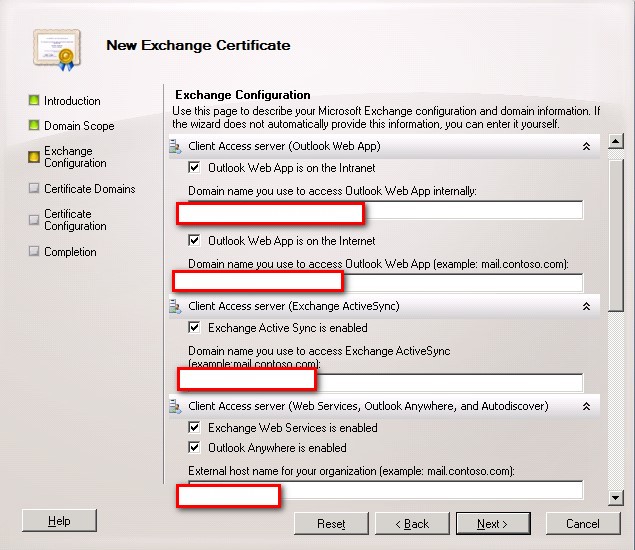
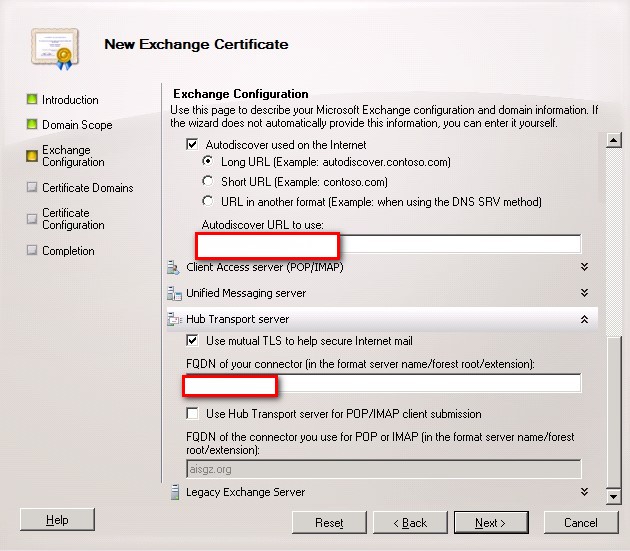
- Fill out all the info and then click “Next”:

- Add your certificate info base on the need.
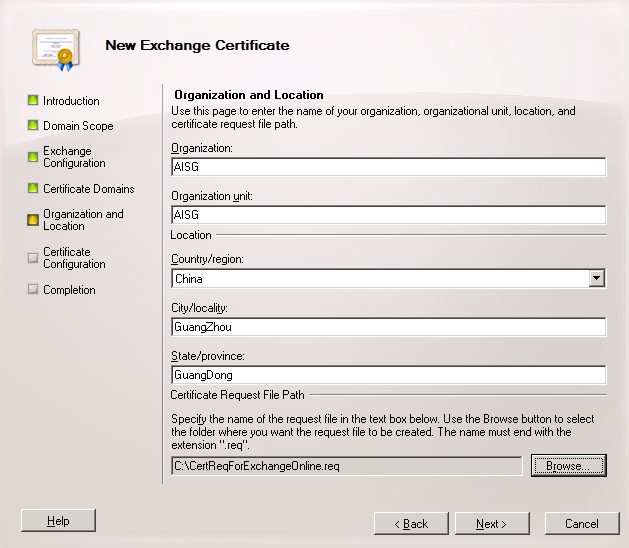
- Fill out your organization info and put the path for your certificate:

- Click New。
- Click finish。
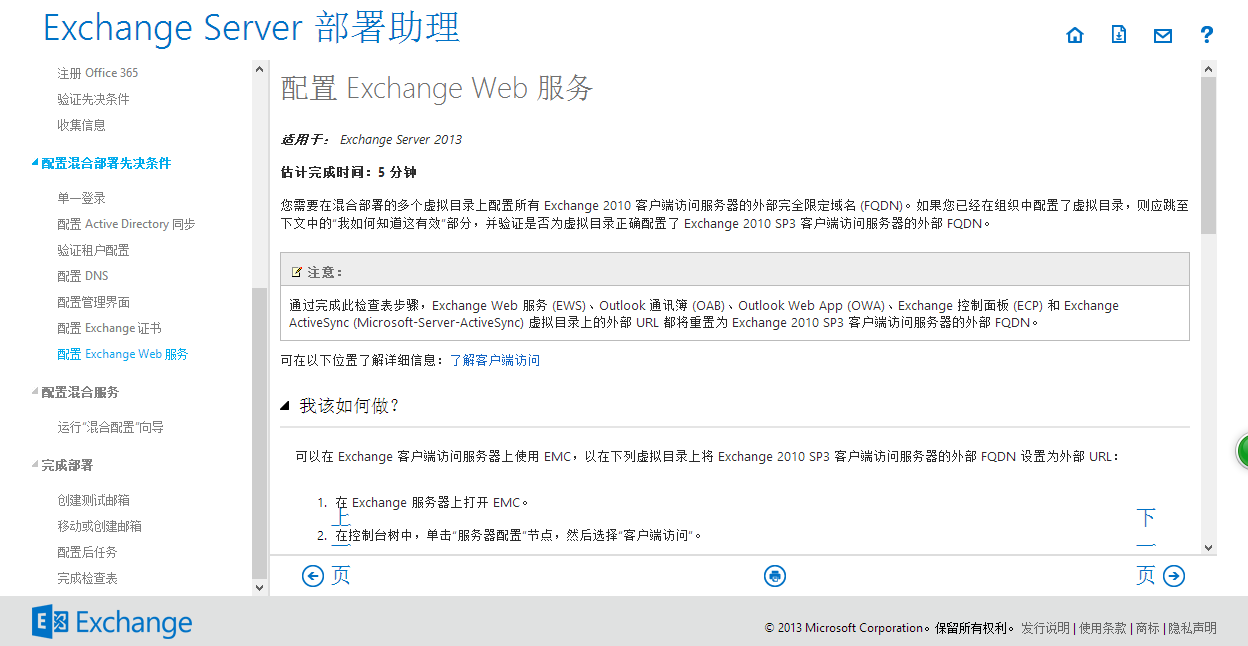
20、Deploy the Exchange Web service like the guide provide from MS:
21、Deploy the hybrid mode:
Here is the detail step for deploy the hybrid mode:
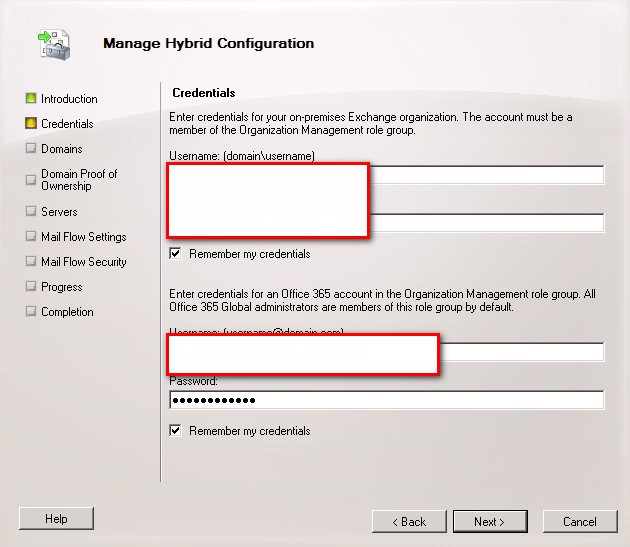
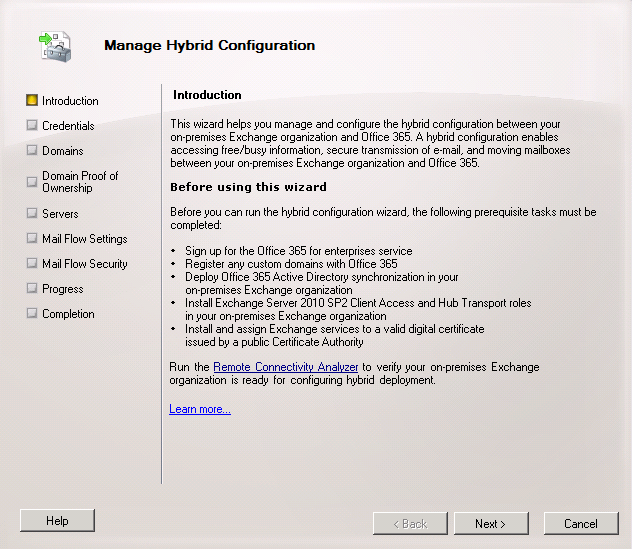
- Manage hybrid configuration from exchange Management Console like the screenshot below.

- Click “Next”.

- Fill out all your info:
- Add your domain
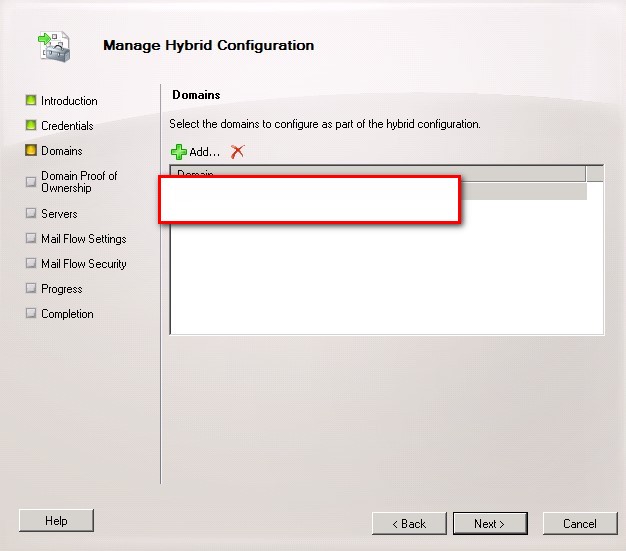
- Fill out all your domain record:
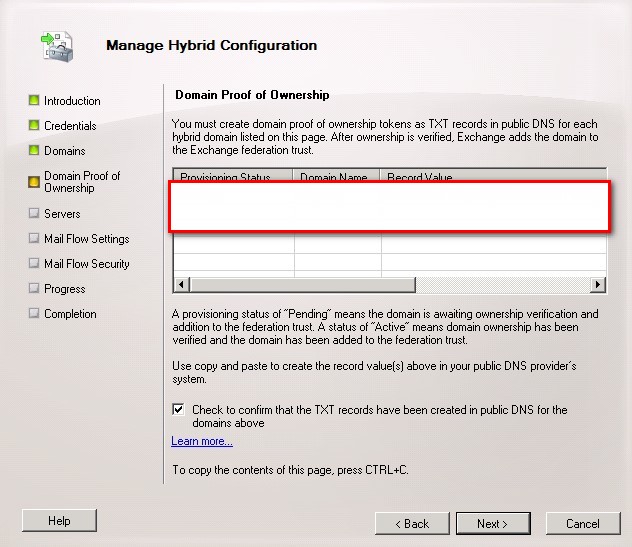
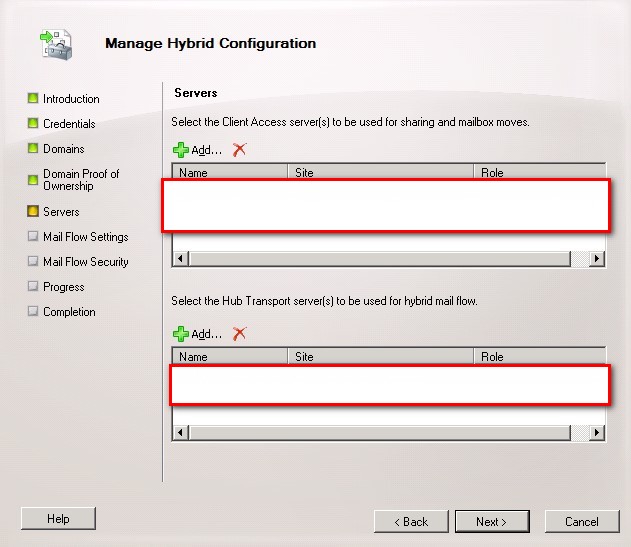
- Fill out your server info:

- Add your local exchange public ip address and domain record:

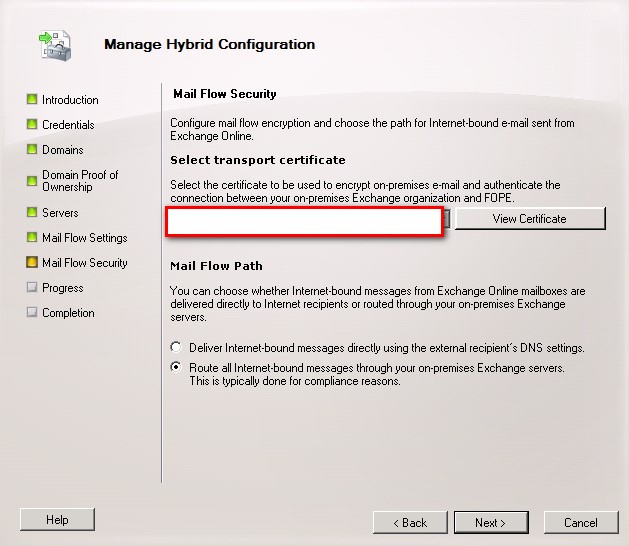
- Fill out the record for mail flow :
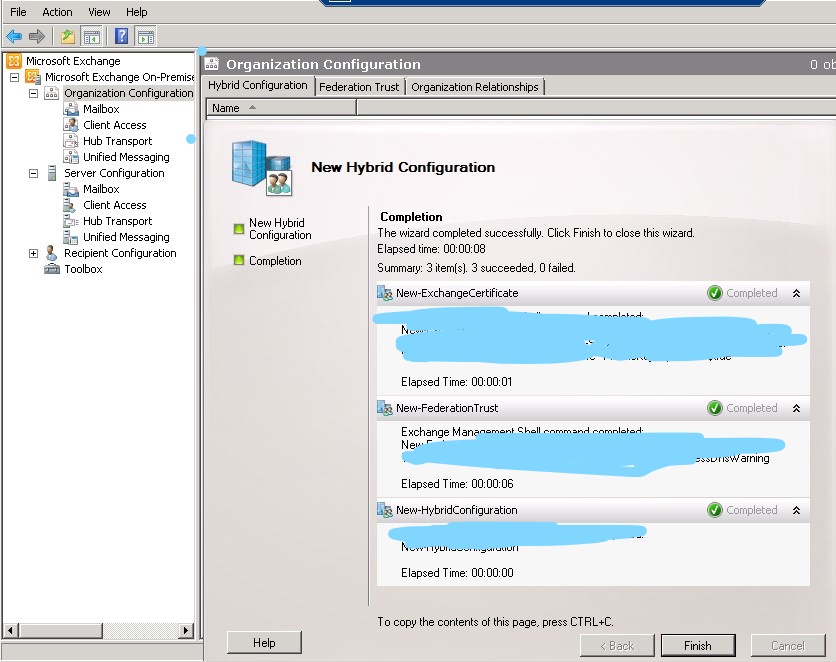
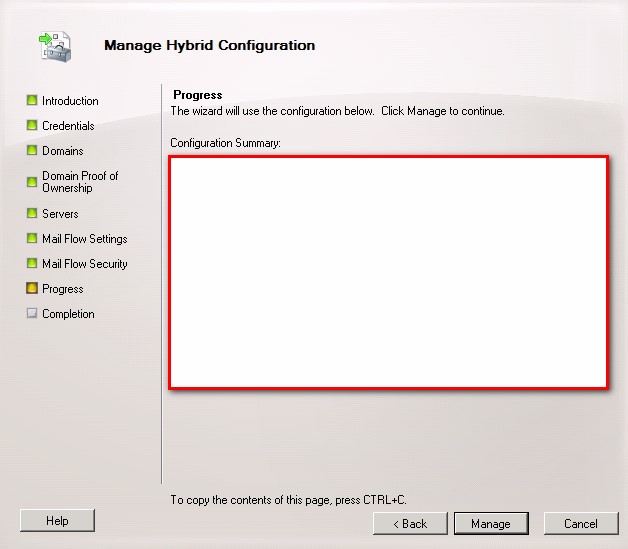
- Click Manage:

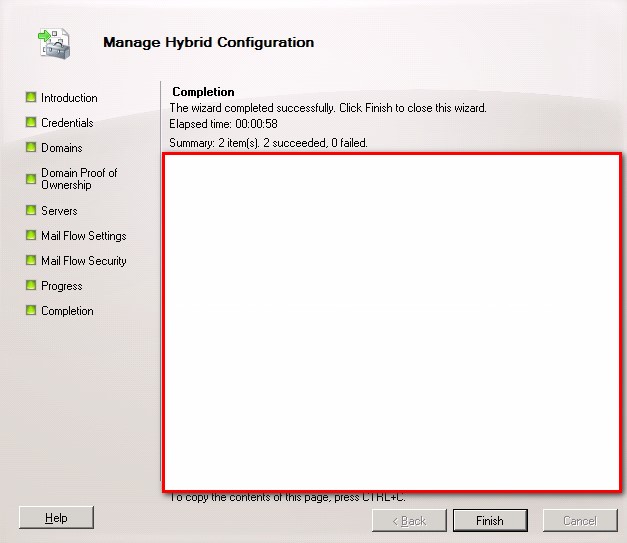
- Click Finish

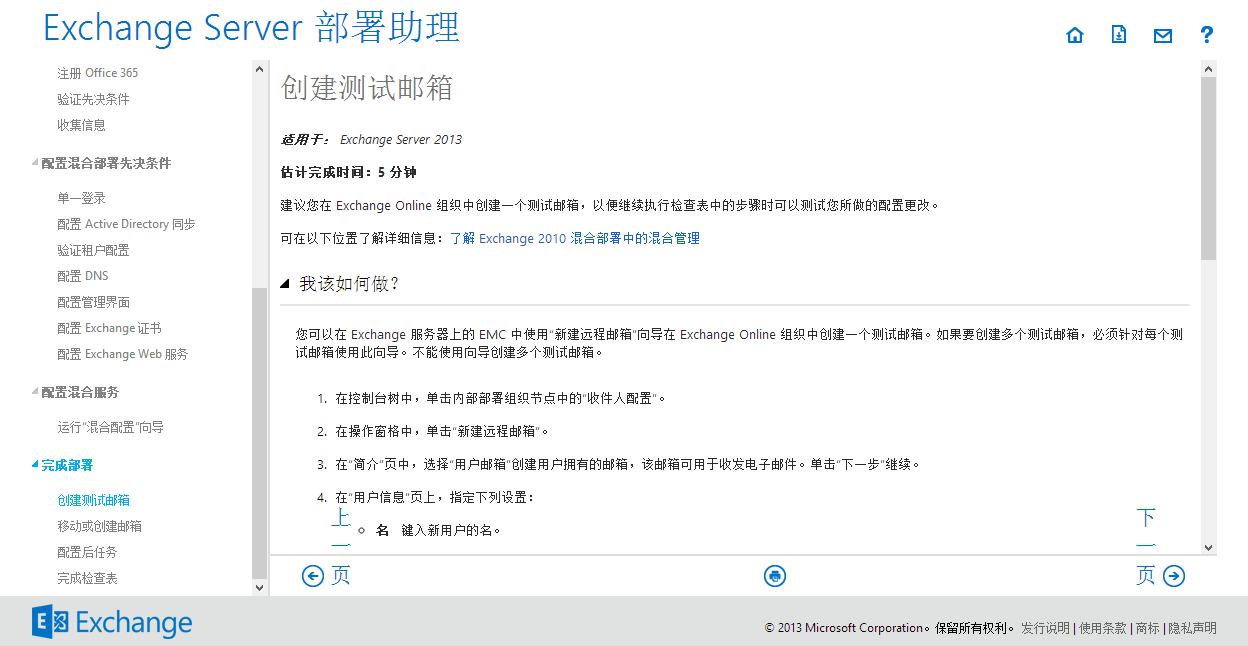
22、Create some online mailbox and test with it:

Detail step to create a new online mailbox:
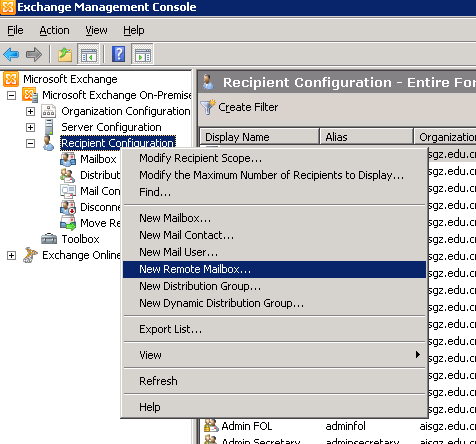
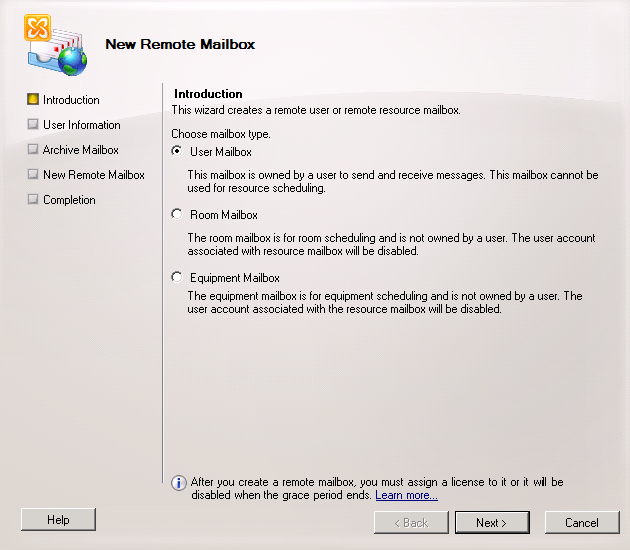
- Click “New Remote mailbox…” from Exchange Management Console like the screenshot below :
- Select User mailbox and click “Next”.

- fill out all the detail info for online maibox :

- Click Next:
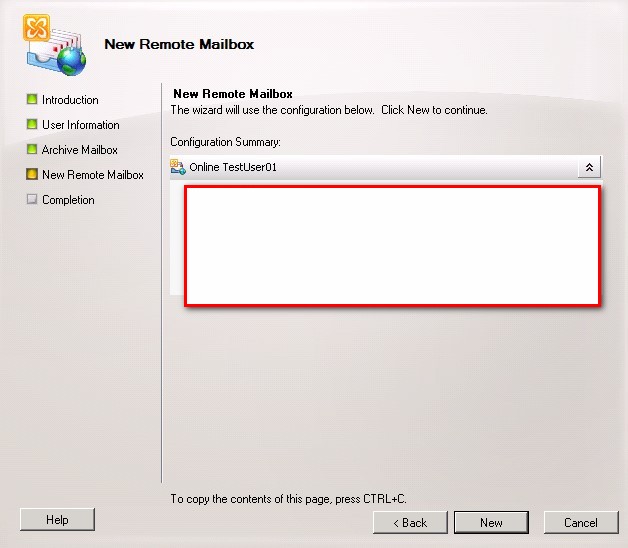
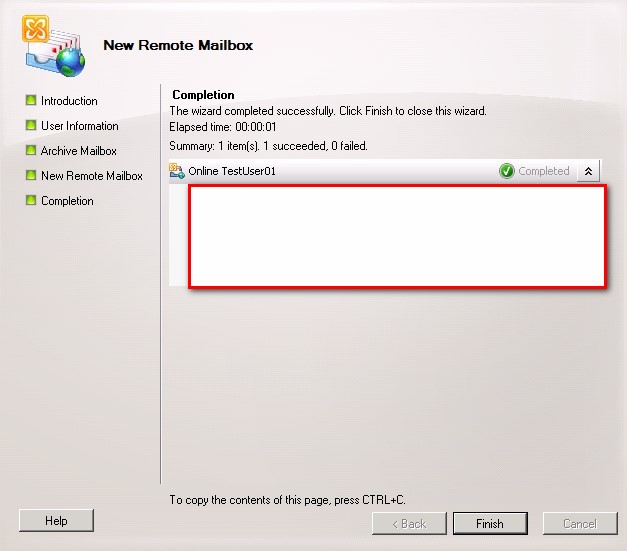
- Click New:
- Click Finish and you will find your online mailbox account has been create
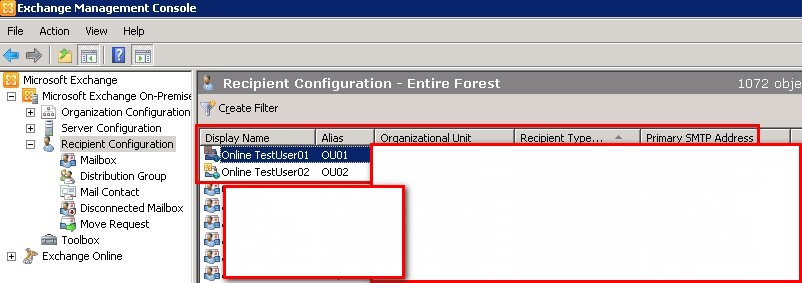
23、The exchange hybrid mode is finish to deploy.
Office365 Exchange2010 Hybrid mode deploy guide book
—— James Rong 2019.04.18
If you have run exchange server for school and also willing to use office 365. I personally suggest you to keep using the local exchange server and migrate all user to the cloud. The local exchange server used to send out the report card, or some announcements which send out from third part local host server. Because the could base exchange online serer has some speed limited and not allow to send out a email to a large group user. So if you still have the local exchange server, strongest suggest you to keep using for it as a local email relate service. The following guide line is a sample to deploy a exchange 2010 hybrid mode server for Office 365. As we set it up long time ago so if you are running exchange 2013 or 2016, maybe the deploy process may be a little bit different. Meanwhile, it is very important for you to back up exchange server before you deploy the hybrid mode just in case any surprise happen. Some of the screenshot I attach to this document is written in Chinese as I won’t have two production server upgrade by myself, so I will try to translate into English and if you have any questions about it, feel free to let me know.
Exchange2010 hybrid mode deploy process:
1.1、Login to Exchange 2010 admin page like the screenshot below:
1.2,Access exchange server deploy assistant site from the link below: (http://technet.microsoft.com/zh-cn/exdeploy2013/Checklist?state=2419-W-AAAAAAAAQAAAAAEAAAAAAAA~),Then choose hybrid mode deploy.

3、Choose “ base on exchange 2010 deploy”, like what I just mention, if you are running exchange 2013 or any later exchange version, you should choosing the right place base on your need:

4、Choose the version you run for you exchange server, so I will use exchange server 2010 as a sample ,Then click next page:

5、Select “No” for Exchange Online Archiving:
6、Select “Yes” for single sign on:
7、Select “通过我的内部部署 Exchange 服务器路由两个组织的所有入站 Internet 邮件”,for inbound mailing route:
8、Choose “No” for Edge server,That means you don’t want to use the edge server to transfer email between your exchange online user and local exchange user.
9、Click next page:

10、Read the document first to understand the detail for hybrid mode then click next page:

11、Register your office365 then click next page:

12、Read the info first then click “Next Page”:

13、verify you prepare all the detail info for the exchange hybrid mode deploy process, then click next page :

Here is all the detail info you need to prepare when you deploy the hybrid mode:
|
描述 |
值 |
|
Active Directory 林根 |
|
|
内部 Exchange 2010 Service Pack 3(SP3) 服务器主机名 |
|
|
外部 Exchange 2010 SP3 服务器 FQDN |
|
|
主 SMTP 命名空间 |
|
|
用户主体名称域 Microsoft Online ID 域 |
|
|
选择部署单一登录的组织的内部 Active Directory 联合身份验证服务 (AD FS) 服务器主机名 |
|
|
外部 AD FS 服务器 FQDN |
|
|
内部 Active Directory 同步服务器主机名 |
|
|
内部部署自动发现 FQDN |
14、Check the guide for single sign on. Pls noted that this screenshot is I make couple years ago and we still using ADFS to syn local ldap server to Office 365, and now we use Azure AD connector to syn all the record, so the process should be different:
Using the following command to check the single sign in setting. Note: as you should running with the Azure AD connector, so the process should be different:
$cred=Get-Credential
15、Deploy the Active Directory Syn:

16、Verify the setting:
17、Verify the your DNS setting, you should change your dns record base on the MS guide. Everyone is different, if you don’t know where to change your DNS, ask help from your tech team:

18、Check the guide to deploy EMC:
Here is the detail step:
- Login to exchange2010 Management Console ,right click “Microsoft exchange”,and select “add exchange…”:

- Type in your exchange forest name like the screenshot below
- Login to your office 365 admin account:

- You should get the Exchange online showing on your Management Console:

19、Check the guide to deploy exchange SSL certificate:
Here is the detail step for deploy the certificate in Exchange 2010 server:
- Click “New Exchange certificate..” under server configuration on you your Management console, like the screenshot below

- Click “Next” after you enter a name for the certificate:
- Click Next:
- Fill out all the info and then click “Next”:

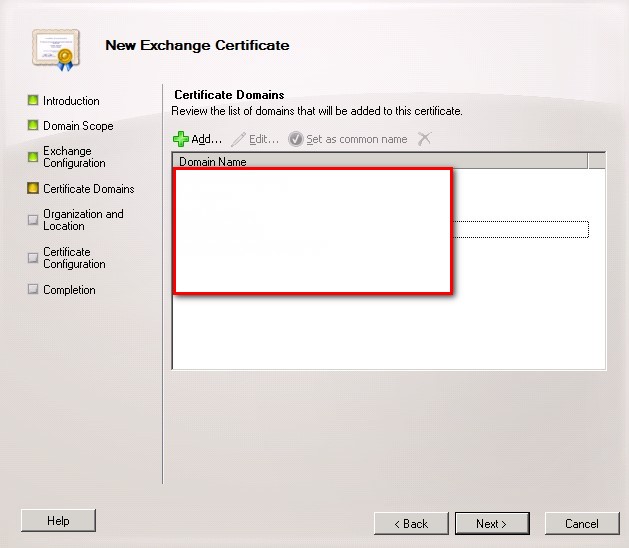
- Add your certificate info base on the need.

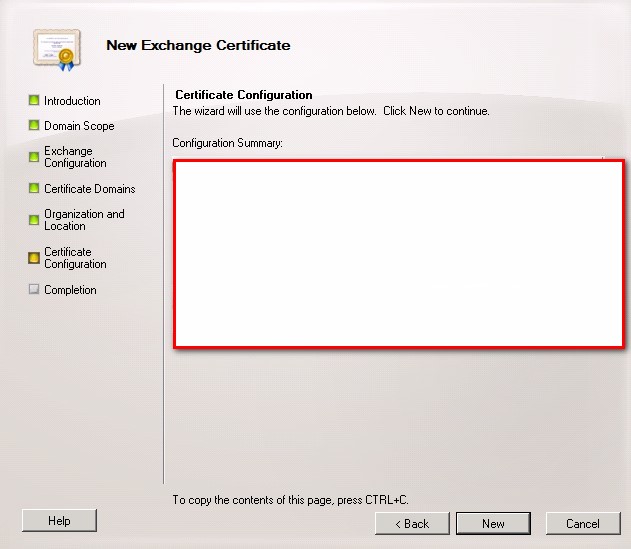
- Fill out your organization info and put the path for your certificate:
- Click New。

- Click finish。
20、Deploy the Exchange Web service like the guide provide from MS:

21、Deploy the hybrid mode:

Here is the detail step for deploy the hybrid mode:
- Manage hybrid configuration from exchange Management Console like the screenshot below.

- Click “Next”.
- Fill out all your info:

- Add your domain

- Fill out all your domain record:

- Fill out your server info:
- Add your local exchange public ip address and domain record:
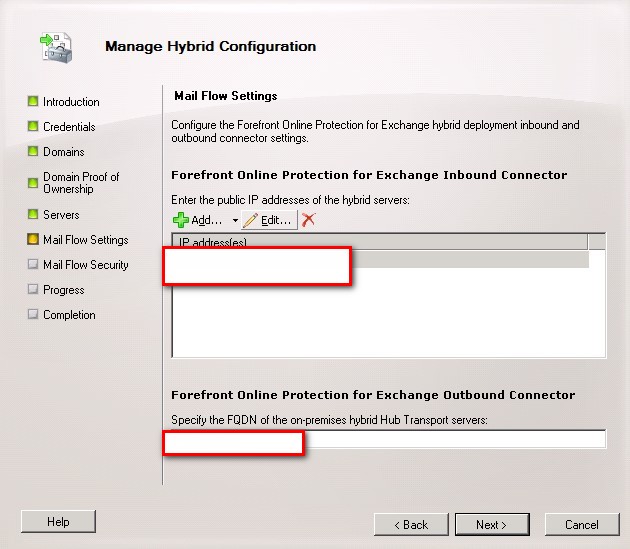
- Fill out the record for mail flow :

- Click Manage:
- Click Finish
22、Create some online mailbox and test with it:
Detail step to create a new online mailbox:
- Click “New Remote mailbox…” from Exchange Management Console like the screenshot below :

- Select User mailbox and click “Next”.
- fill out all the detail info for online maibox :
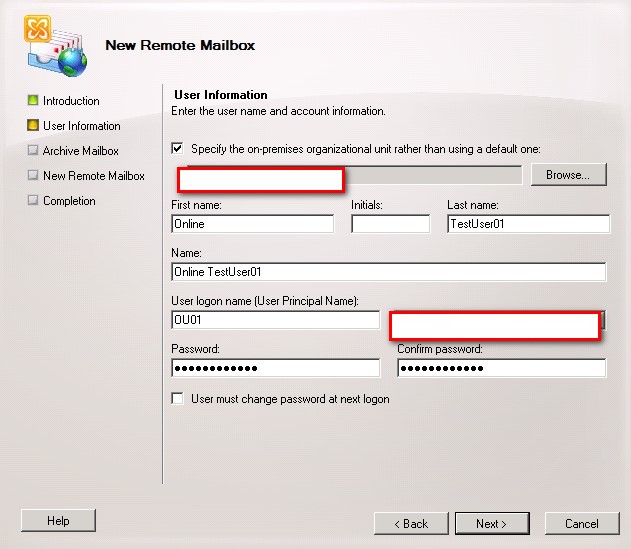
- Click Next:

- Click New:

- Click Finish and you will find your online mailbox account has been create


23、The exchange hybrid mode is finish to deploy.