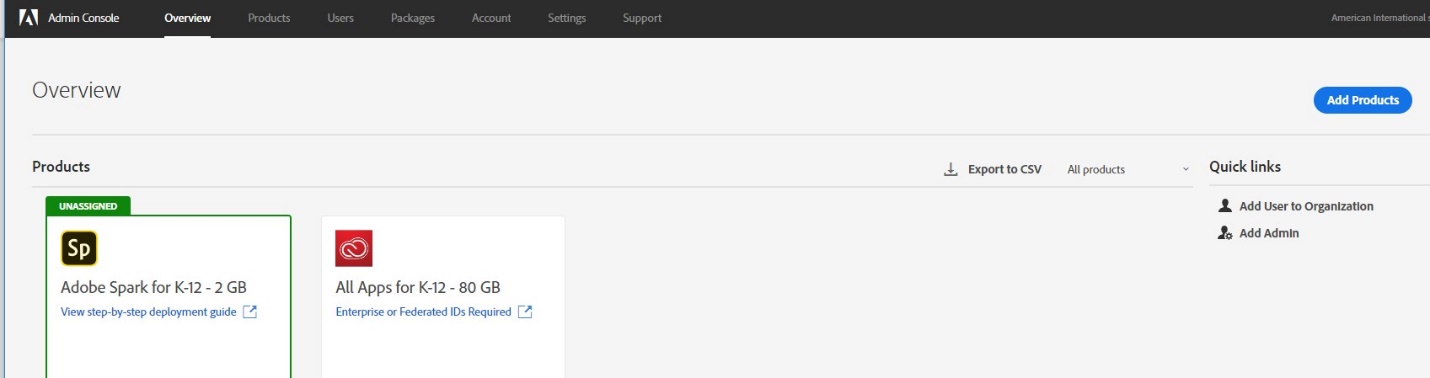
Ha Ha~ My boss finally get the Adobe Edu license and the price is much cheaper than the standard license. So once we got the license, he assign a new task to me and I need to figure out how to set the SSO for Adobe.
- Login your Adobe admin site from the link below: https://adminconsole.adobe.com
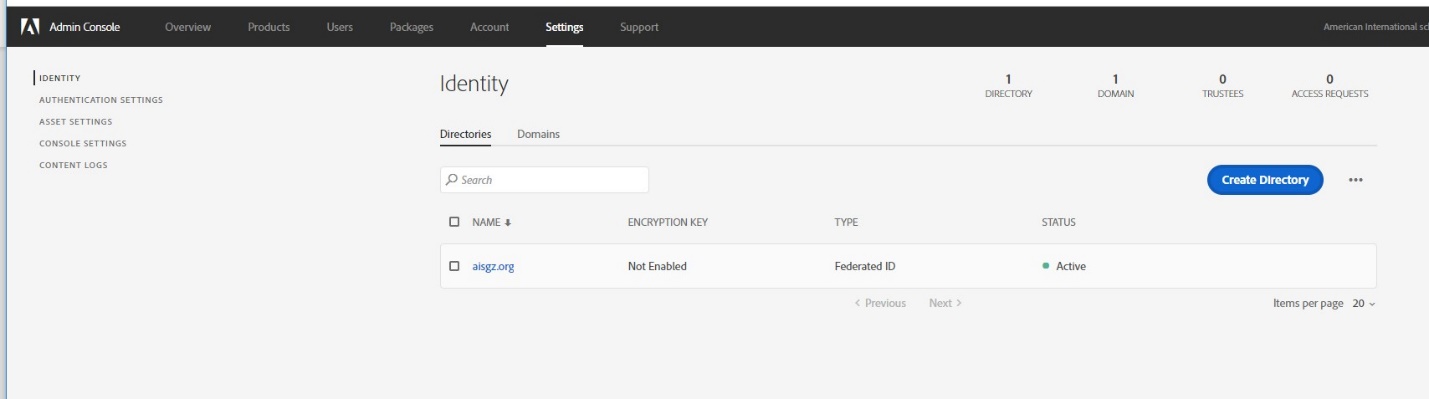
2.Navigate to setting> identity, and click “Create Directory”.
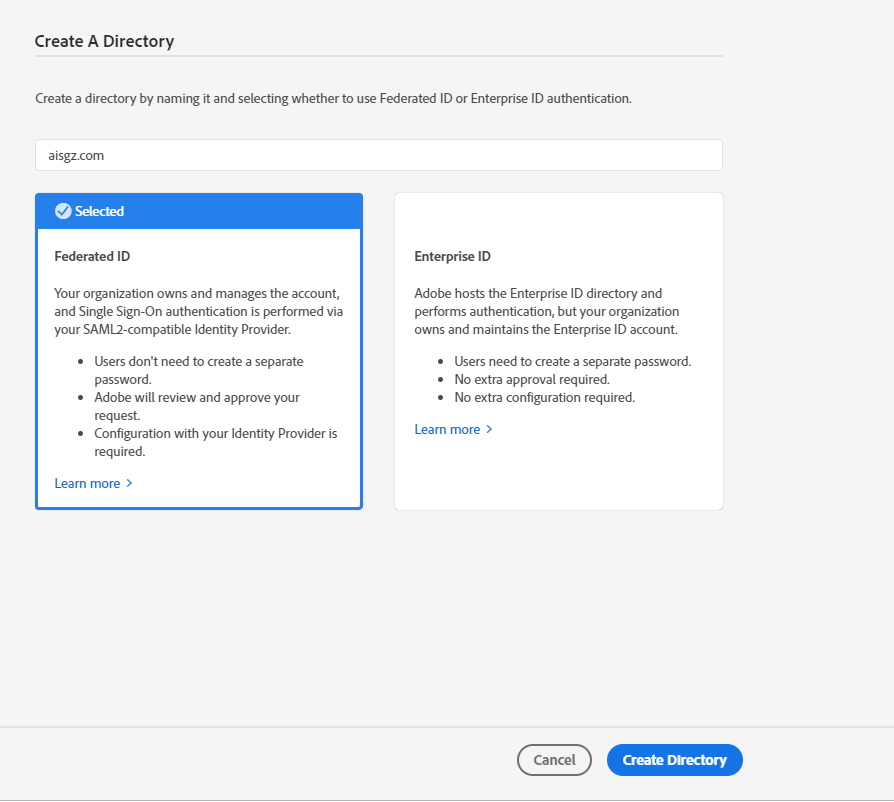
3.Named your directory and select the method for your ID then click “Create Directory”.
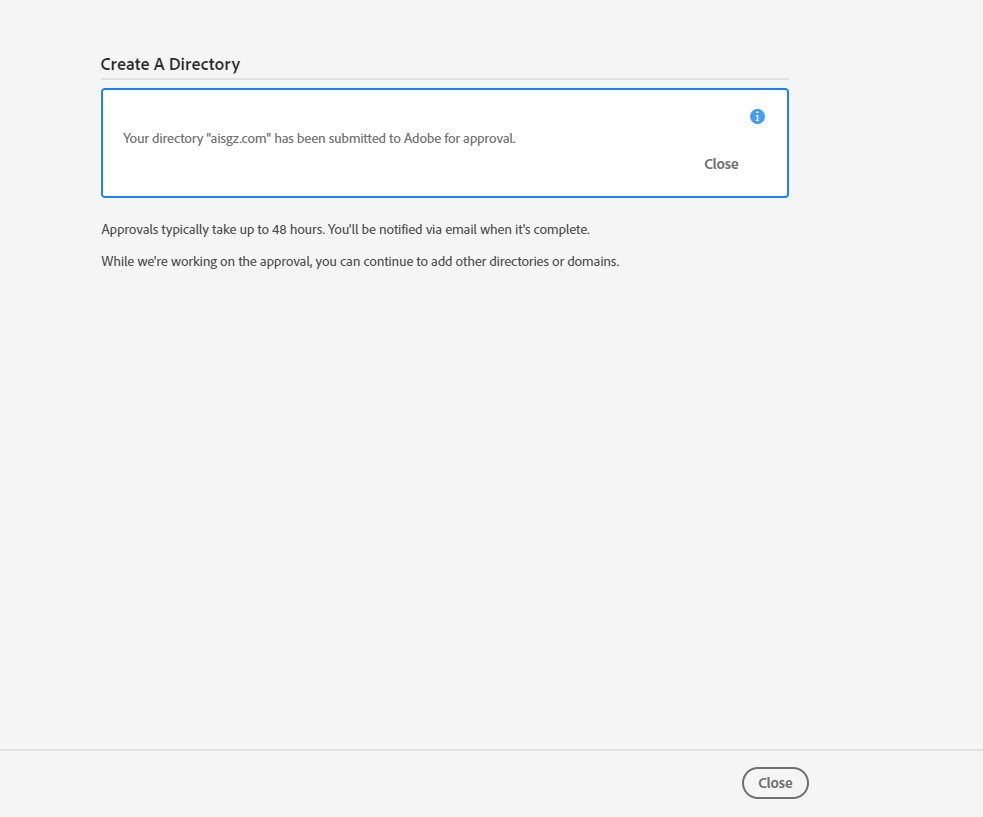
4.Then you will wait until Adobe to approve your directory record created from the admin site. You will got an email up to 48 hours.
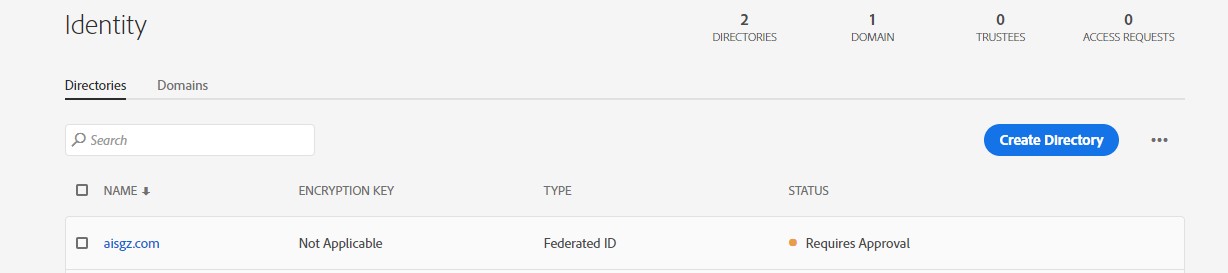
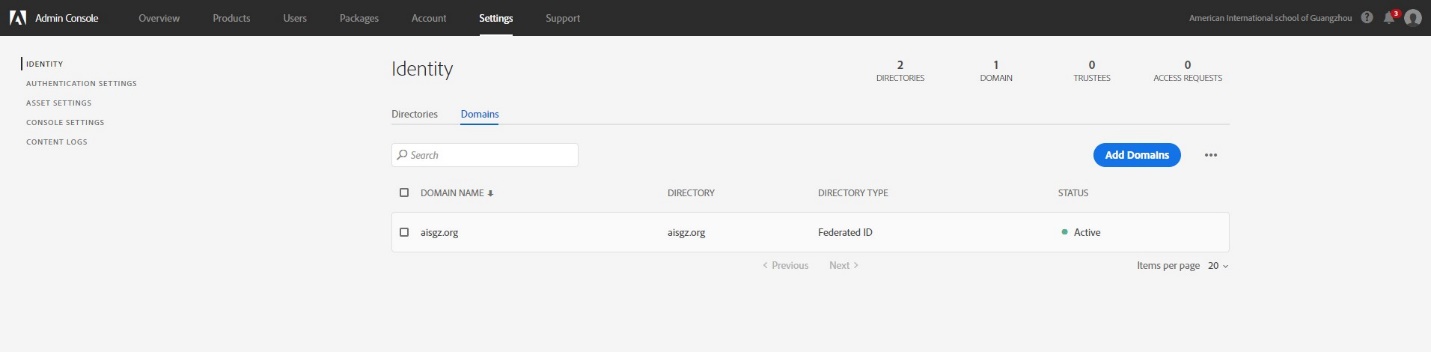
5.Create your domain from Admin site. Go back to Setting > identity. Then click “Add domain”
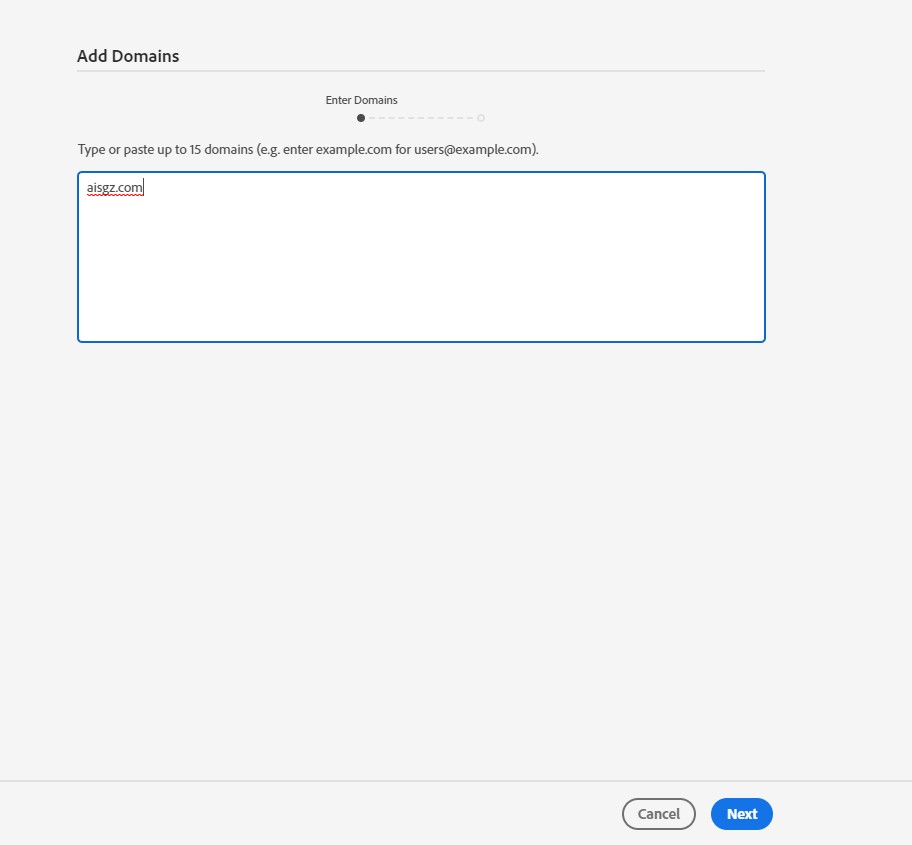
6.Type in your domain name and click “Next”.
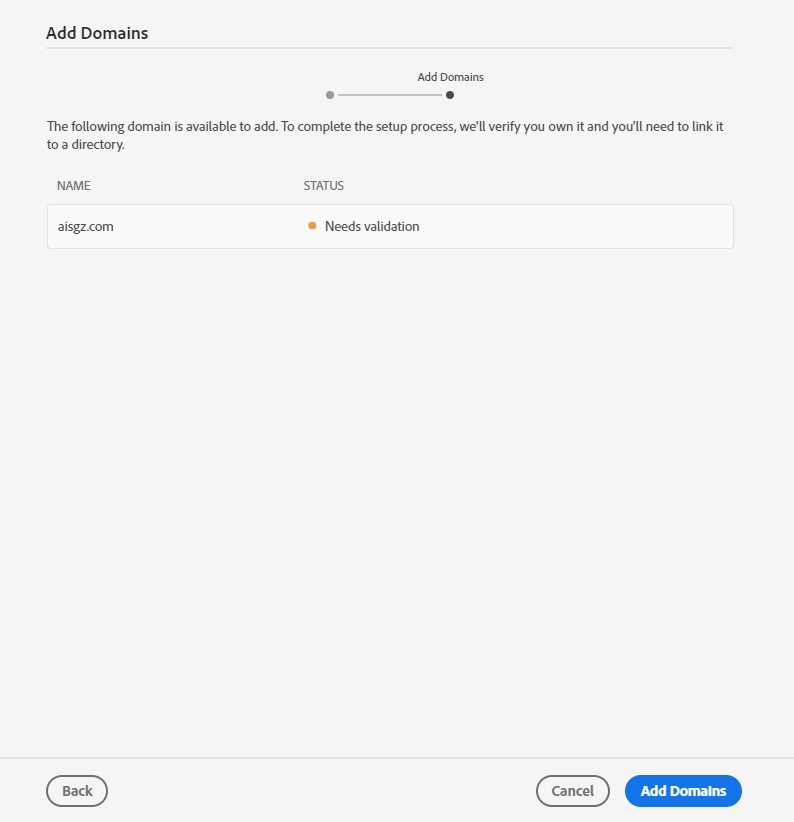
7.Click ”Add domain”.
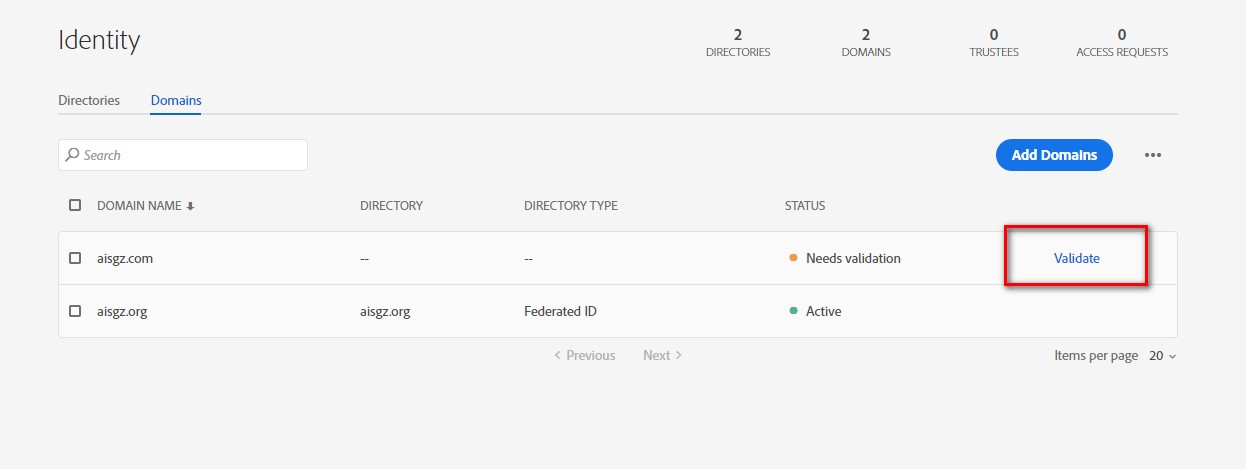
8.Click into “Validate”.
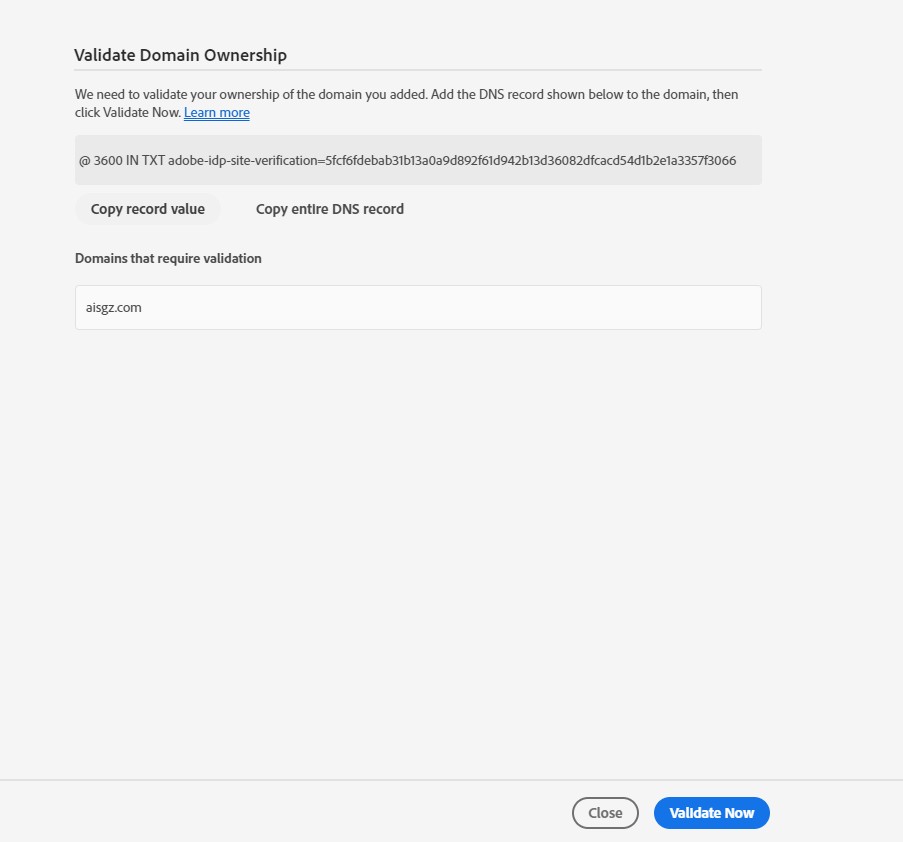
9.Add the domain record on your DNS server base on the info show from Adobe domain site. If you don’t understand how to do it, ask help from your network administrator.
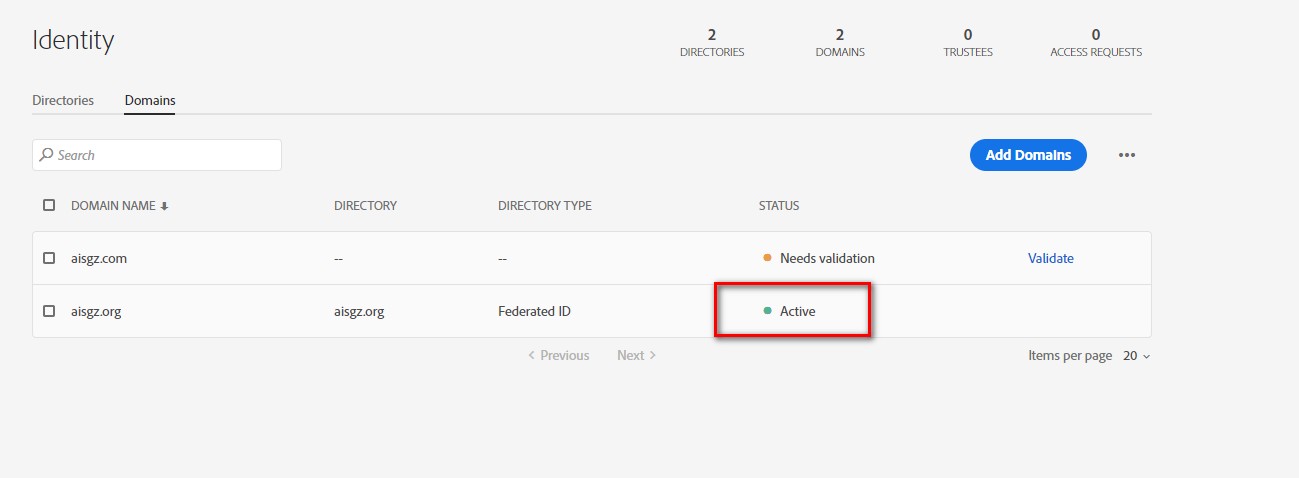
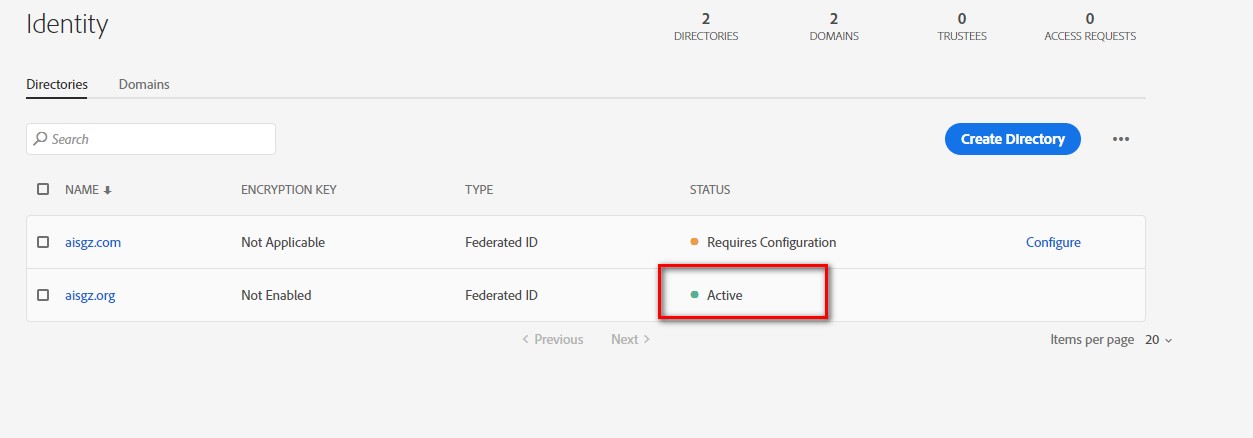
10.Once you validate your domain, your domain record state will show “Active” like the screenshot below.
11.Go back to Admin site and click link “Link Directory” to link domains to directories.
12. Now you should decide which method for SSO you should deploy in your system. There are couple option you can choose like SSO with ADFS, SSO with Azure, SSO with Onelogin. The method I use with this article is ennable SAML single sign on for Azure.
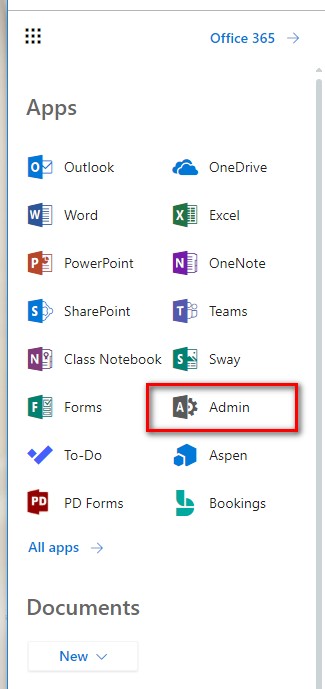
13. Login to Office 365 Admin site from waffle.
14. Login to you Azure admin page
15. Navigate to Azure Active Directory>Enterprise Applications>All applications then select “New Application”
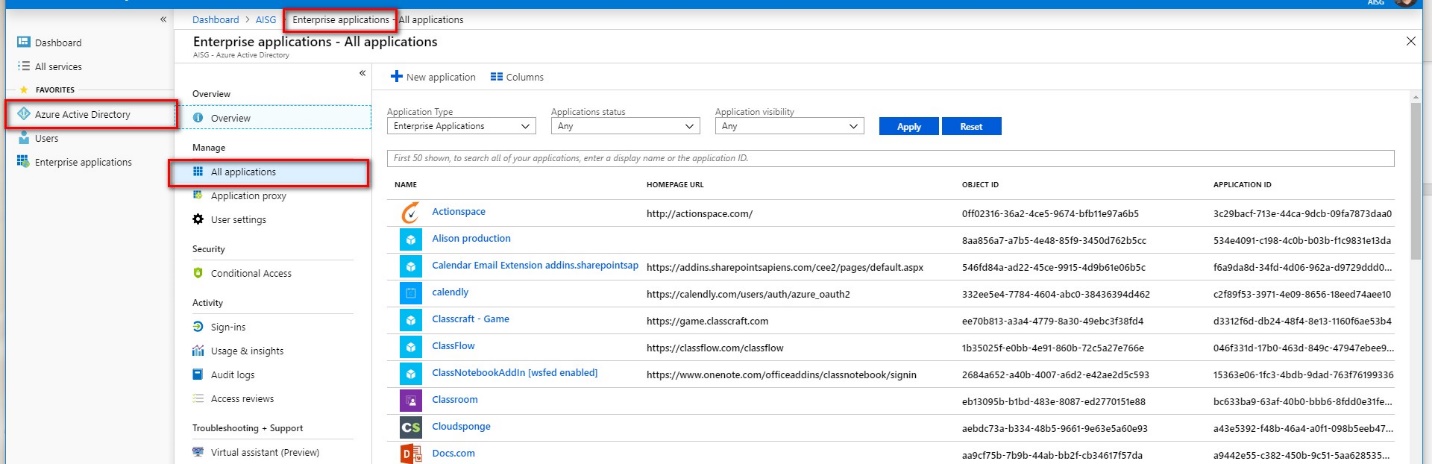
16. Search Adobe Creative Cloud and Add the app in your application.
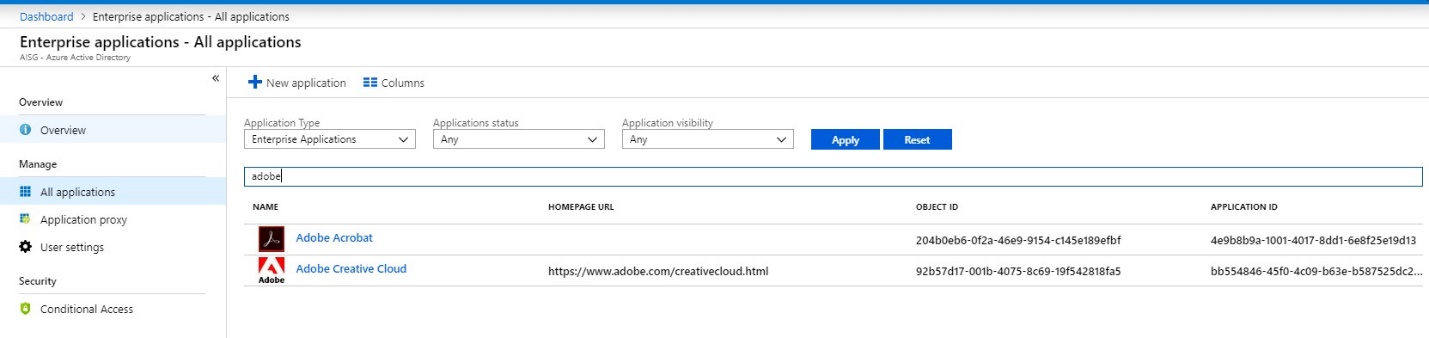
17. Double click into Adobe Creative Cloud, click the “Single sign-on”.
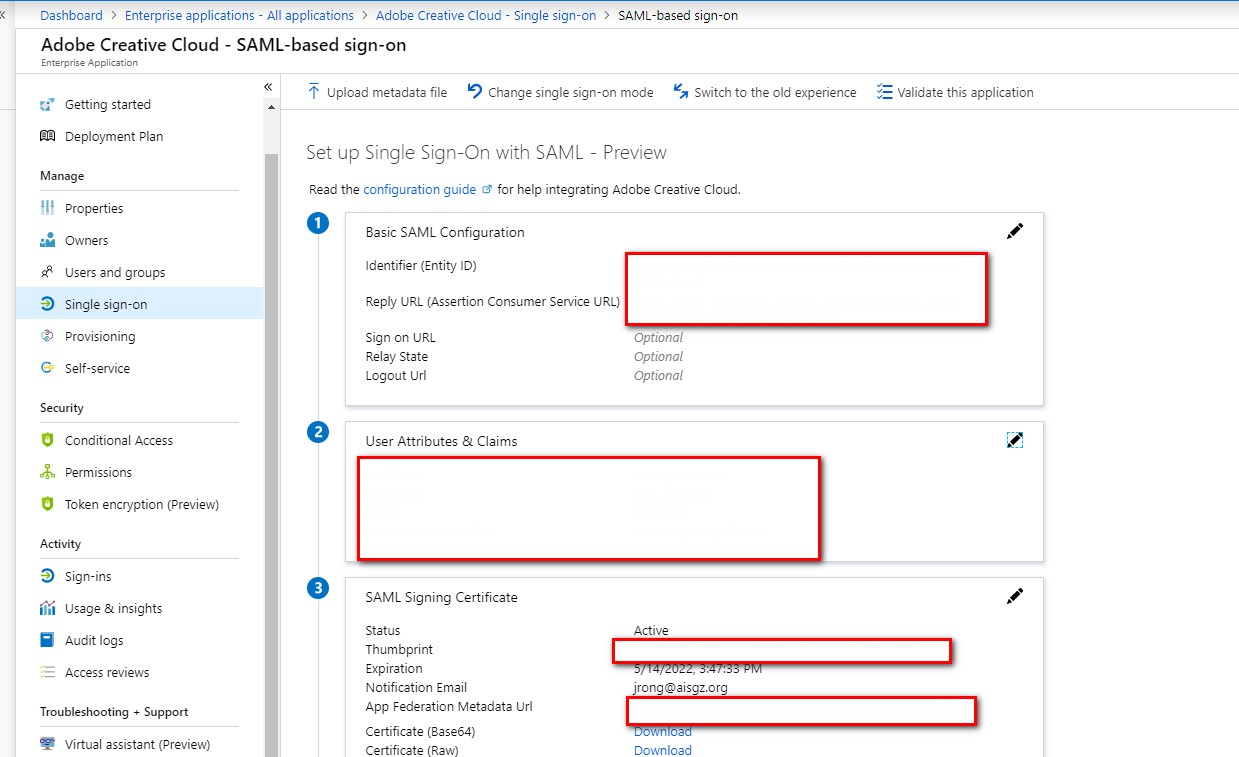
18. Edit the SAML Token Attributes below, leaving the namespace blank for each entry:
|
VALUE |
NAMESPACE |
|
|
FirstName |
user.givenname |
|
|
LastName |
user.surname |
|
|
|
user.mail |
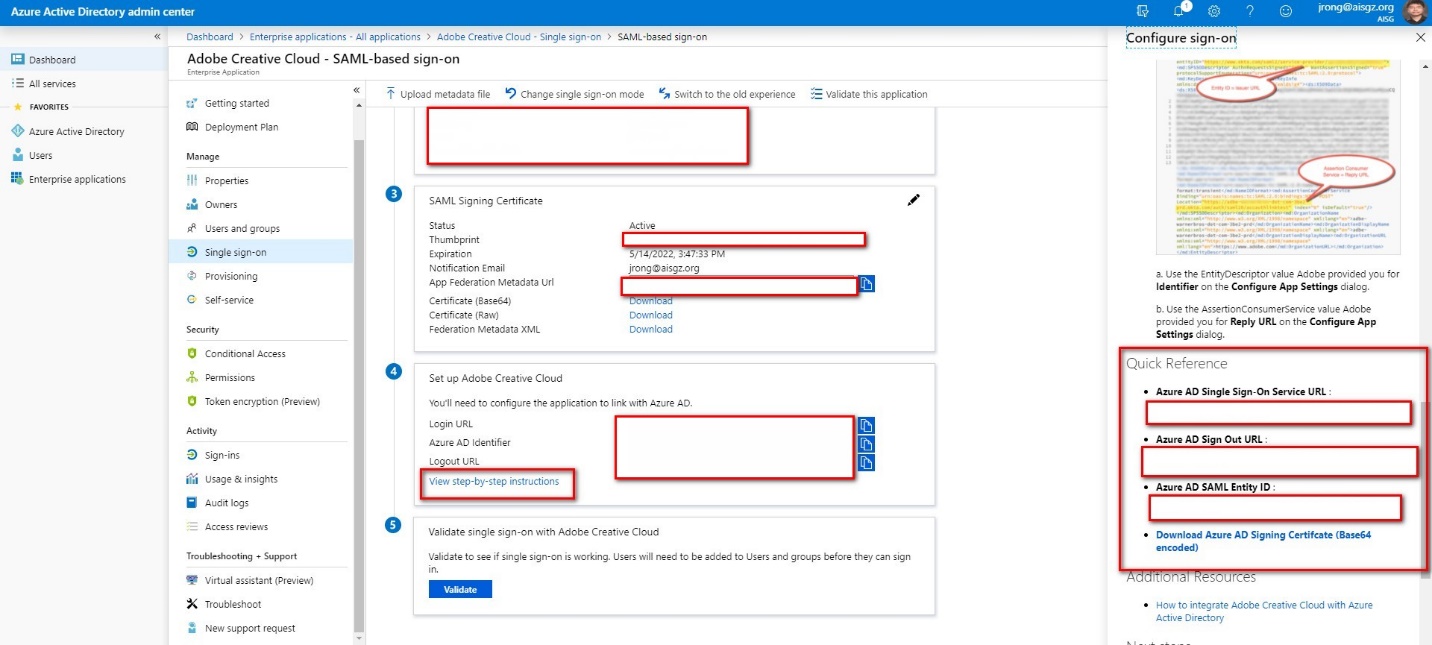
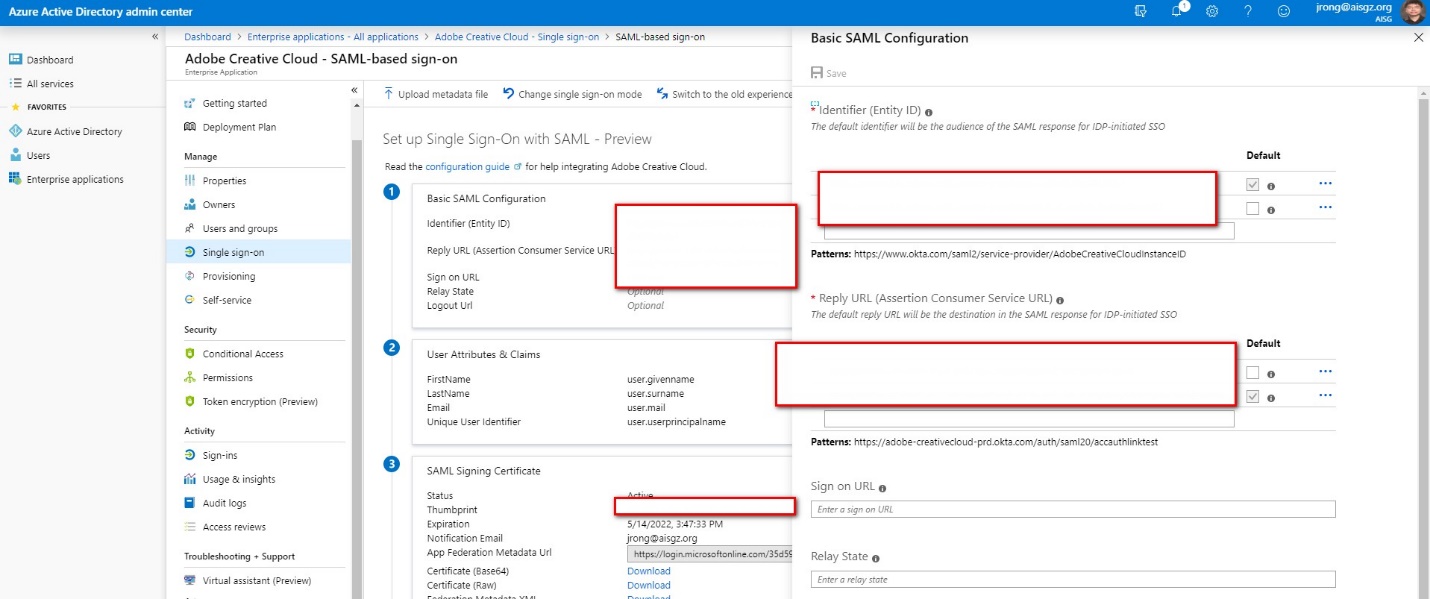
19. Navigate to Set up Adobe Creative Cloud, and click “View step-by-step instructions”. Copy all the info under Quick Reference like the screenshot below. You also need to download the SSL certificate for it (Noted: this certificate need to renew every 3 years)
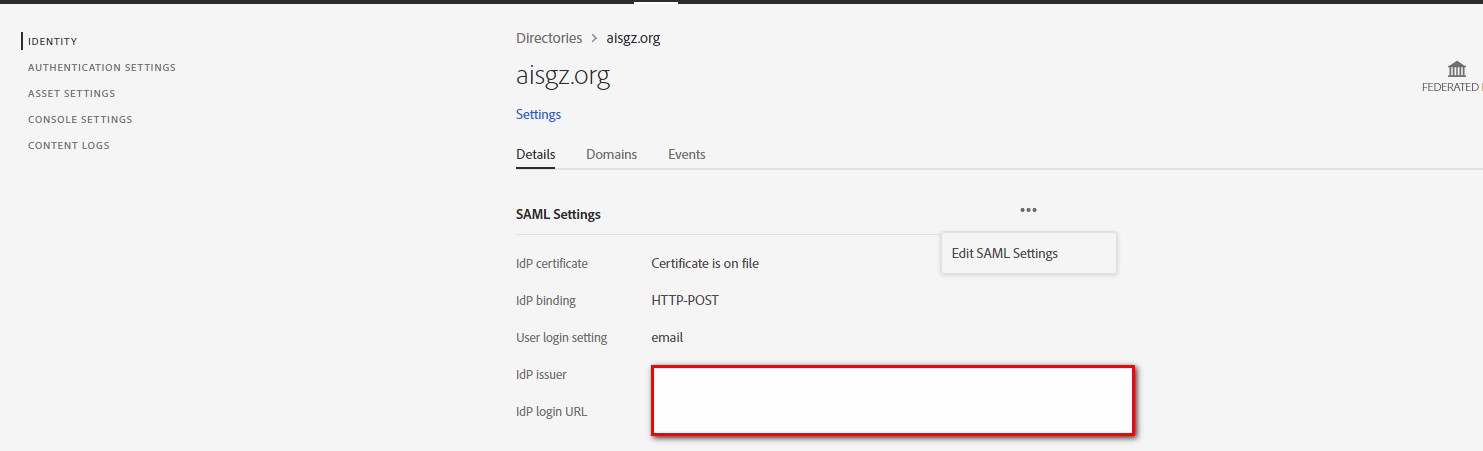
20. Go back to Adobe admin site, navigate to Directories and edit the SAML setting like the screenshot below:
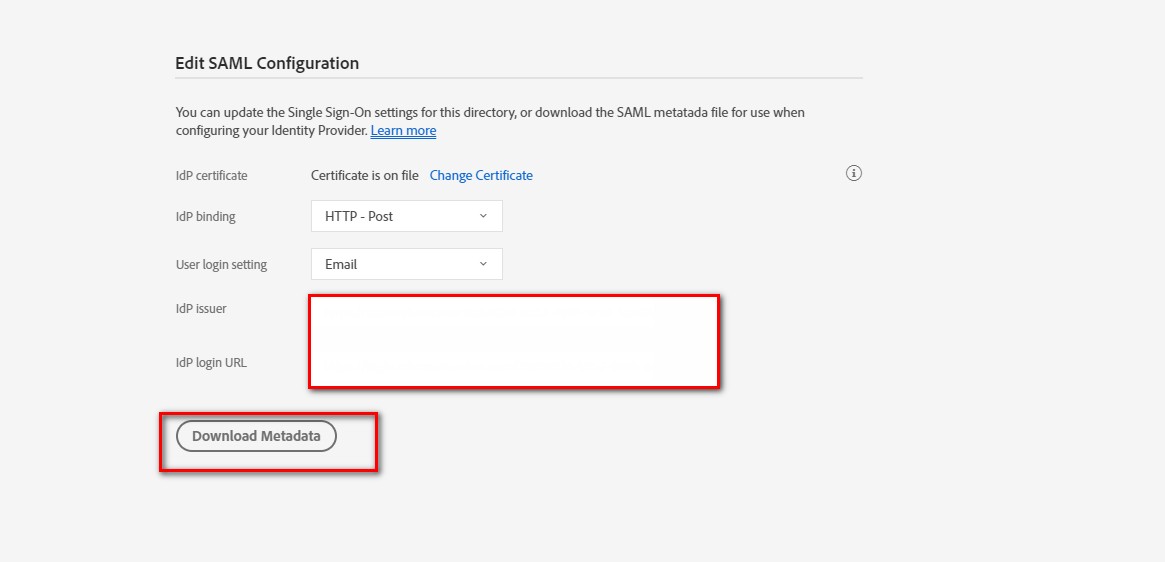
21. upload your SSL certificate to from Azure to Adobe, fill out all the info like the screenshot below. Besides, click “Download Metadata”.
22. Click Complete to activate the directory.
23. Open the metadata file from browser and copy the info entity ID and AssertionConsumerService record like the screenshot below:
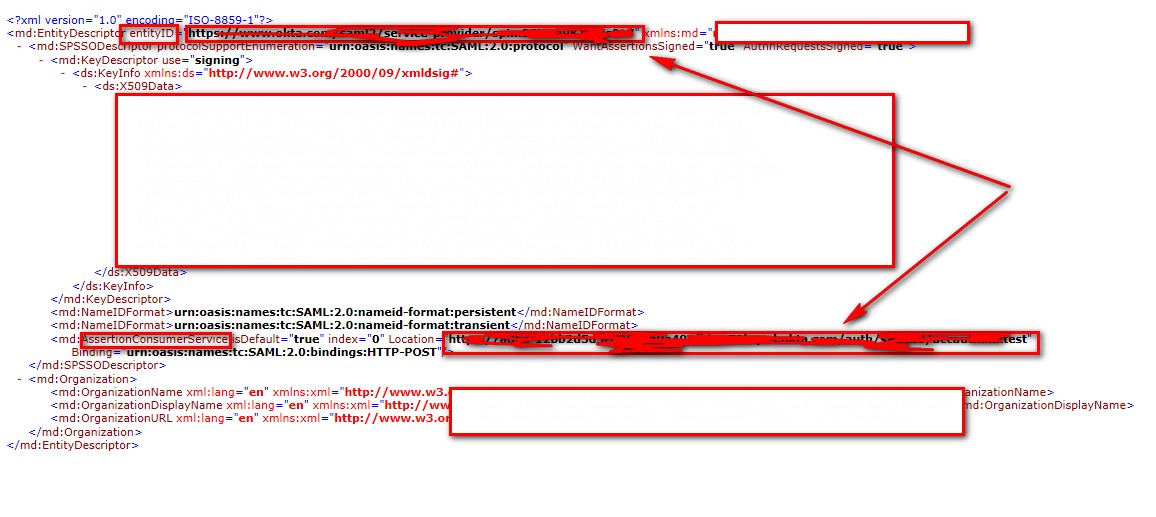
24. Go back to Azure and edit the Basic SAML configuration setting, copy the info from previous step and mark as default then click save.
After that, you finish to setup the Adobe SSO for Azure. Don’t forget when you assign the license to end user, you should go back to Azure to add the user first then go back to Adobe admin site to assign the license for it.