Before we start to explain how to setup the ATP policy in your Office 365 tenant, make sure to use Microsoft 365 A5 license or you should order Office 365 ATP P1 or P2 license otherwise all the policy on my article won’t show on your security site. Meanwhile, pls spend couple seconds to scan the QR code below to follow my Wechat account. Your attention is my biggest motivation to keep posting my article.

So let’s start to setup the ATP policy on your tenant.
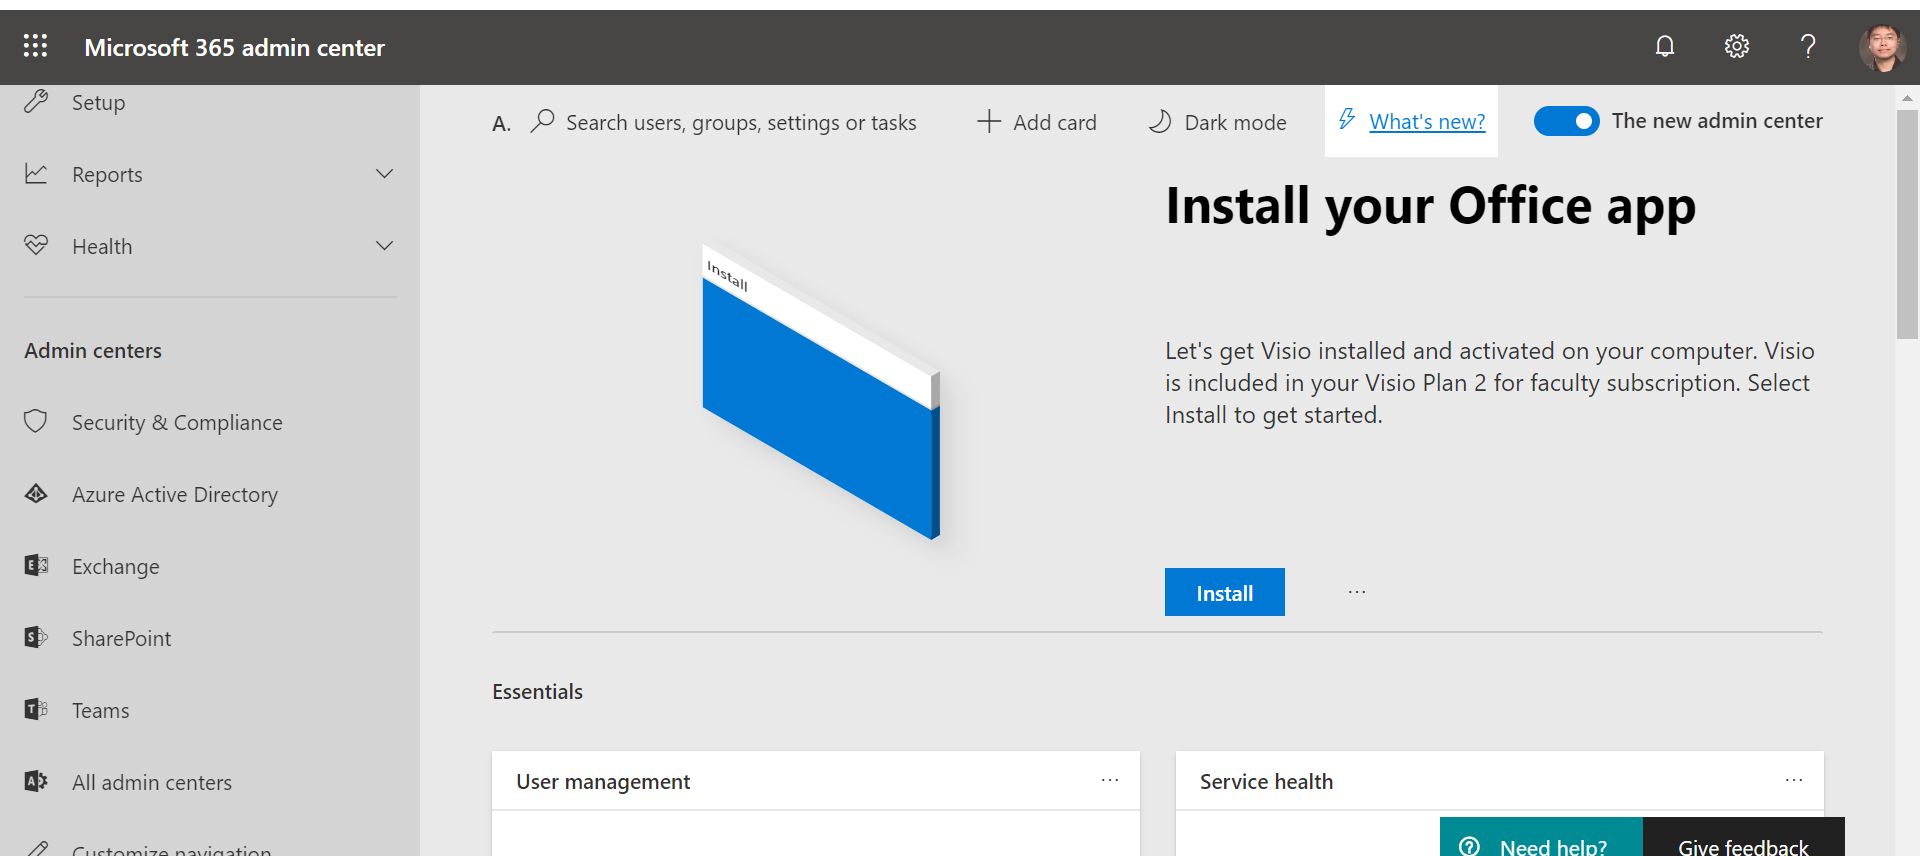
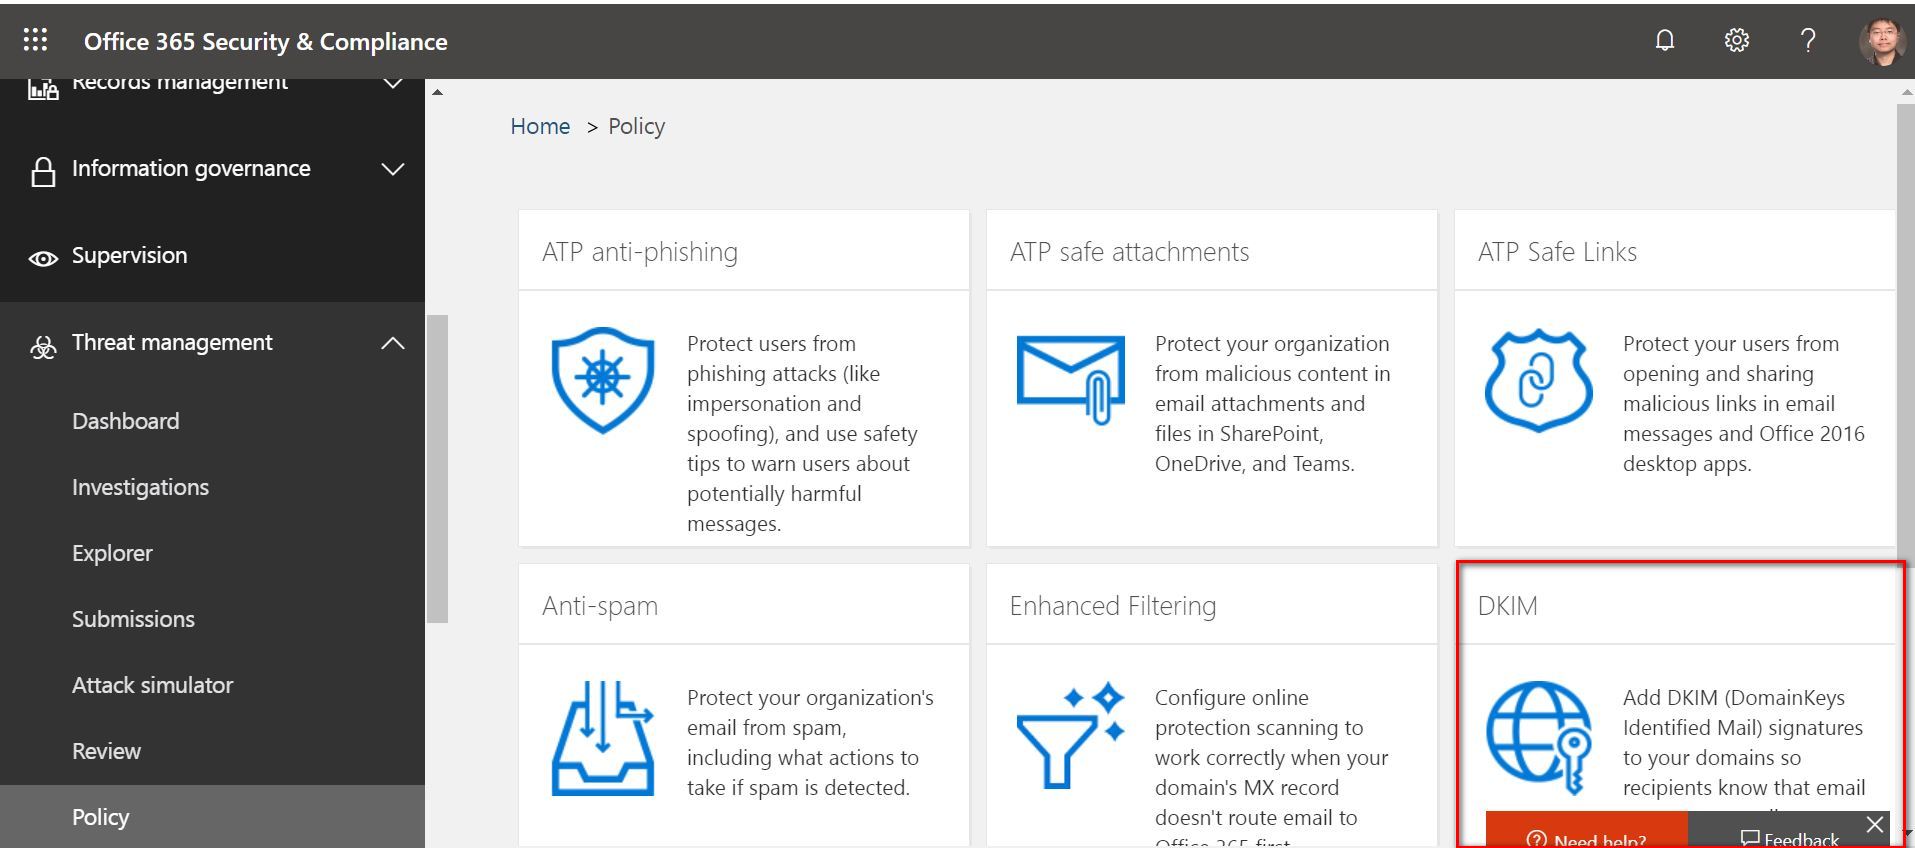
Login to “Security & Compliance” on your Office 365 Admin site, Make sure the account you used to deploy the setting have the ATP license so you can modify the policy.
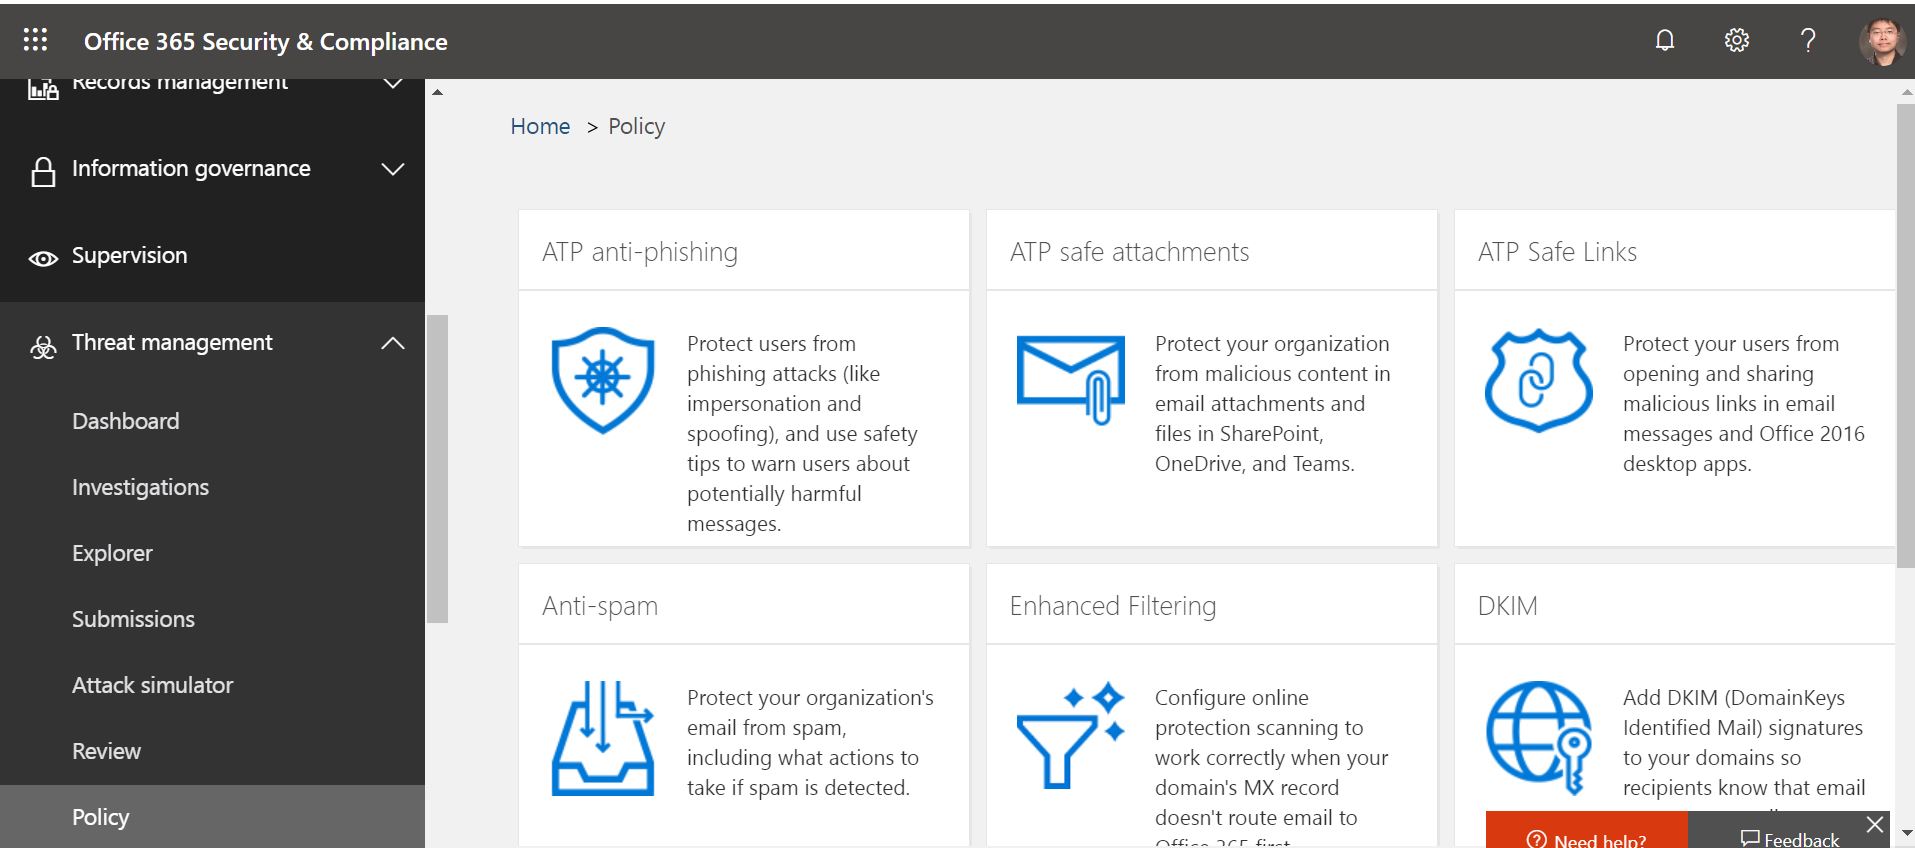
Extend the “Threat Management” and click into the Policy. There are couple policy need you to deploy here which including:
- ATP anti-phishing
- Safe attachment
- Safe link
- Anti-malware
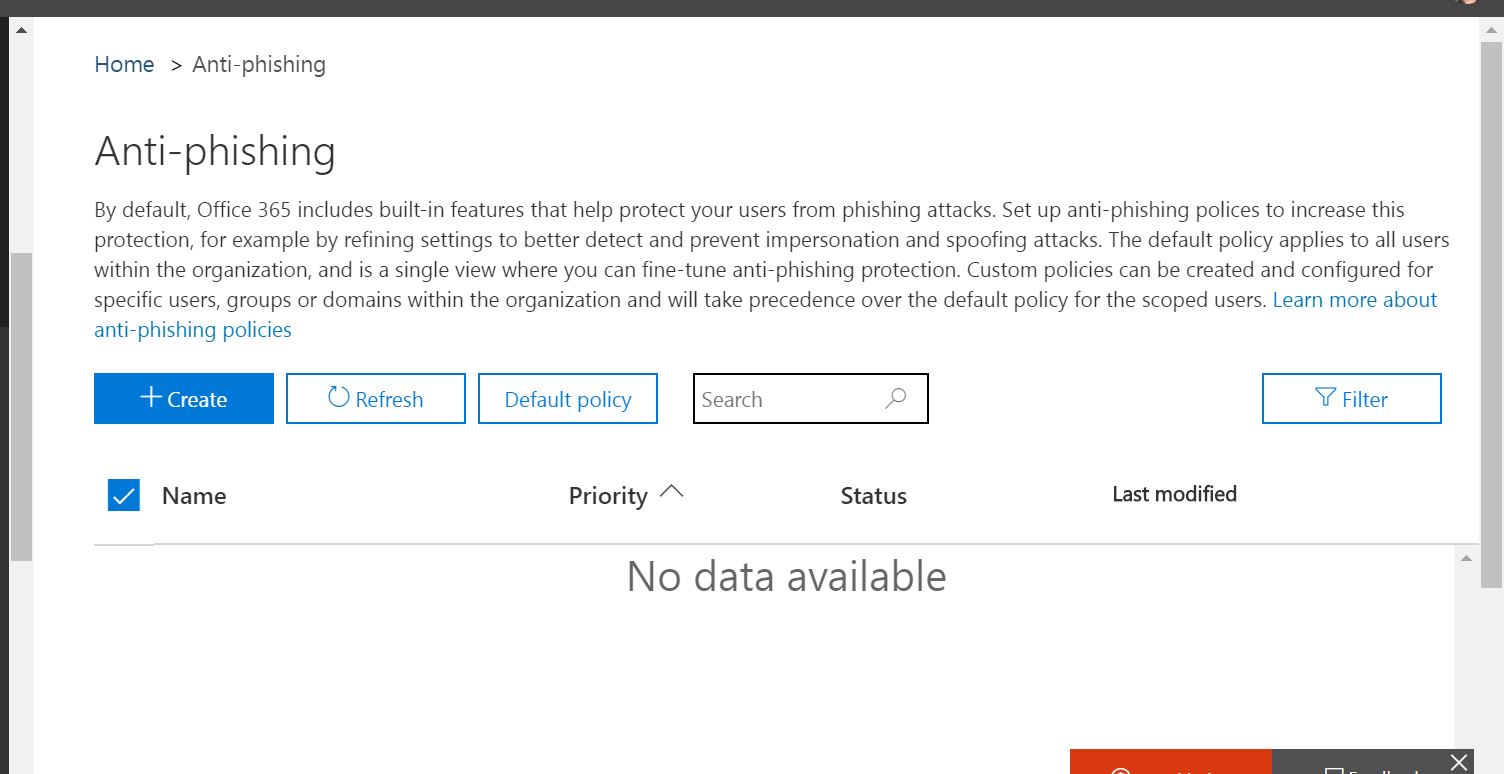
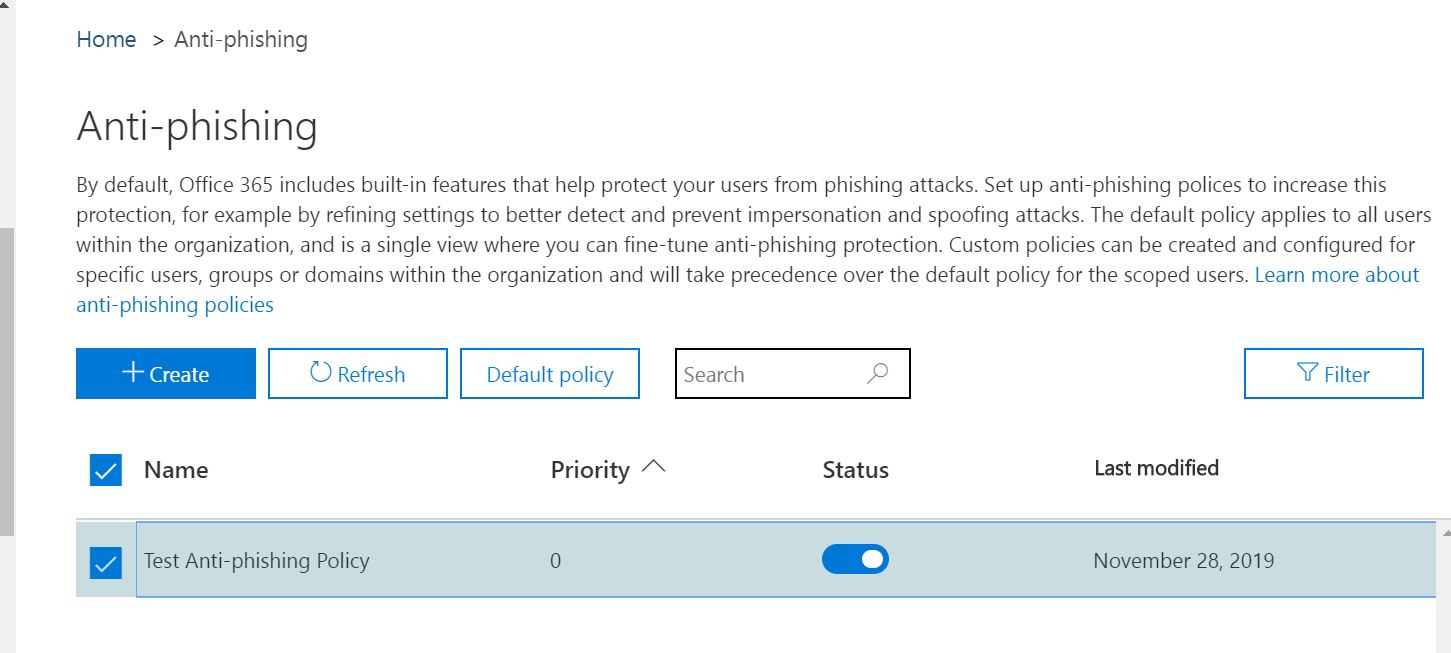
We will focus on the ATP anti-phishing policy today. Click into “ATP anti-phishing”.
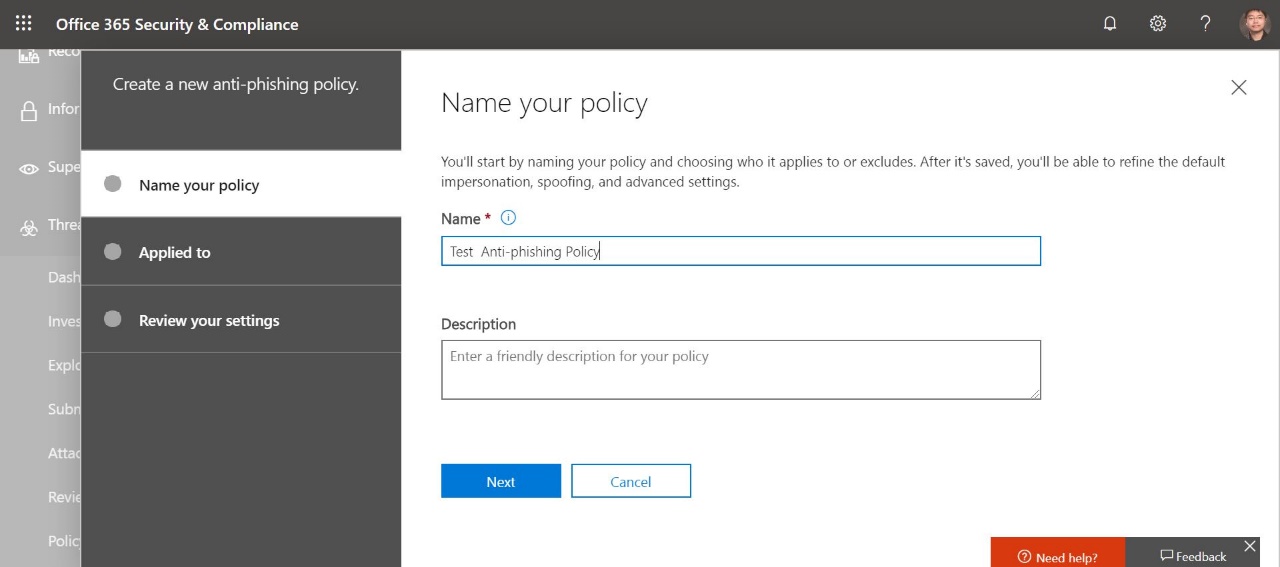
You can customize your own policy or directly edit the default policy here. If you want to create your own policy, click “+Create”.
Give a named on this customize policy.
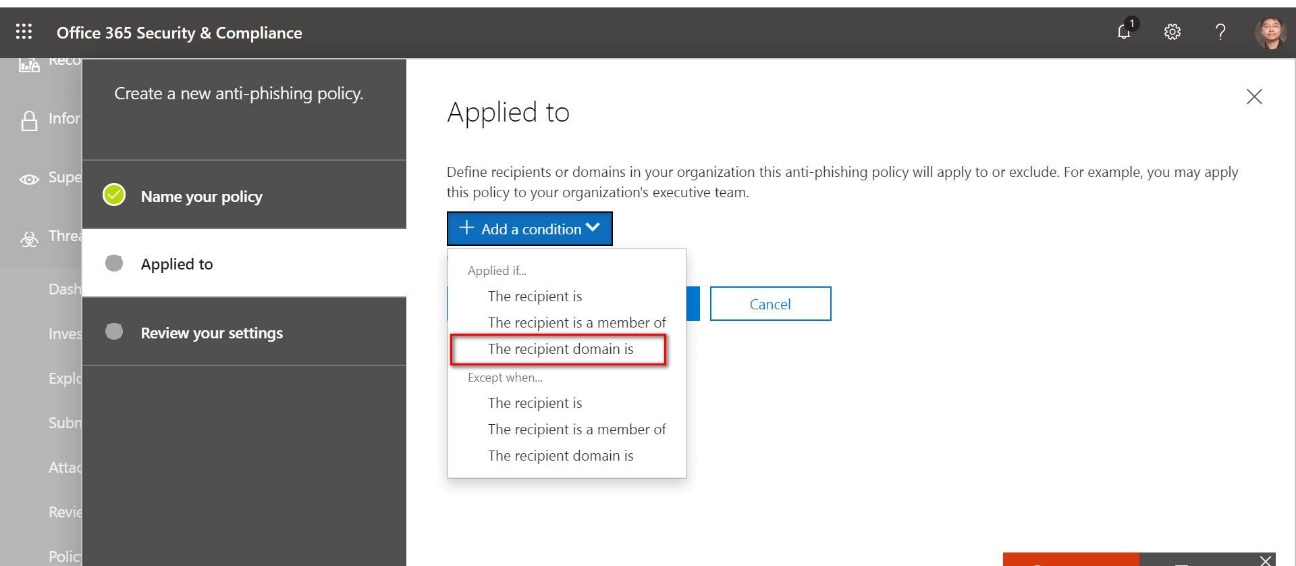
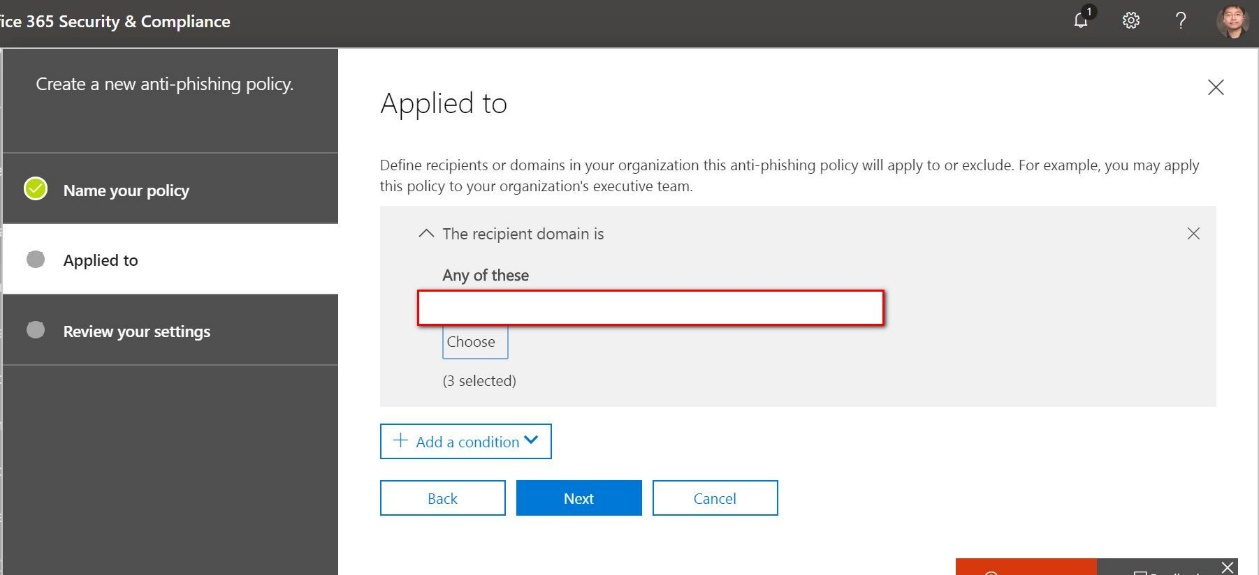
Click “Add a condition” and select “The recipient domain is” so that you can add all your own domain into your ATP policy.
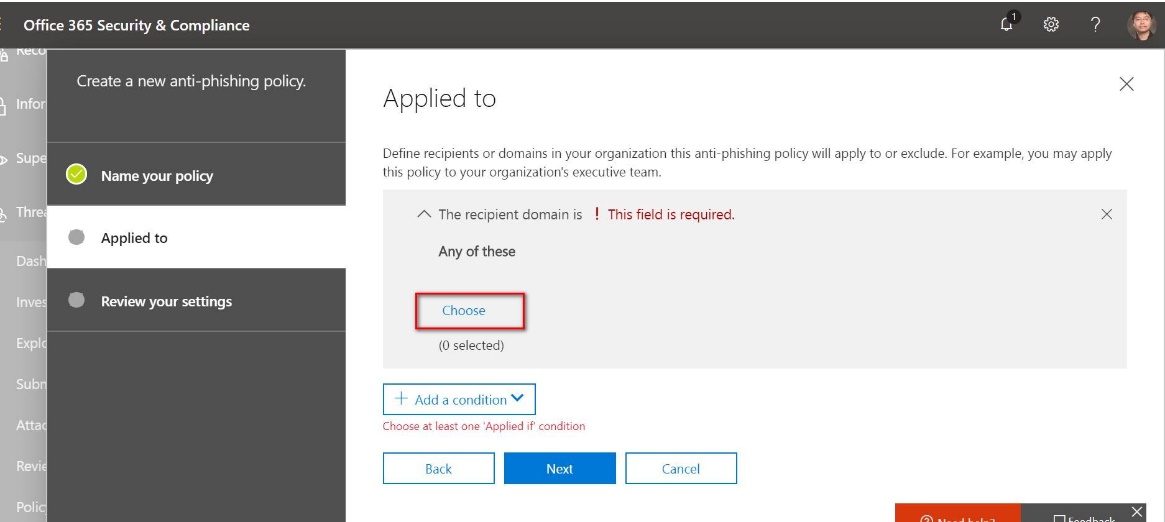
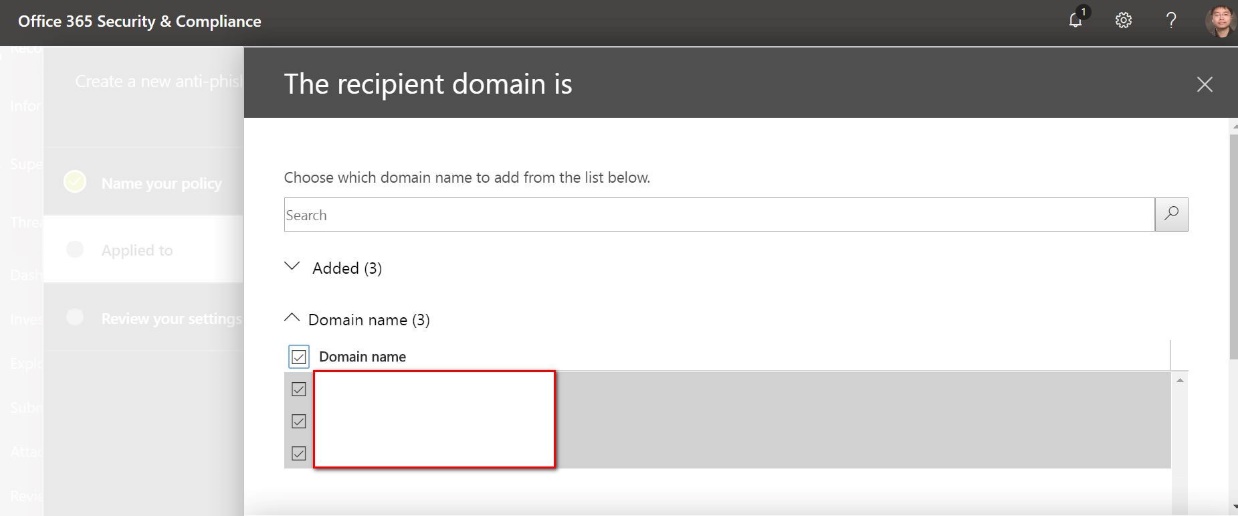
Click “Choose”.
Click “+ Add”.
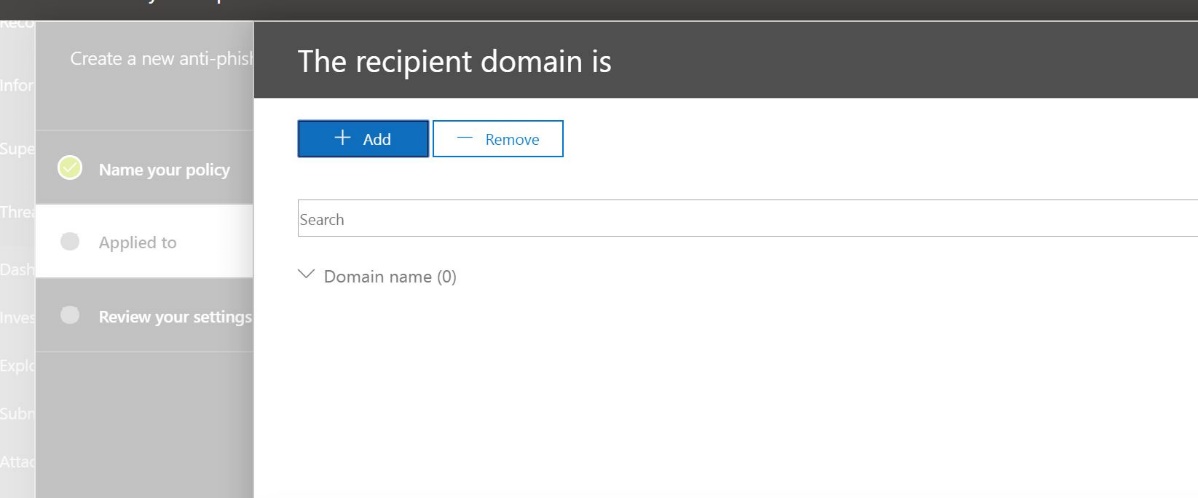
Then select all the domain own by your Office 365 tenant.
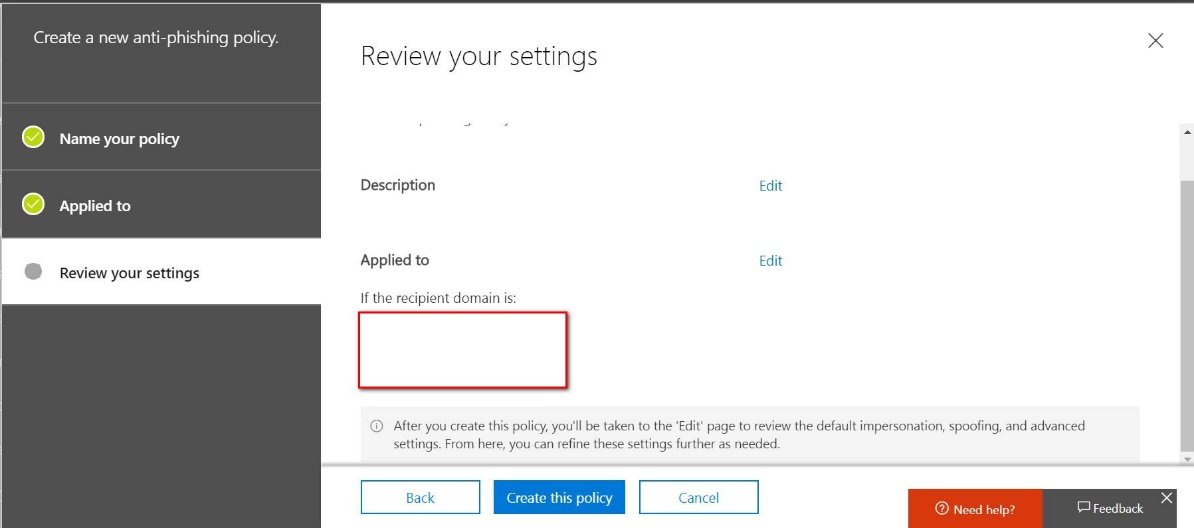
Click “Next”.
Click “Create this policy” and you can keep setup the advance setting on this policy.
Double click into the customize policy you just create.
Click “Edit” in the Impersonation setting.
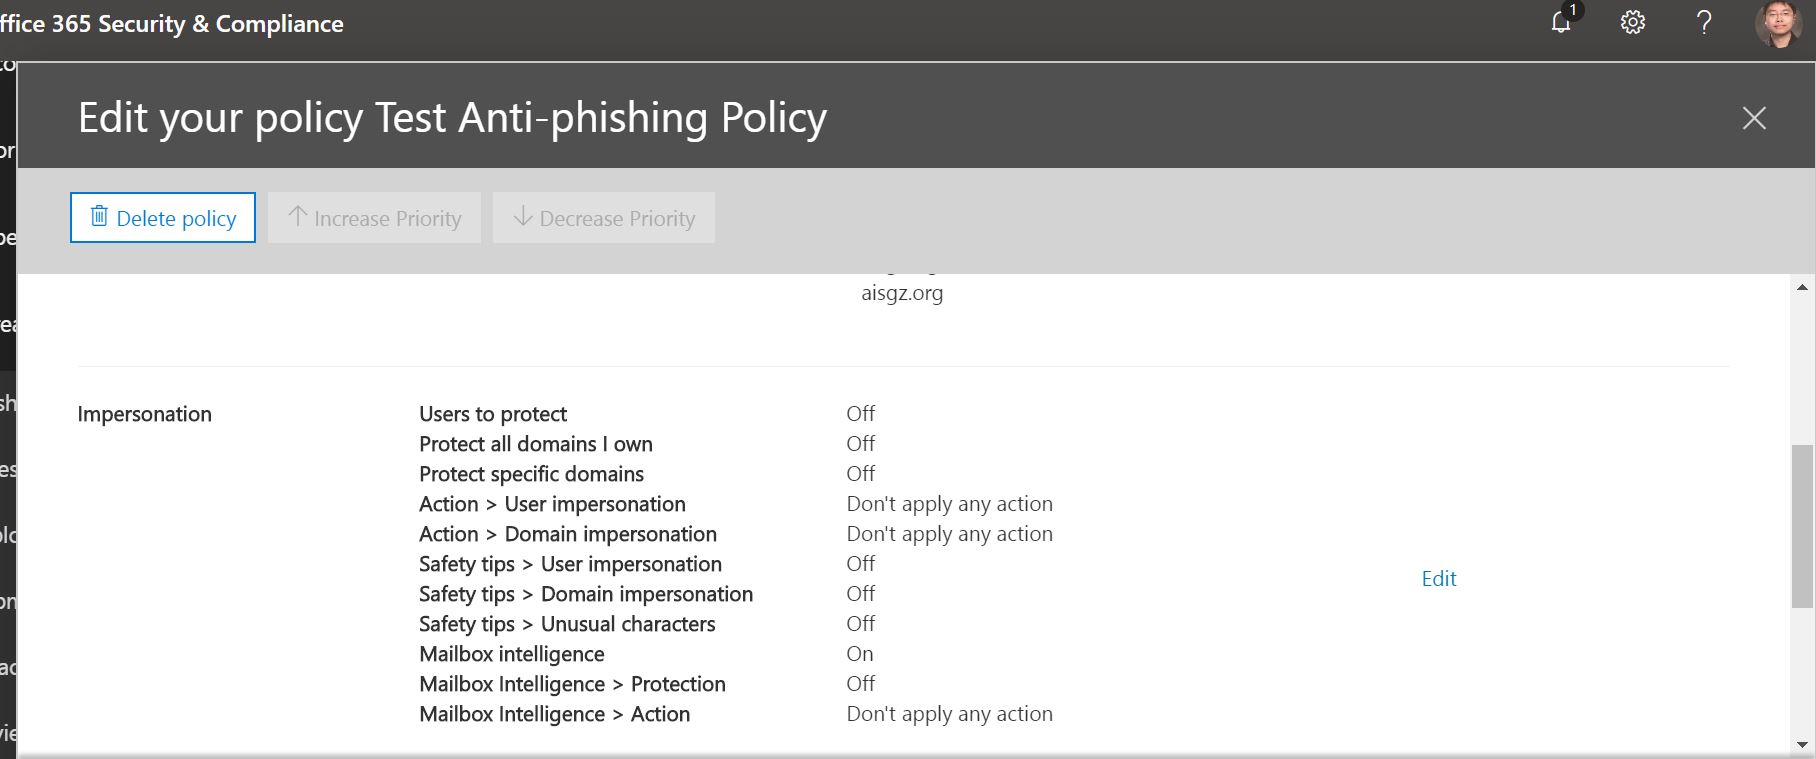
Click Add User to add all the VIP user you want to protect. If you want to understand more detail relate to this, pls check with the link below:
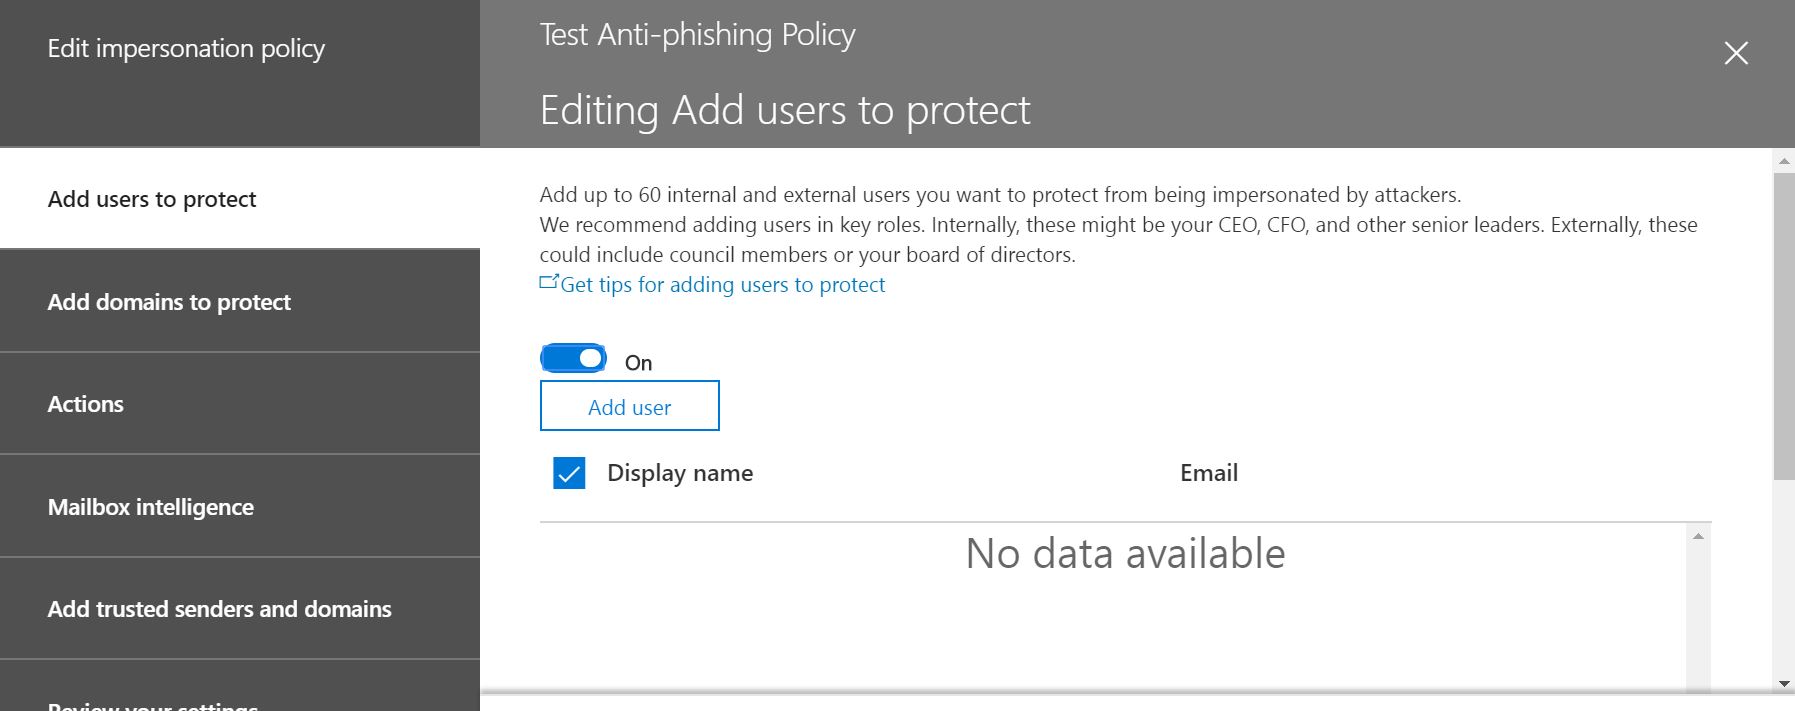
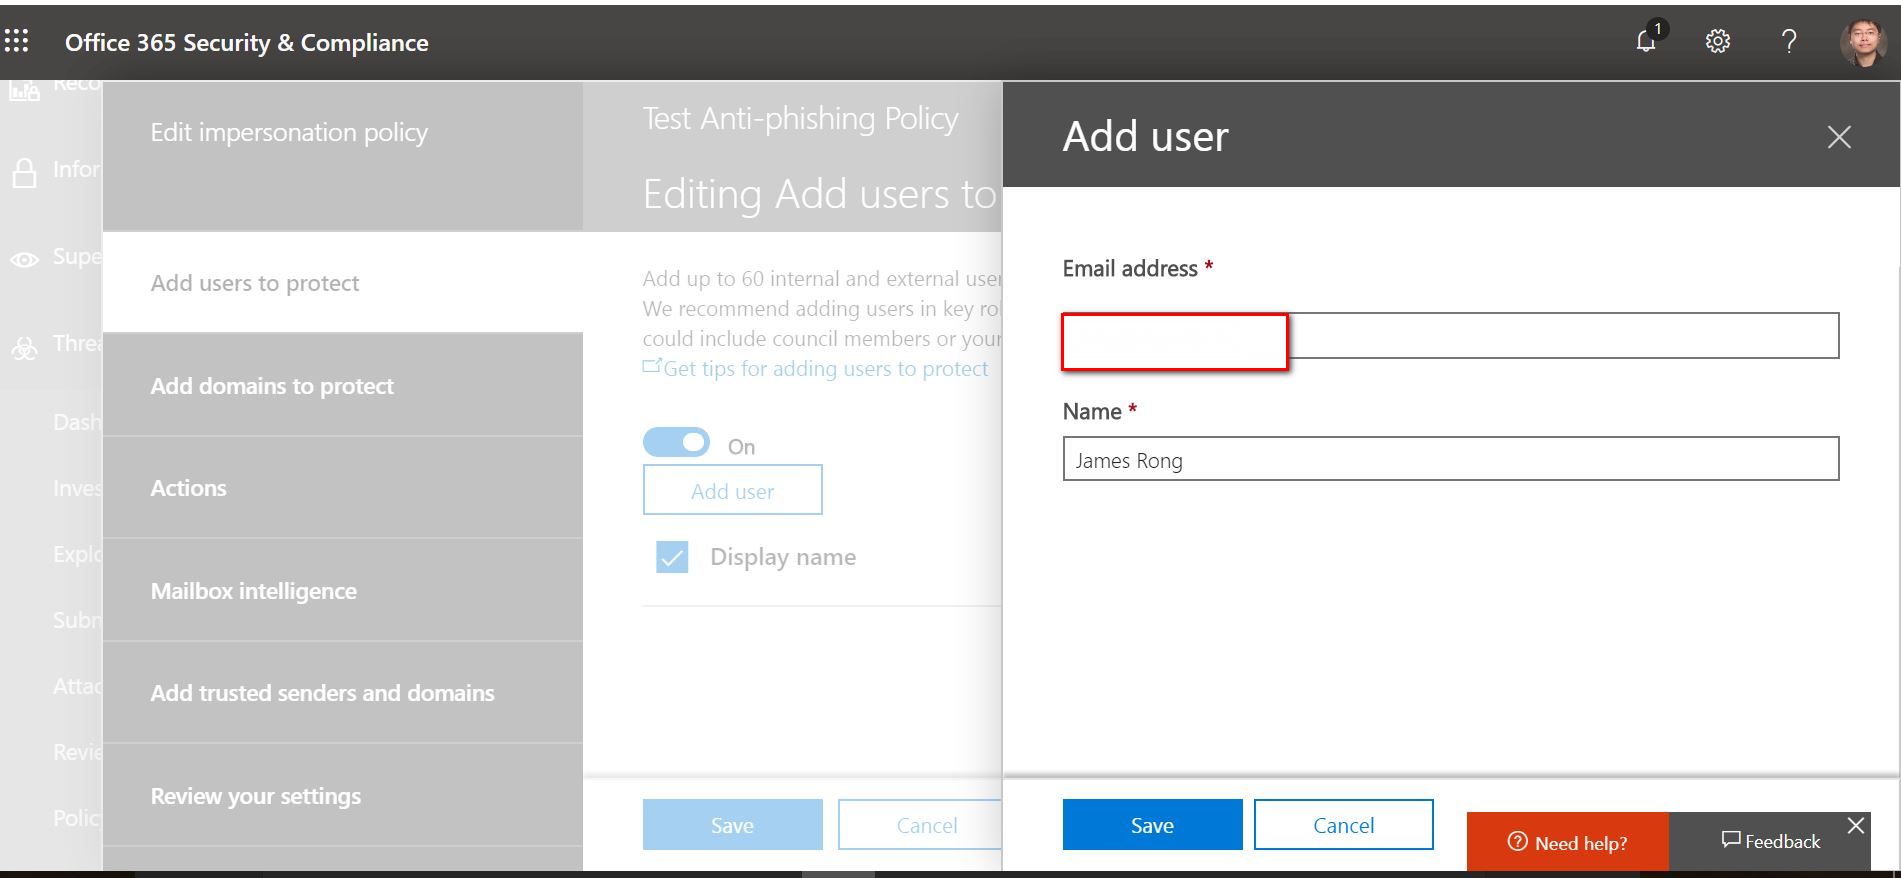
Add the VIP user one by one and click “Save”.
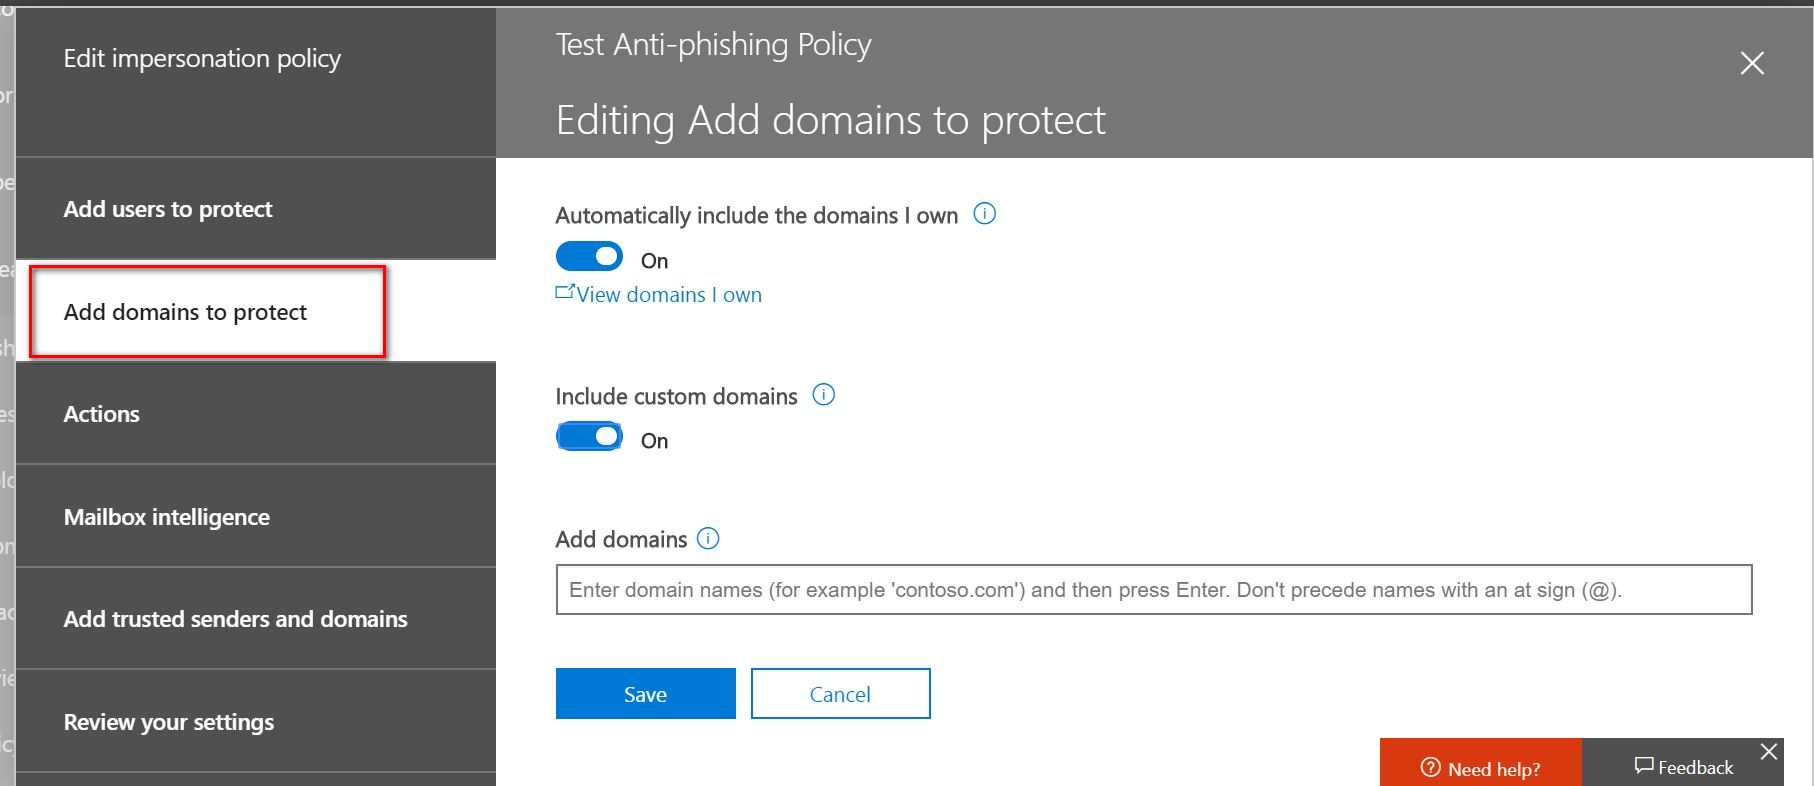
Click into “Add domains to protect” and turn on the “Automatically include the domain I own” and “Include custom domain”. After or, Add your custom domain in the blank filed.
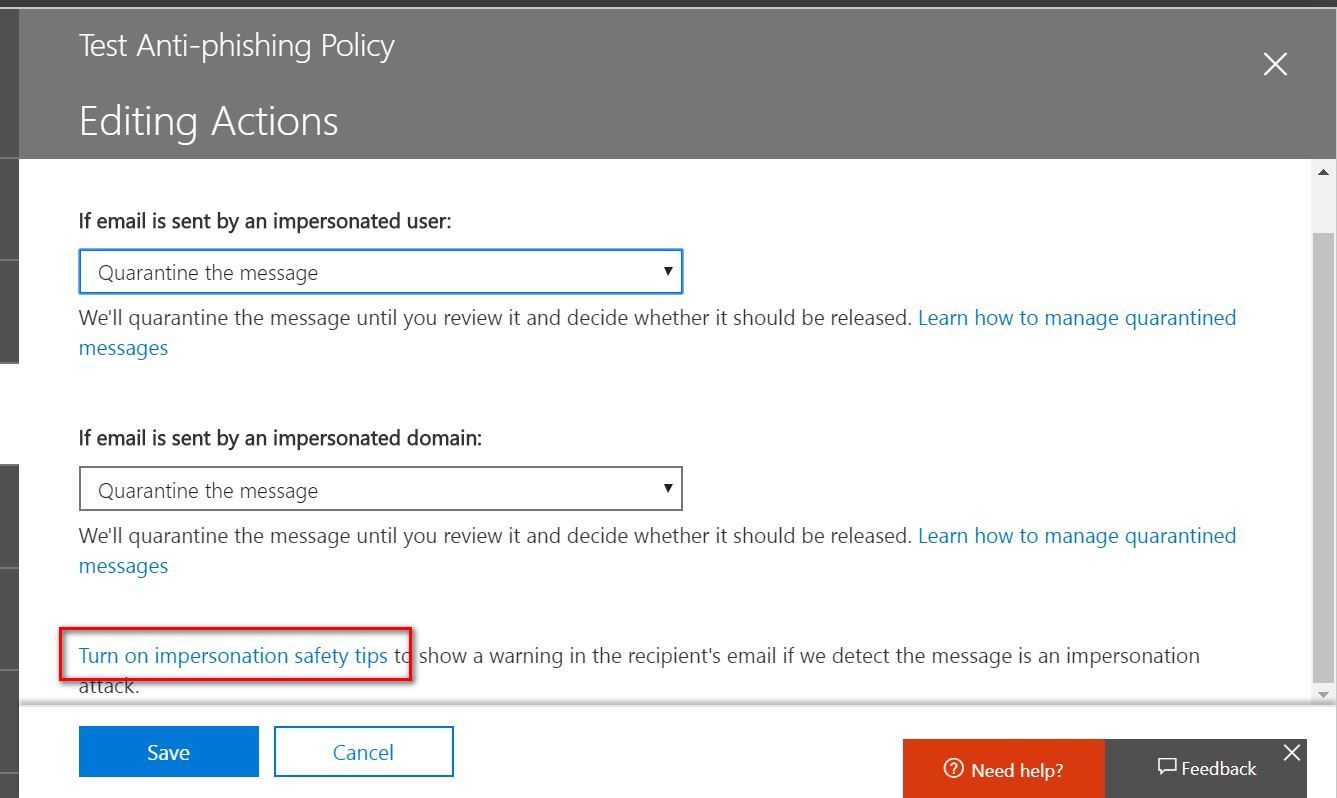
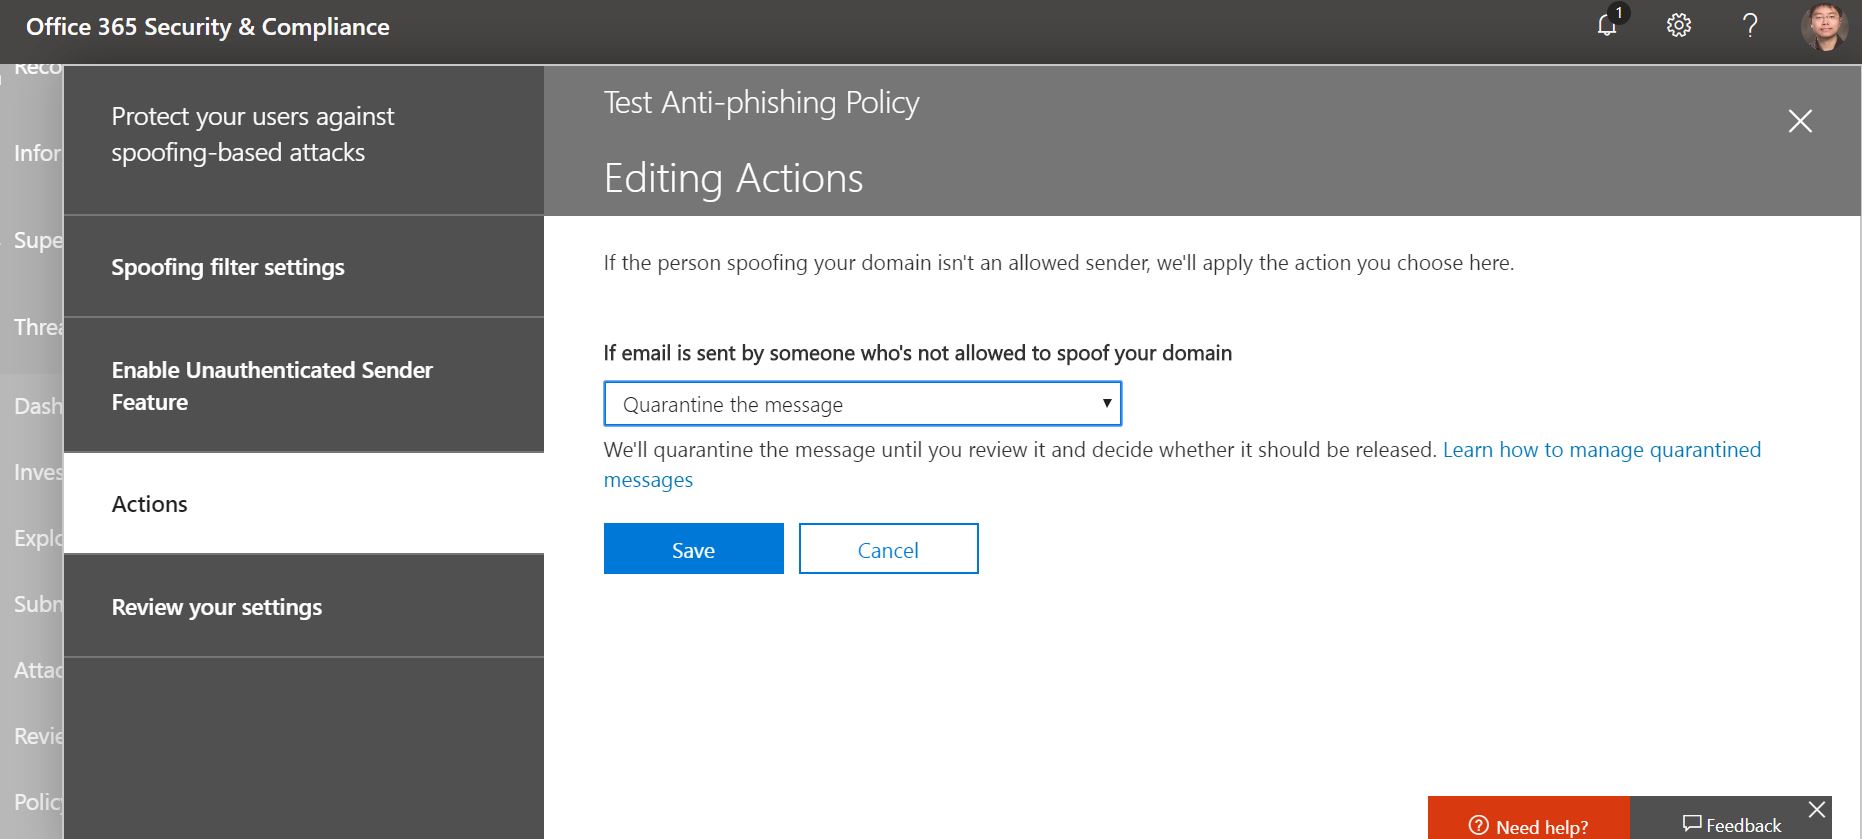
Click into “Action” and choose the action you want to take if your email is send by impersonated user or domain. I suggest choosing “Quarantine the message”. If you want to know more detail between different action, feel free to check with this link below:
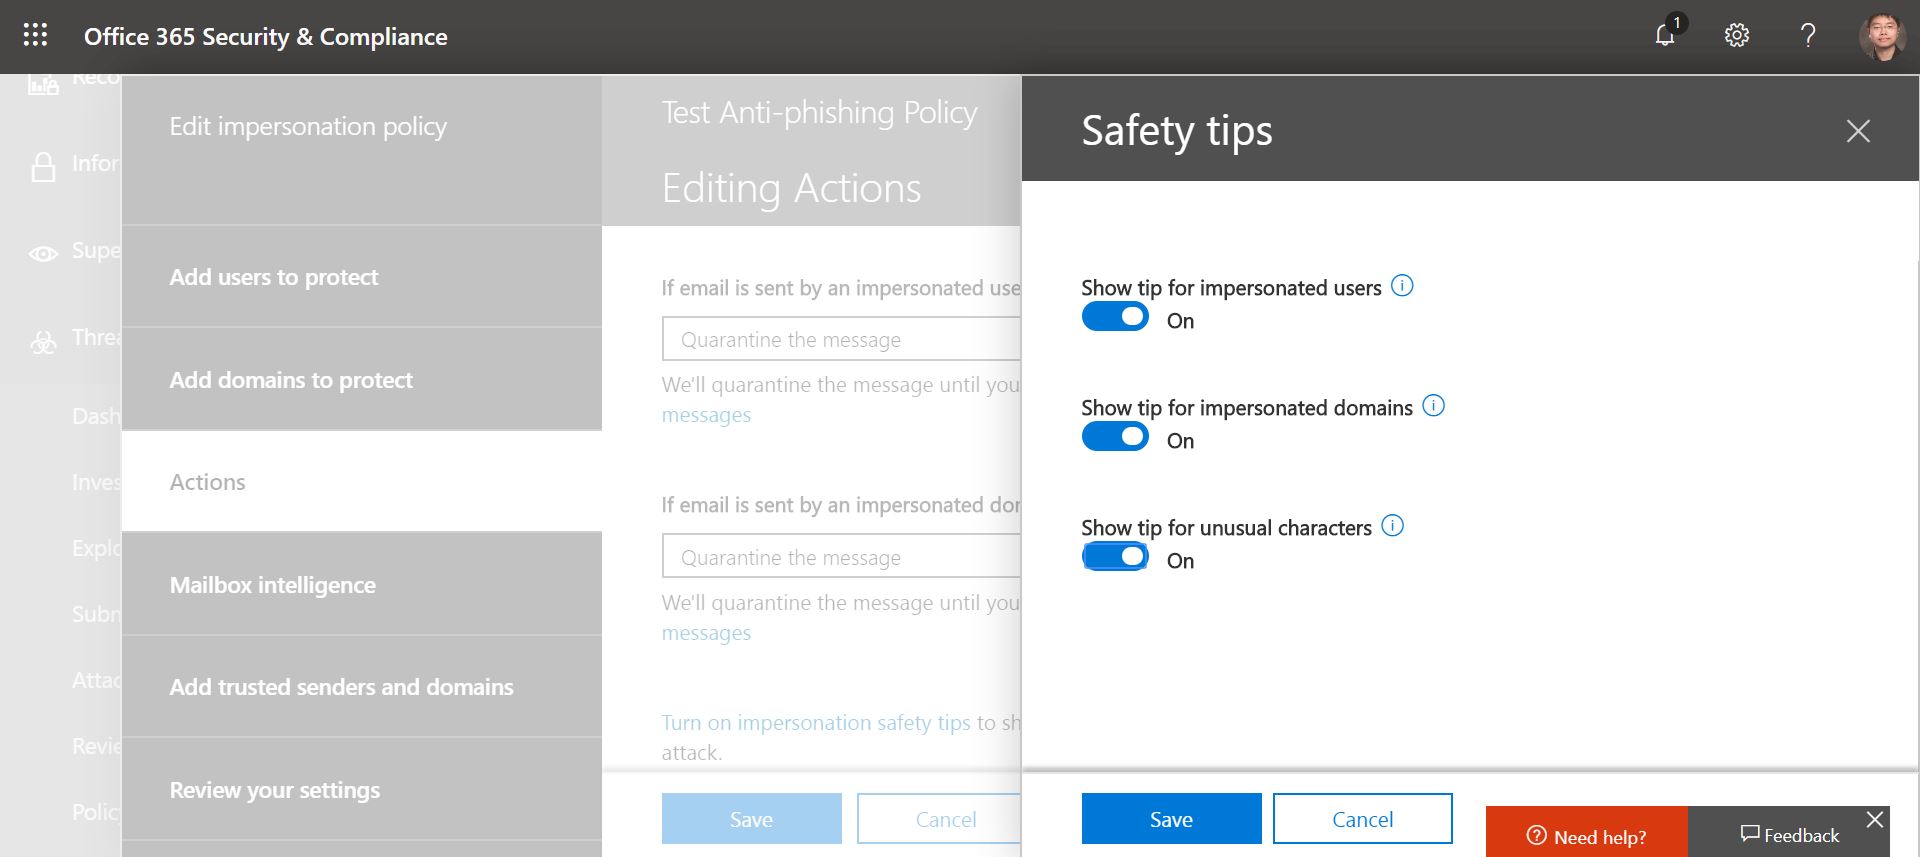
Meanwhile, Click into “Turn on impersonation Safety” like the screenshot below:
Turn one the following setting.
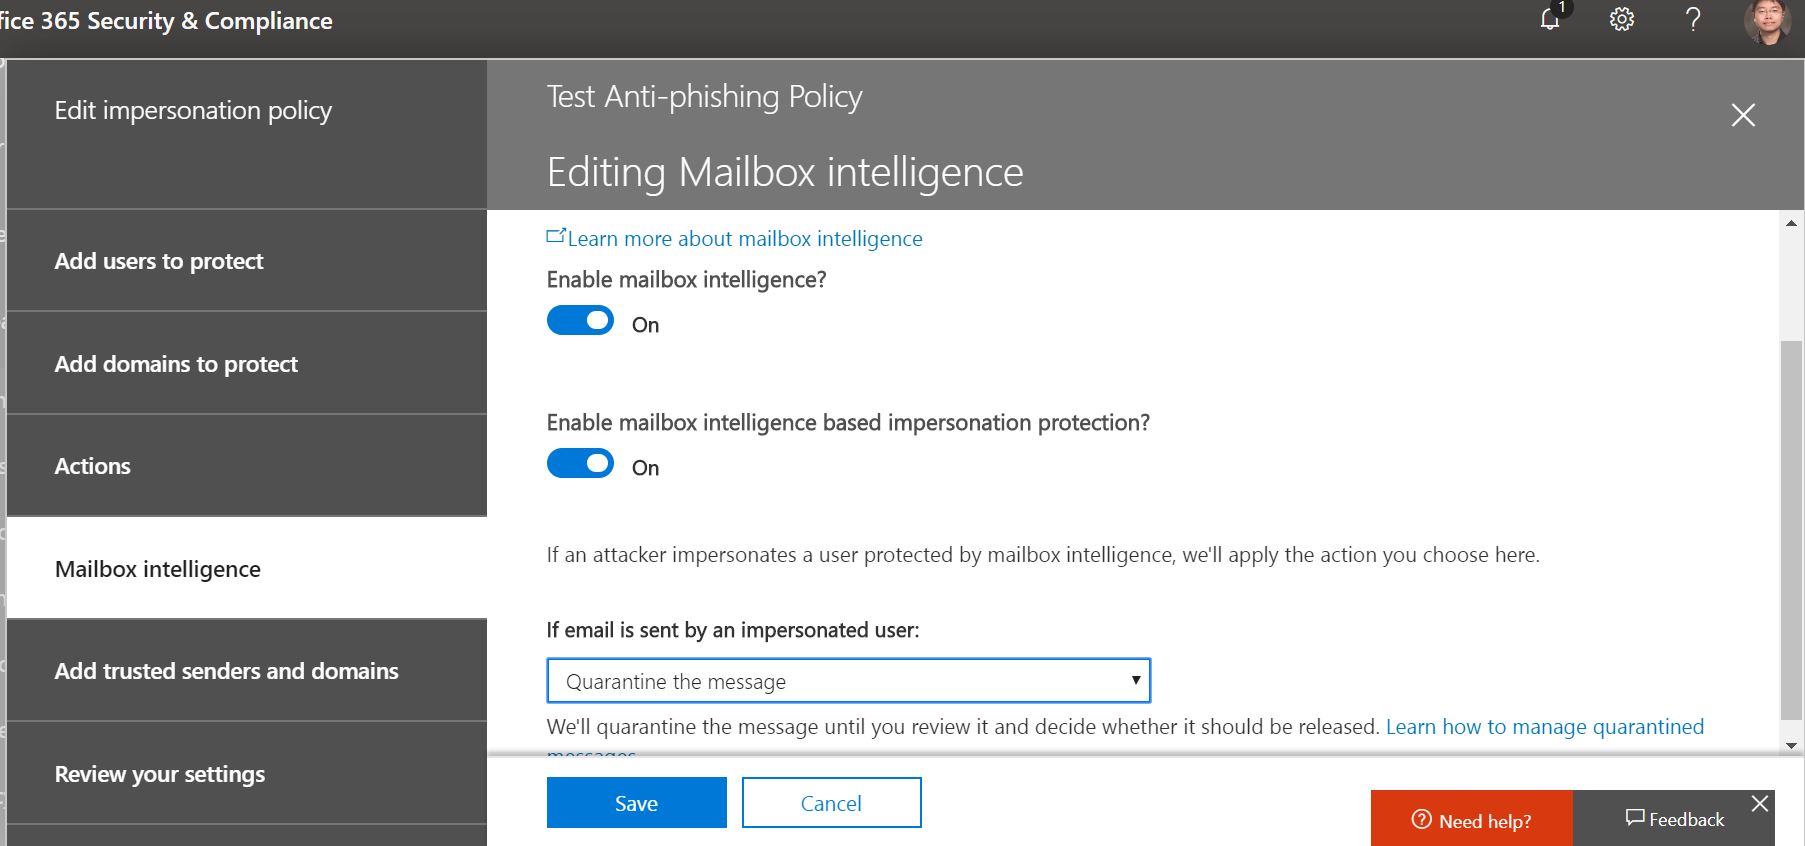
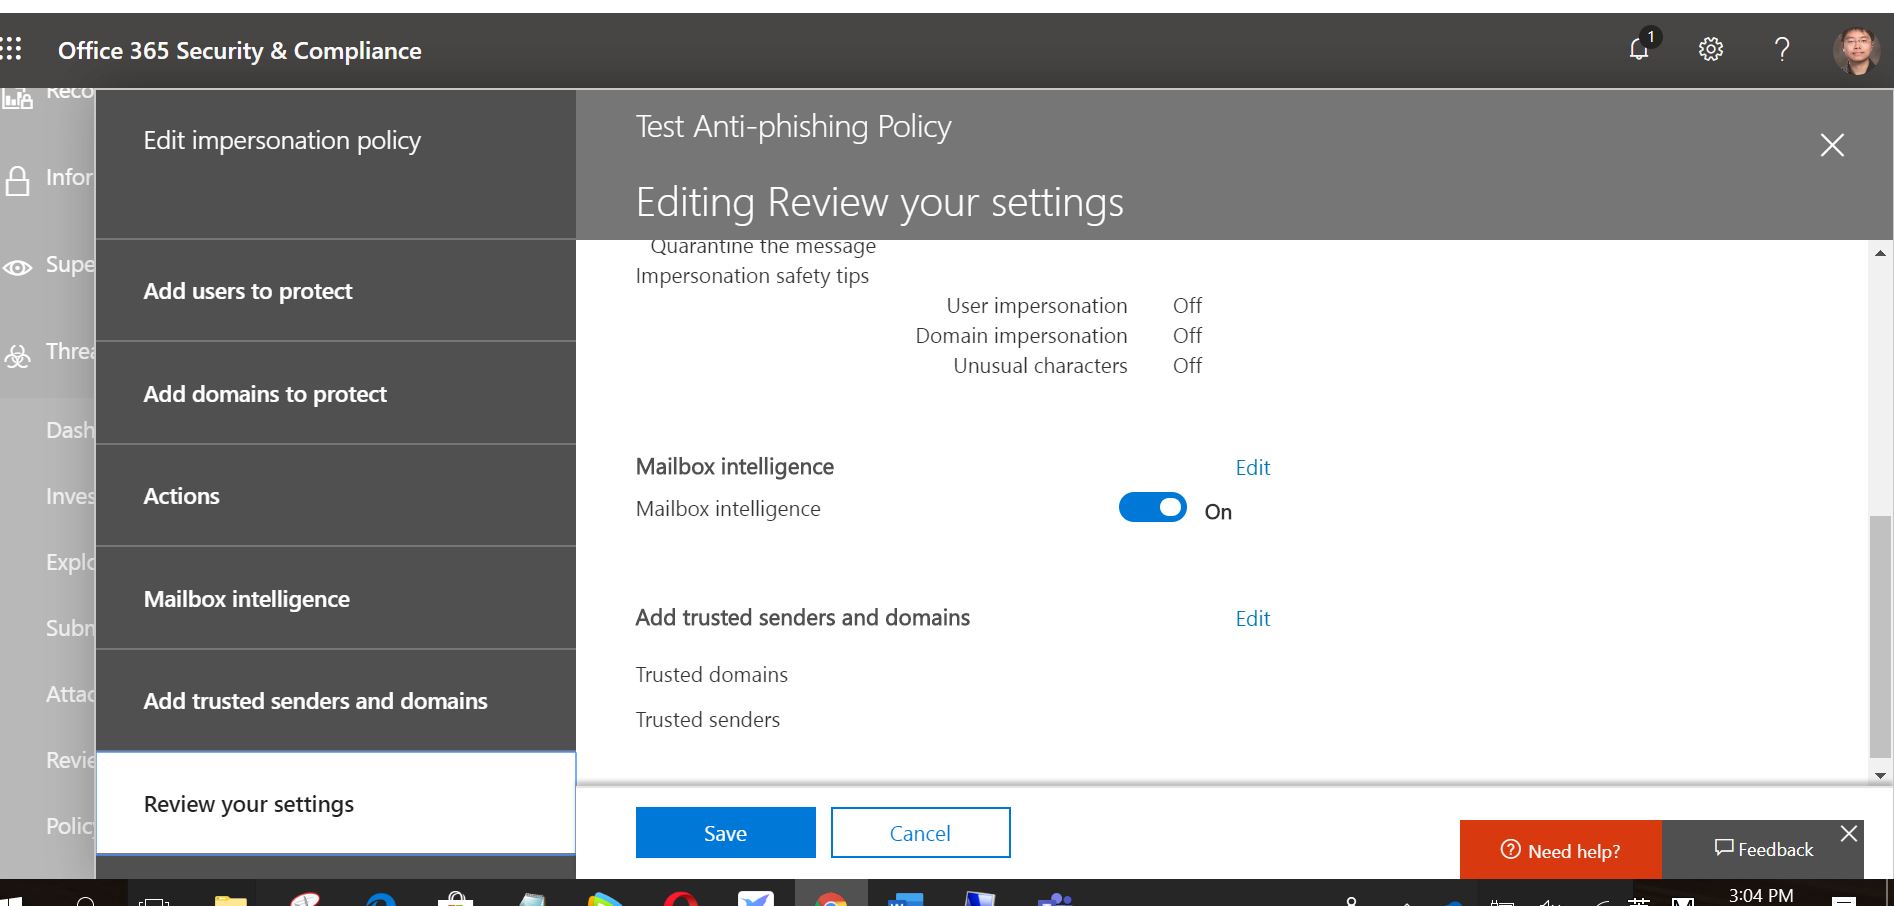
Click into Mailbox Intelligence and save the setting like what I show on the screenshot.
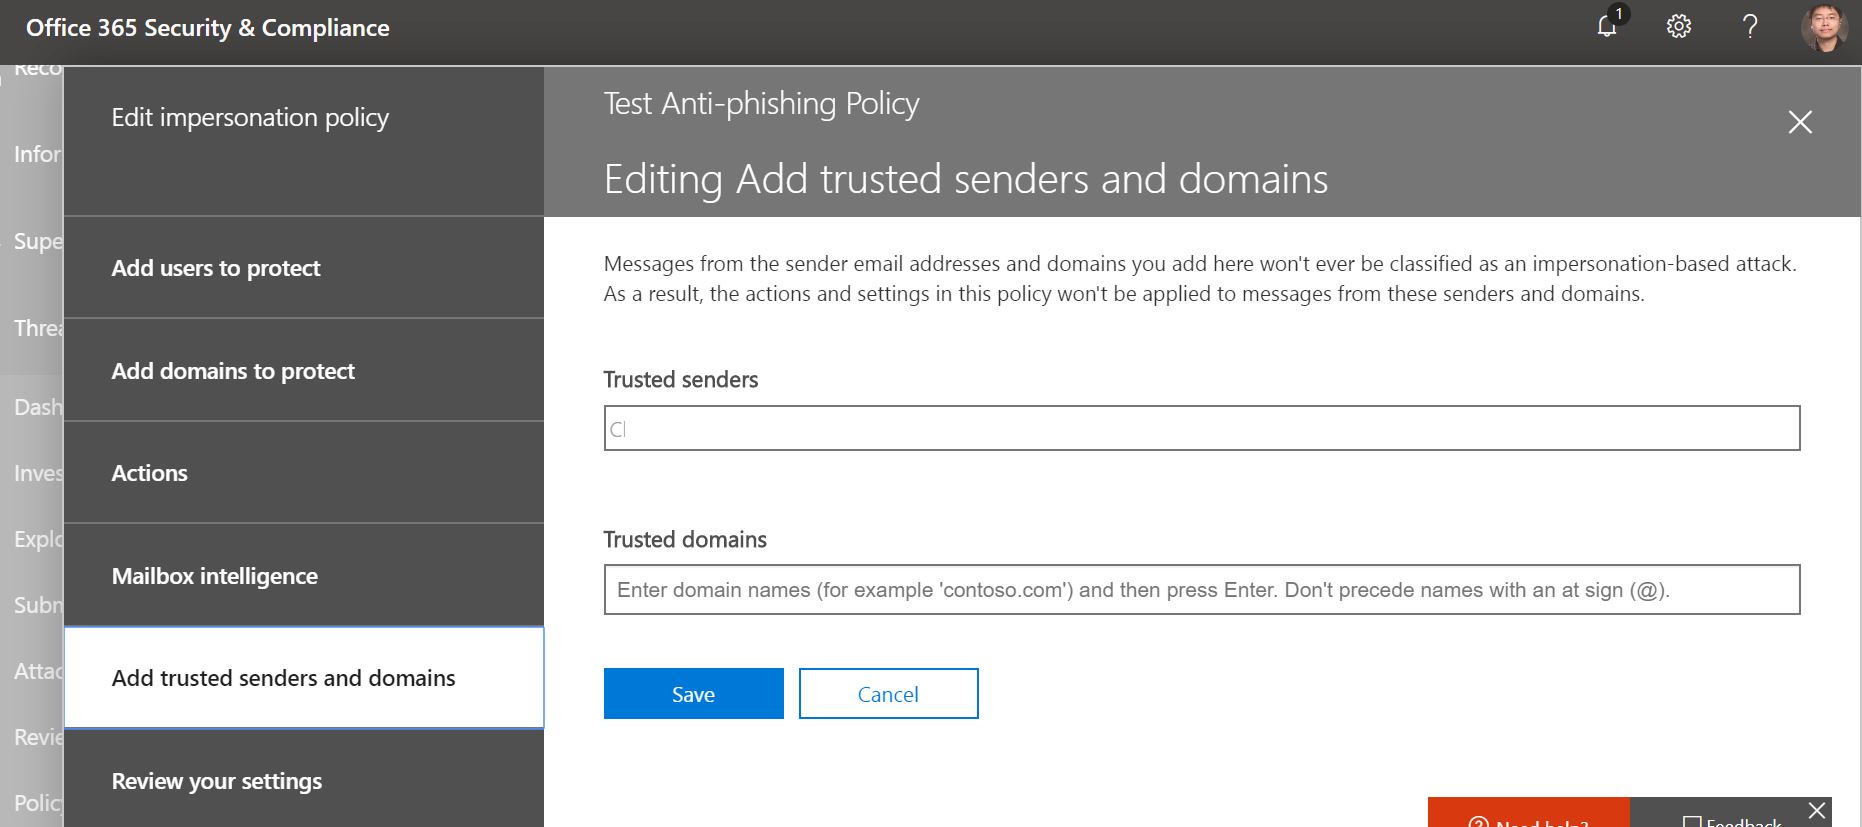
Under the “Add Trusted senders and domain”, add the personal email address below to all the VIP user you add into the protect list before. In this case, their personal email won’t be blocked by mistake. However, I still prefer to have some agreement setup for school, we can add the VIP personal address in here so that they can transfer some email for school, but everything which relate to school business should come out from their school email address, not from their personal email address.
Review all the setting your deploy before you save it.
Click “Edit” in Spoof.
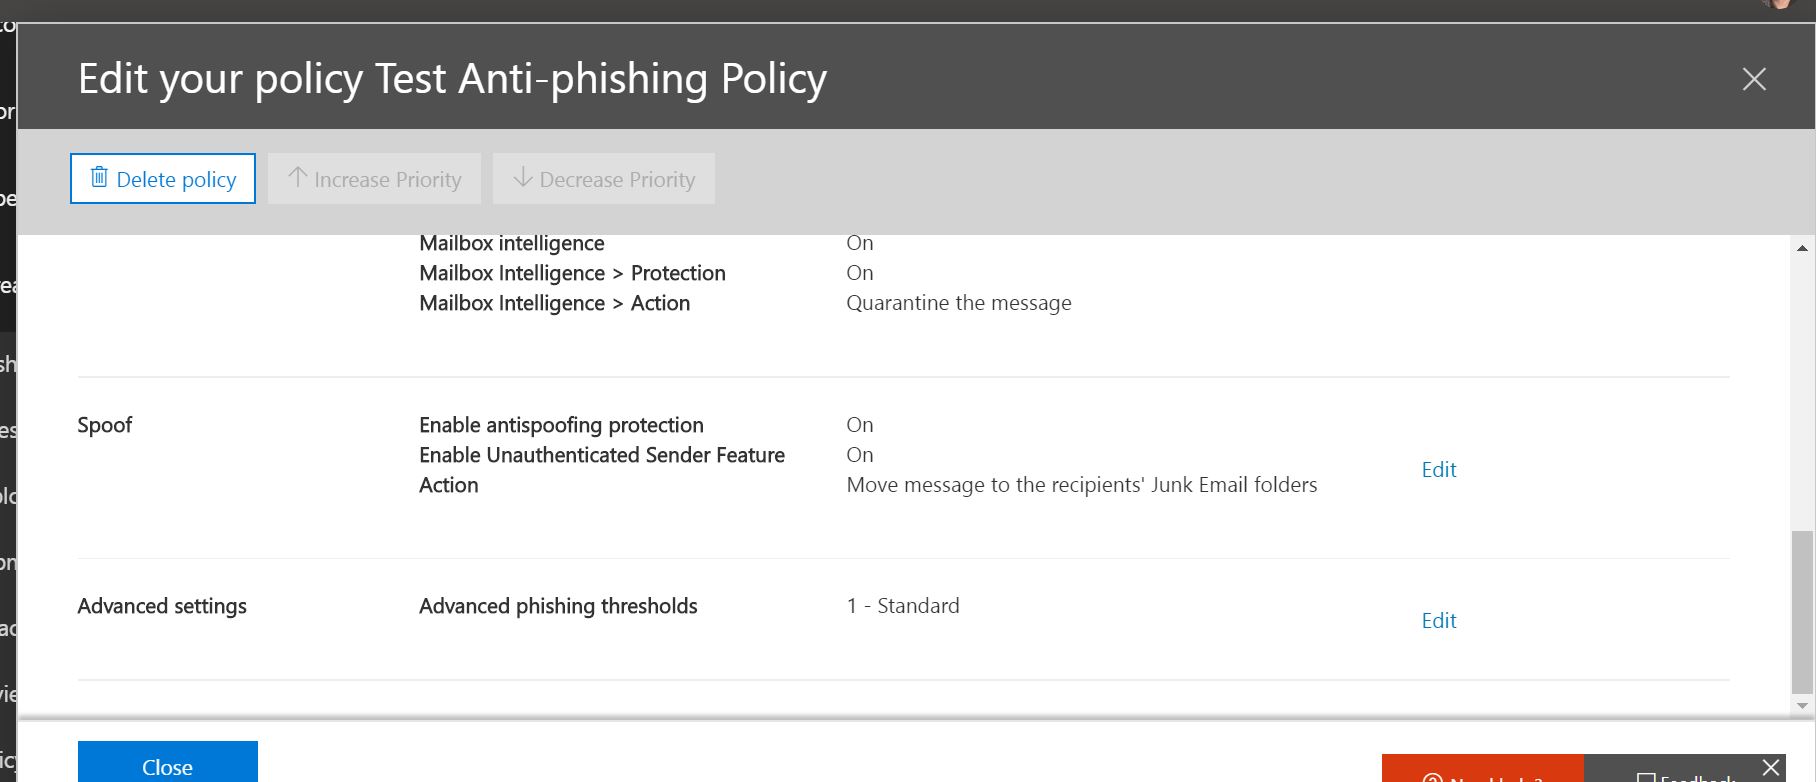
Choose “Quarantine the message” and click Save.
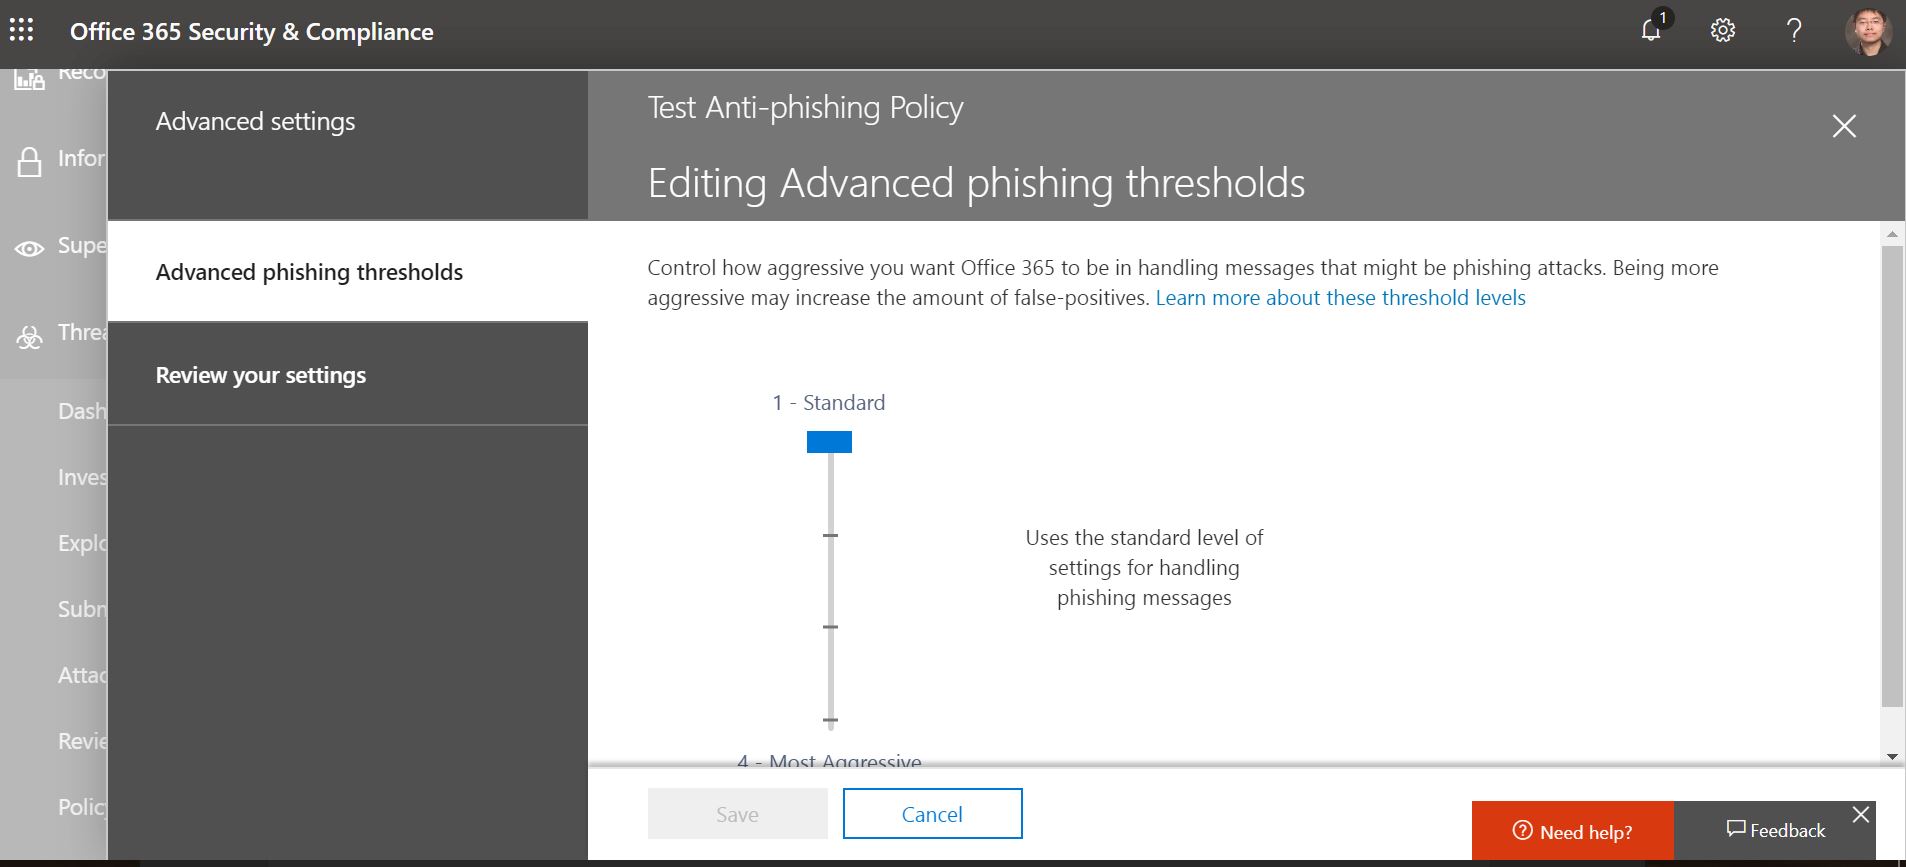
Click into the Advance setting on the ATP policy and choose the level of handing phishing email here. I personally suggest to choose standard start from the beginning and click Save.
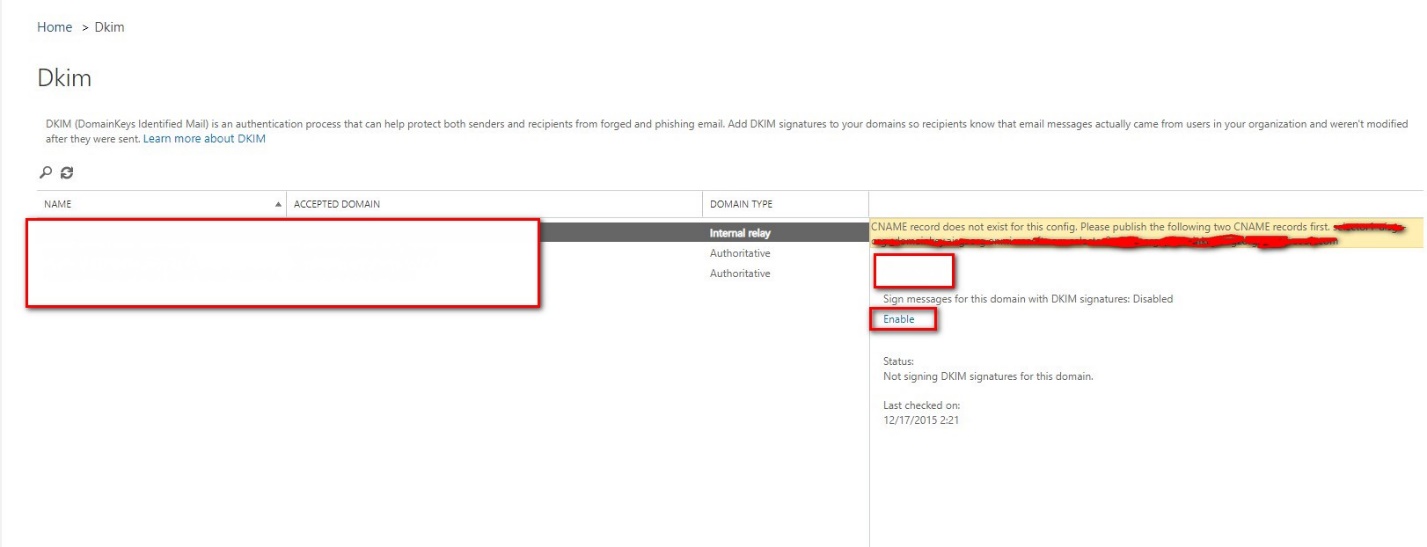
You should finish to setup ATP anti-phishing policy now, I will told you how the setup the rest policy on my next article later. Meanwhile, I found that some of my friends haven’t add the DKIM on their tenant. So make sure to add it so that you can got a more security email system. You can find the DKIM setting from the screenshot below and double click in it.
You will find your domain under that list and double click into the domain you own, you will find there is a noted show on the right hand side and ask you to add two CHAME name on your DNS server. So pls add the record show on your noted to your DNS server. (As everyone running different kinds of DNS solution, so I won’t show how to add CHAME record anymore, but it is very easy, right?) After all, click “Enable” then you will finish setup the DKIM on your tenant. If you want to understand more about the DKIM, feel free to check with the following link below: