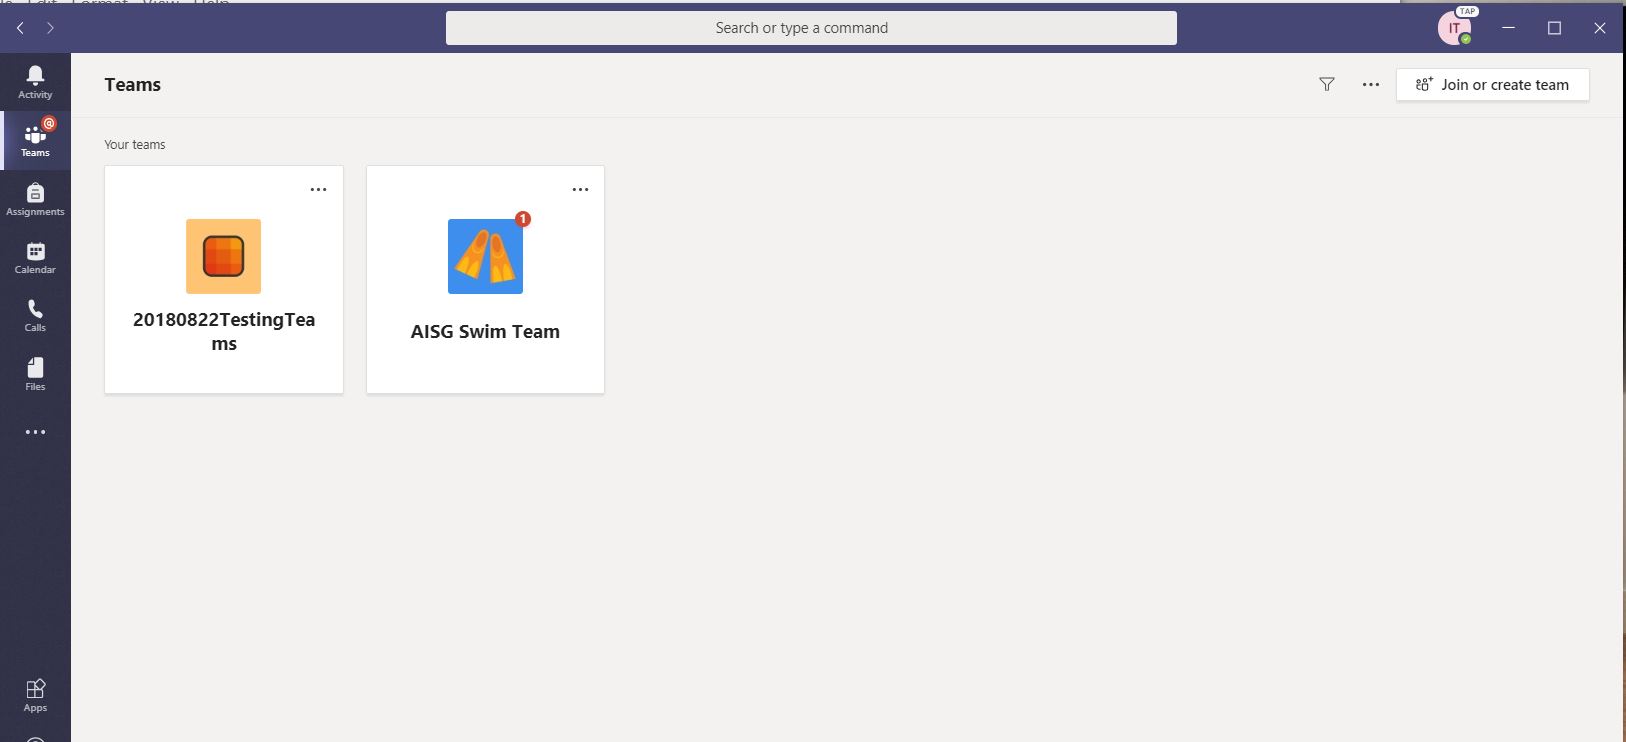
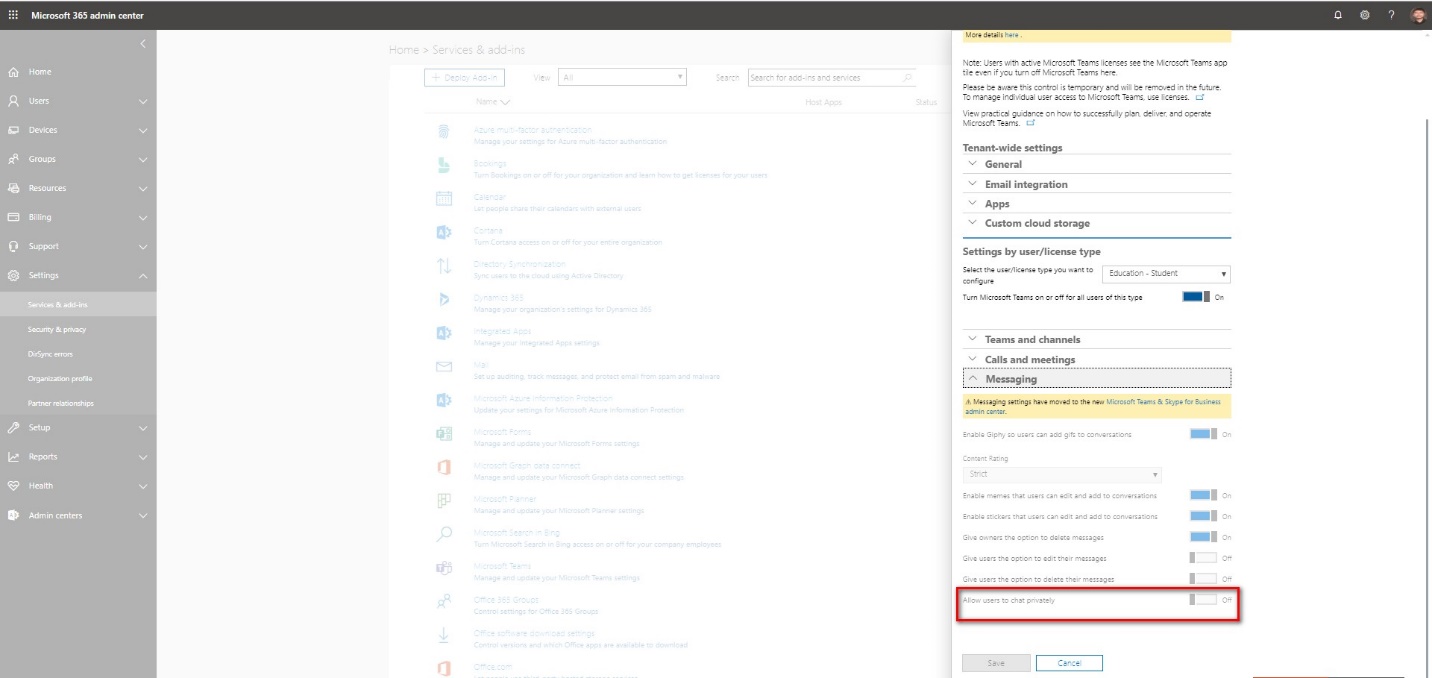
Microsoft Teams has change to the new Admin site couple months ago and we found a problem today. As we disable the private chat feature for student at old Teams admin site. But somehow we hear the teacher mention that the student’s private chat feature is show up one kids end again.
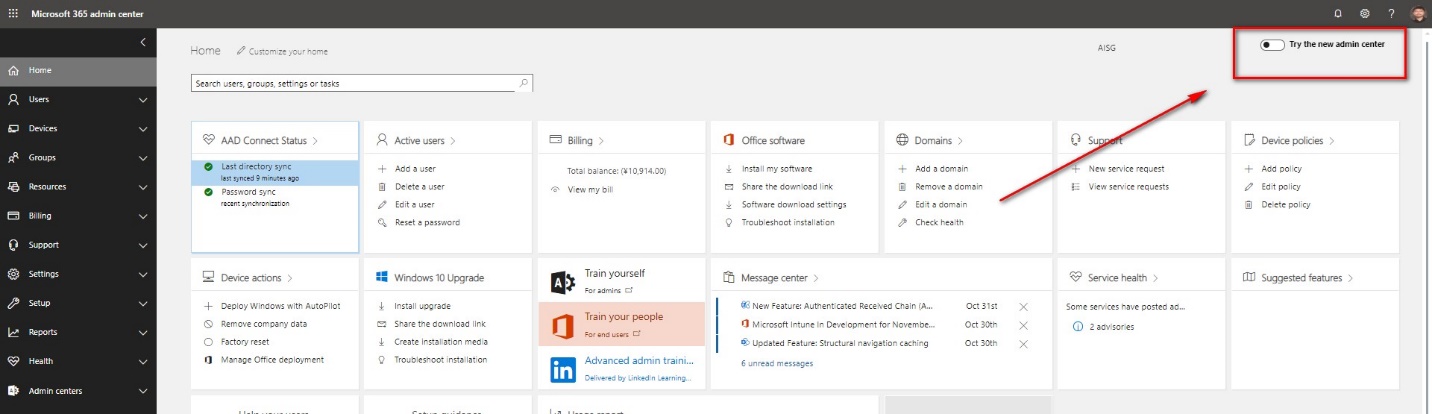
I spend sometime to debug for this issue and finally locate the problem. It seems like once the Teams admin center migrate to the new site. All the old setting we deploy from the old admin center won’t inherit to the new Teams admin center. So let’s take a look what happen. You should check on the box to change the admin view to the latest version.
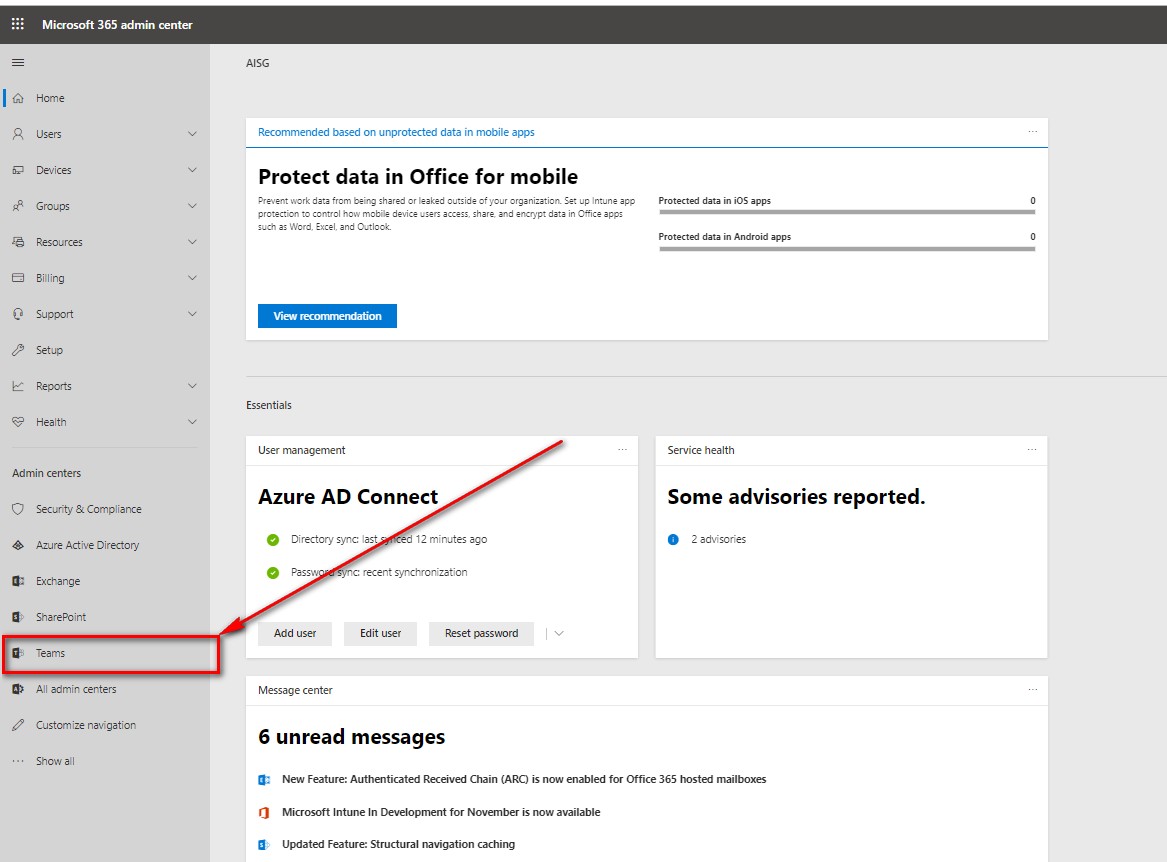
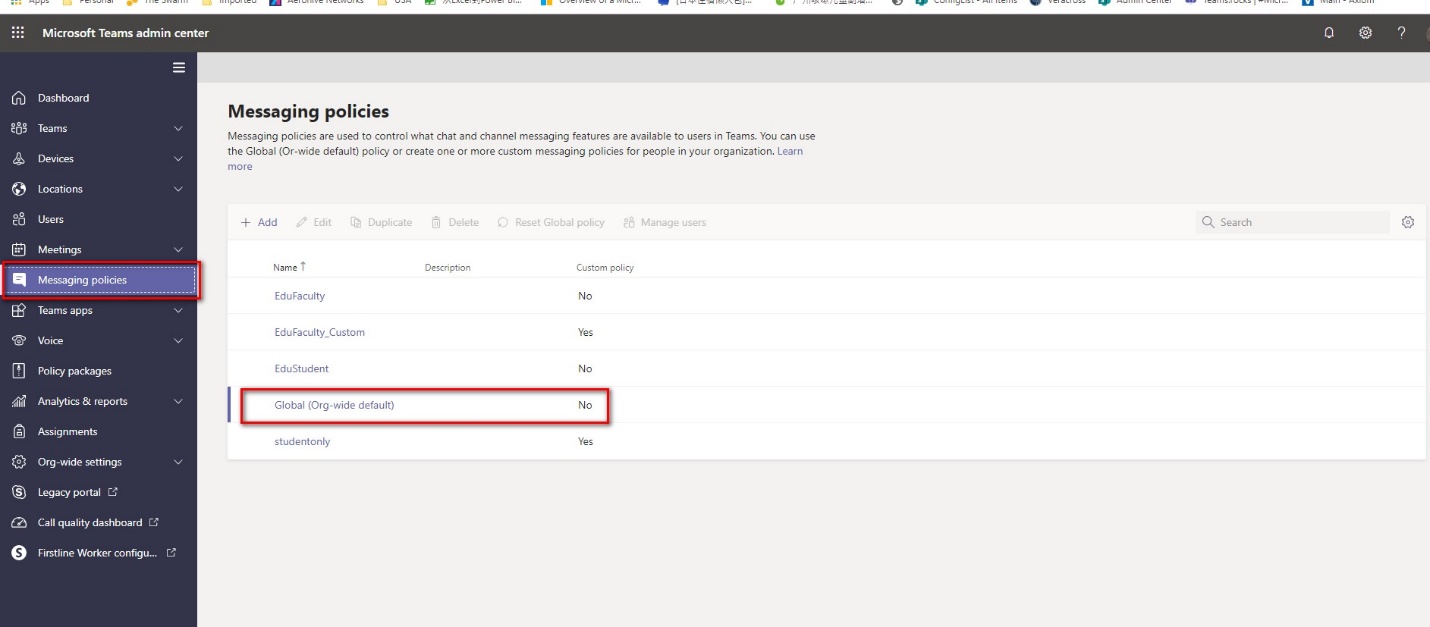
Click into the new Teams admin center like the screenshot below.
Click with the message policy like the screenshot below.
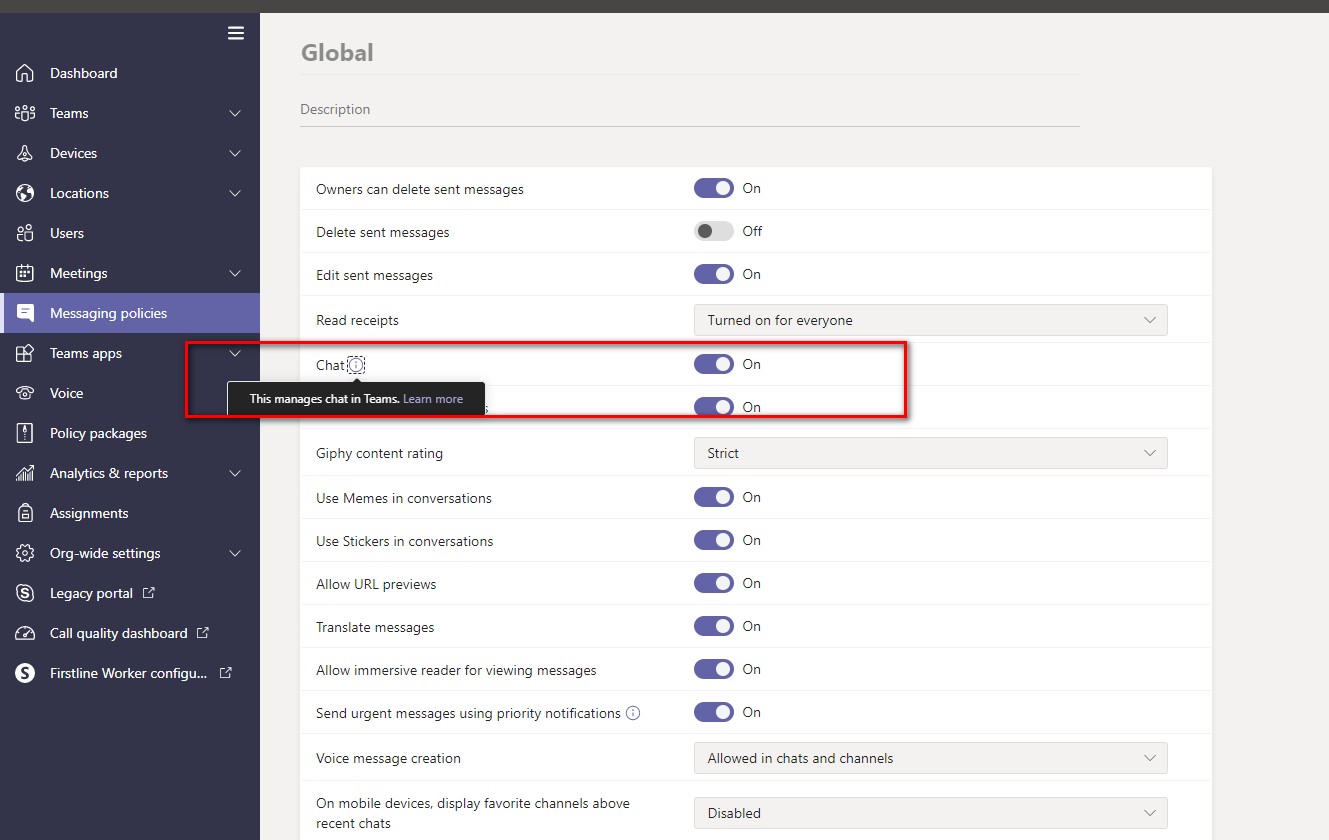
By the default, all the user is assign to the Global policy and you can see the chat feature for this policy is set to “On”. So this is the reason why our kids can have the private chat feature again.
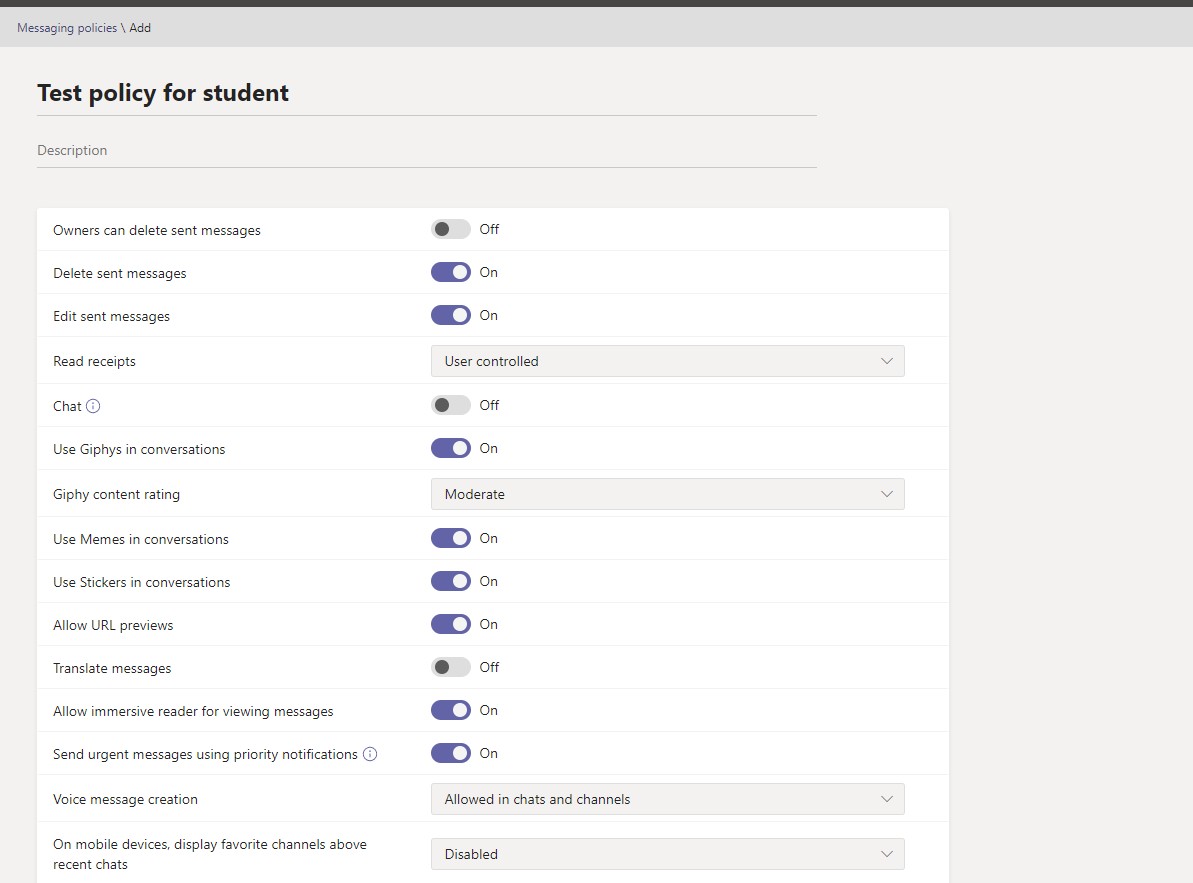
Now we should recreate a split message only for kids so we could disable the private feature for them. I create a test policy and named as “Test policy for student” and disable the chat feature for them.
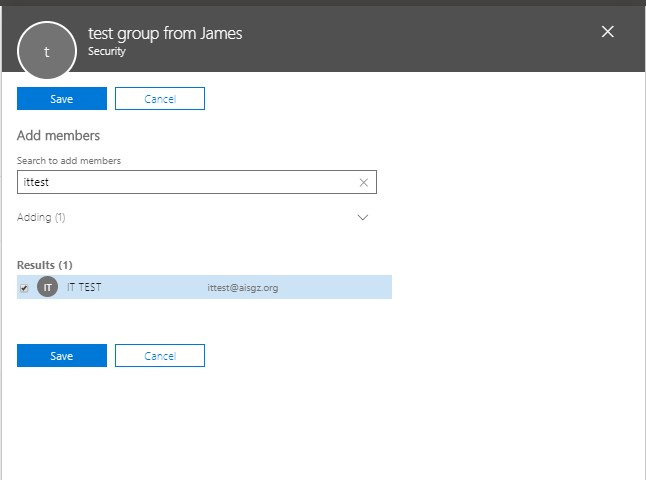
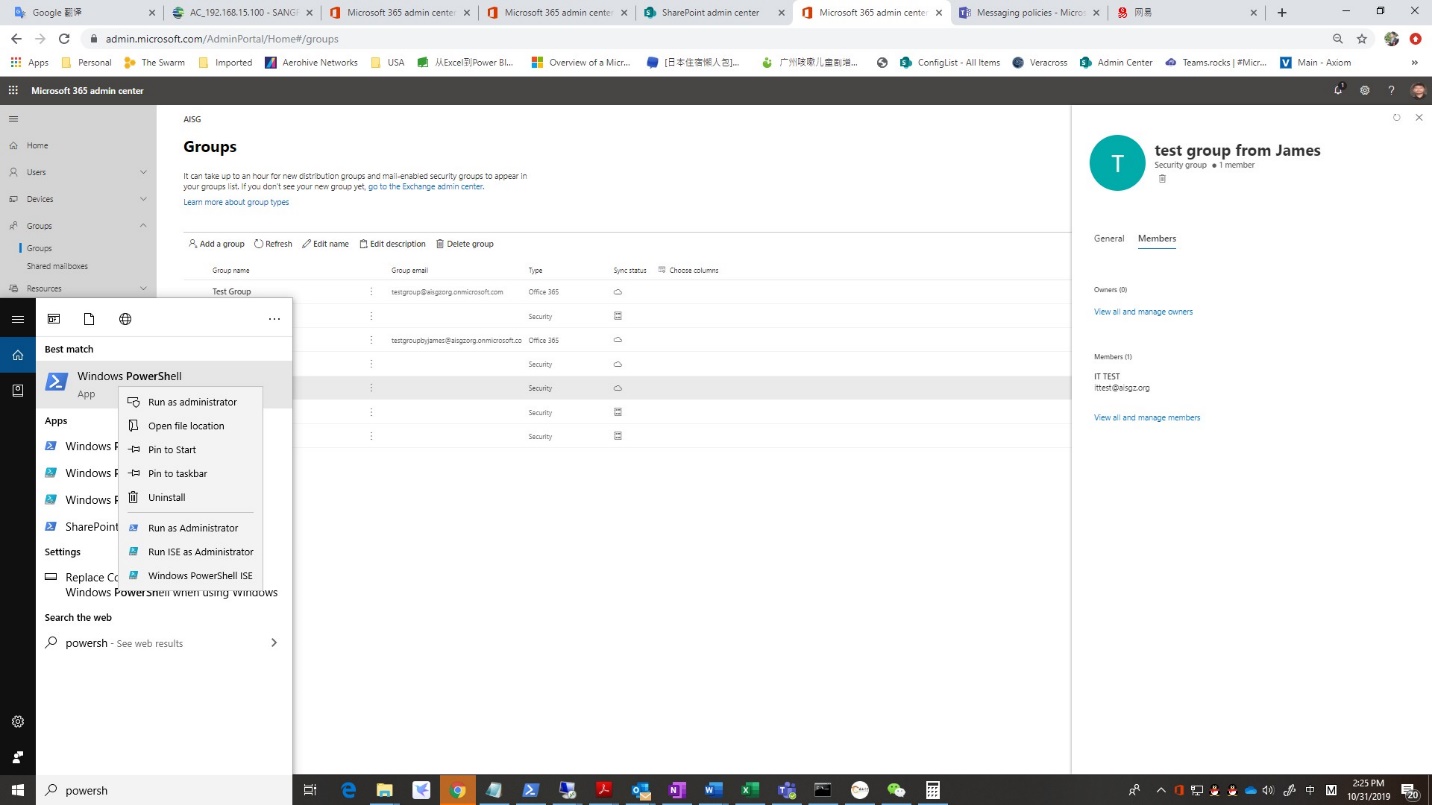
Then you need to go back to Office 365 Admin site and create a security group like the screenshot below.
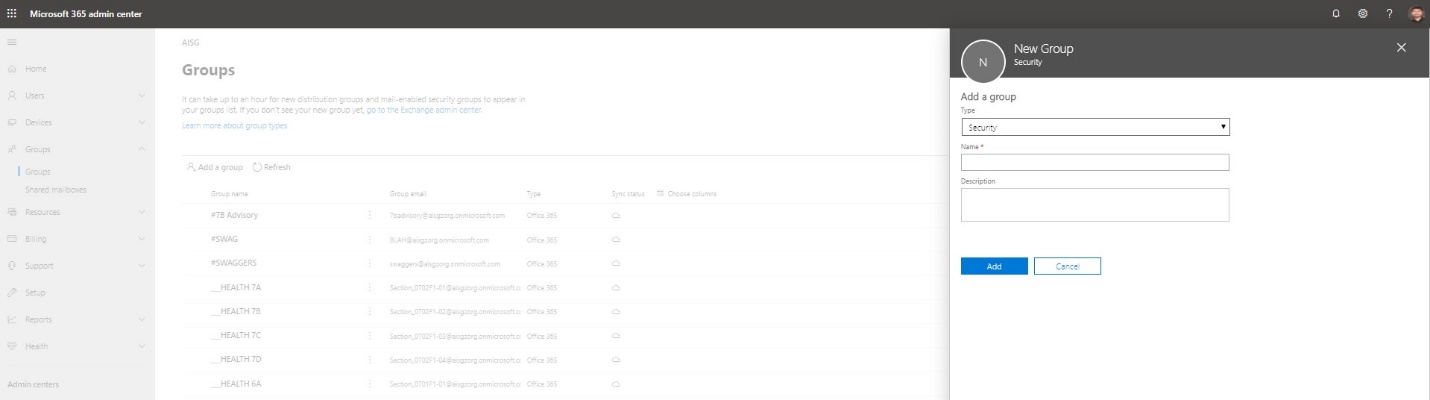
Add the student you want to disable the chat feature for Teams in this security group. Note: You can not only add the student account but also can add the AD group into the Office 365 security group. In this case, you will find a easy method to add large group of users in the security group.
Now we should use the powershell to assign the message policy we create from Teams Admin center to this security group. Open the powershell as the administrator.
Type the following command to connect to your Azure AD.
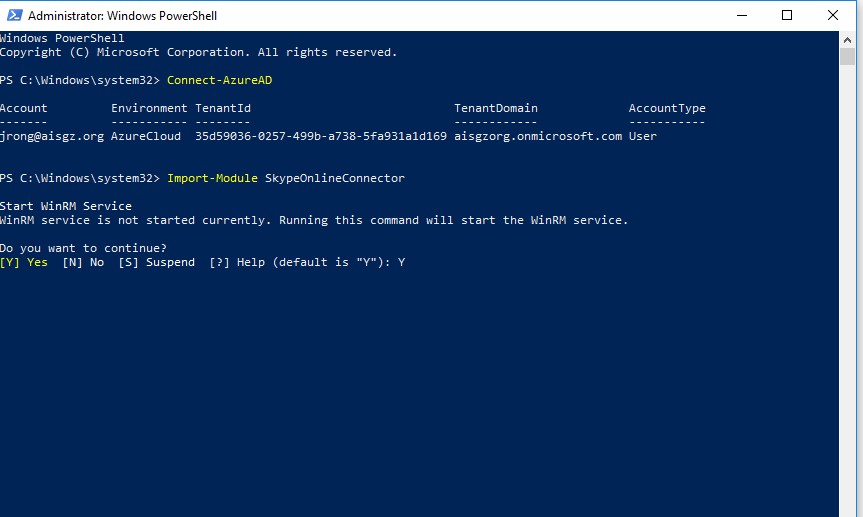
Connect-AzureAD
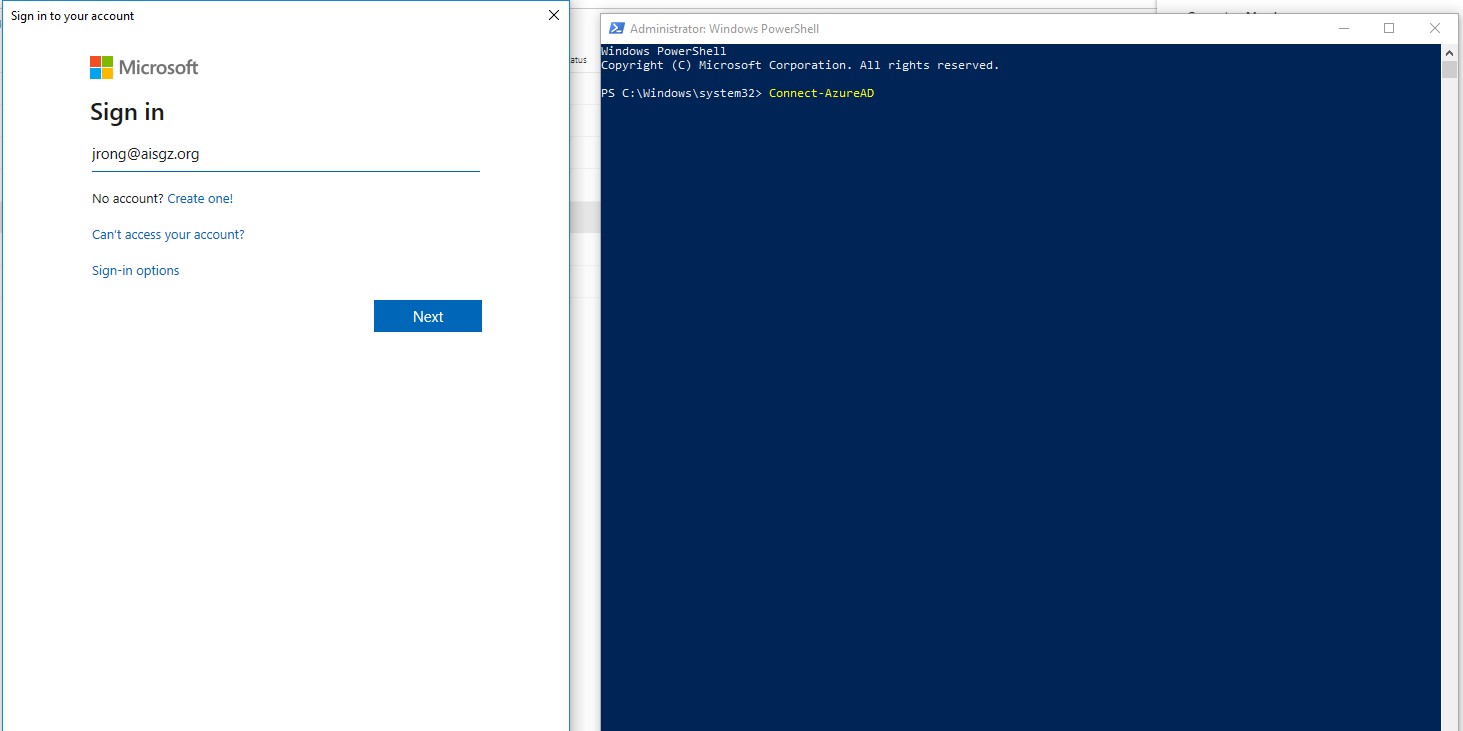
Import the skype module with the following command and Select Yes.
Import-Module SkypeOnlineConnector
$credential = Get-Credential
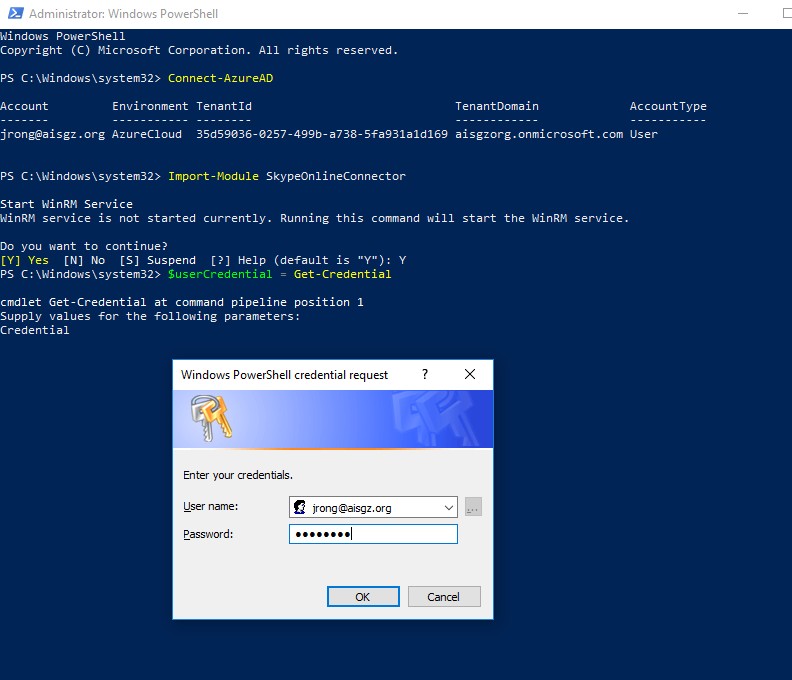
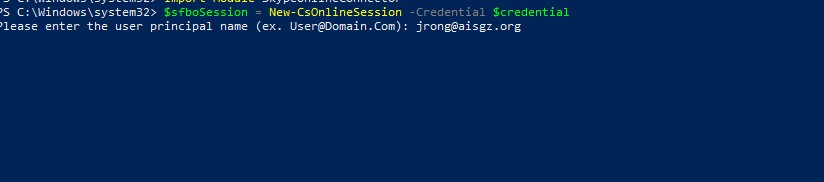
Type the following command and login with your Office 365 admin account.
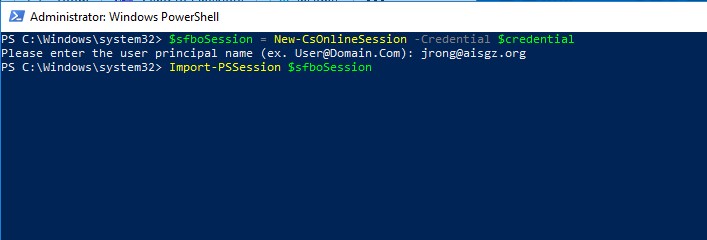
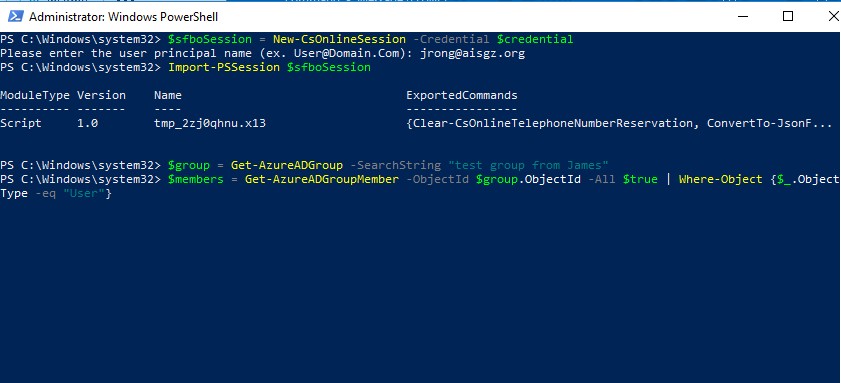
$sfboSession = New-CsOnlineSession -Credential $credential
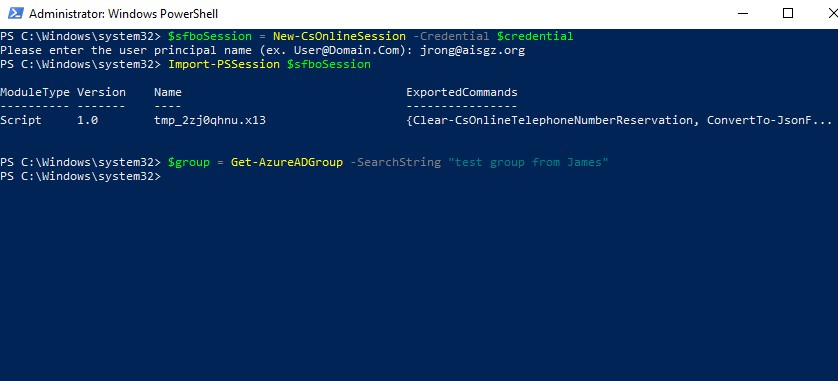
Import-PSSession $sfboSession
$group = Get-AzureADGroup -SearchString “THE SECURITY GROUP NAME YOU JUST CREATE FROM OFFICE 365 ADMIN SITE”
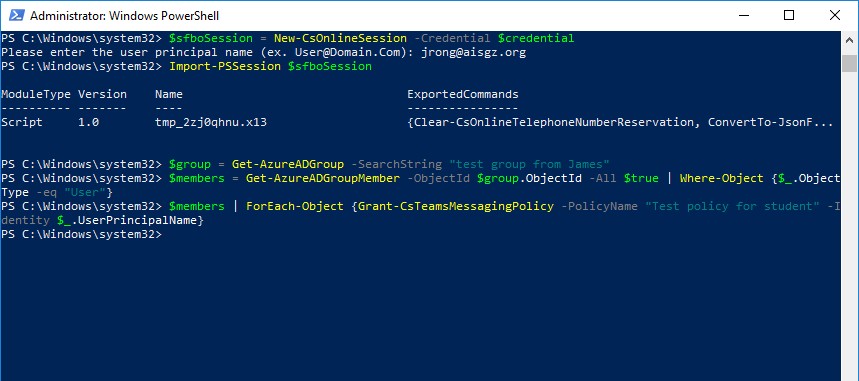
$members = Get-AzureADGroupMember -ObjectId $group.ObjectId -All $true | Where-Object {$_.ObjectType -eq “User”}
$members | ForEach-Object {Grant-CsTeamsMessagingPolicy -PolicyName “THE MESSAGE POLICY YOU CREATE FROM NEW TEAMS ADMIN CENTER” -Identity $_.UserPrincipalName}
After couple hours, you can login with the test account which belong to the security group and there is not private chat feature you can find on their Teams anymore. Noted: I find that all the policy I create on new Teams admin center need to take couple hours then it will work. So be more patient for it.