Couple weeks ago, Someone are discuss how to integrate the local LDAP to Office 365 in our wechat group. Well, it has been for a long while for us to deploy to tools to integrate the local LDAP to Office 365 and let me also spend sometime to explain how we setup the integration for last couple years.
First of all, I remember that at 13-14 school year when we start to using office 365. We use the tool call ADFS to integrate local LDAP to office 365.
This is not a good tool in my mind, because one you deploy ADFS, when you login to your tenant and it will jump to another page which host on your local server to finish to authentication produce. If the server which install ADFS has any hardware issue or the network is down for your server room. That means no one can login to your tenant anymore because the authentication page won’t show up. As I know, this is the only solution workable for O365 that moment, so we don’t have any option to choose.
Then start from 14-15 school year on, Microsoft have a new tool to do the integration business. The tools calld Microsoft DirSyn.

This is the real integrate tools in my mind. End user don’t need to jump to another page to login to owa and even there is any problems with your server, we still can access to the owa because Dirsync make a clone copy on Azure. But this service is retired in 2017.
At the end of 15-16 school year (Maybe, I really forget it now). We switch the integrate server to Azure AD Connect which is more security and stability compare with DirSyn. Well I am not sure how security and stability for Azure AD Connect work for. But my Boss will keep pushing me to using the latest solution. OK, Then Let me play with it and this the official way to integrate Office 365 to Local LDAP server until now.
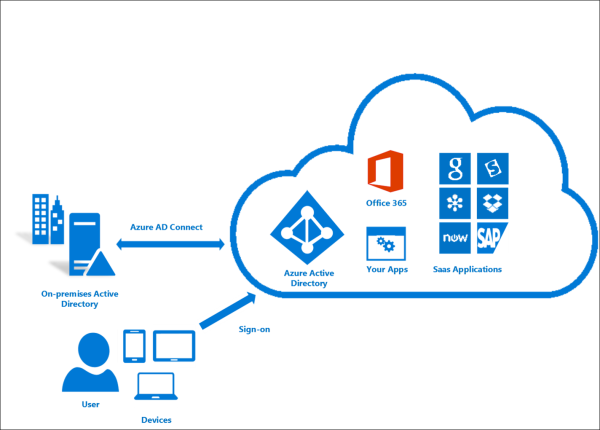
So today let’s see how to deploy Azure AD connect service.
- Download Azure AD Connect installation package from the link below:
http://www.microsoft.com/en-us/download/details.aspx?id=47594
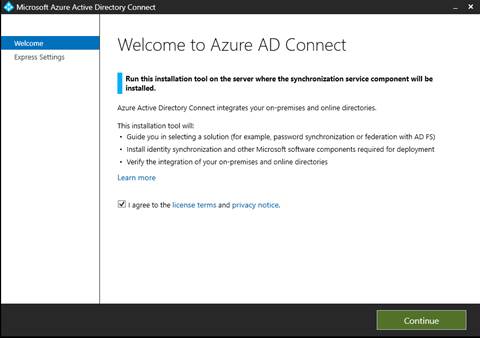
2.Install this package to one of your local server.
3.Check the box “I agree to the license terms and privacy notice” and click continue.
 4.Click “User express setting”
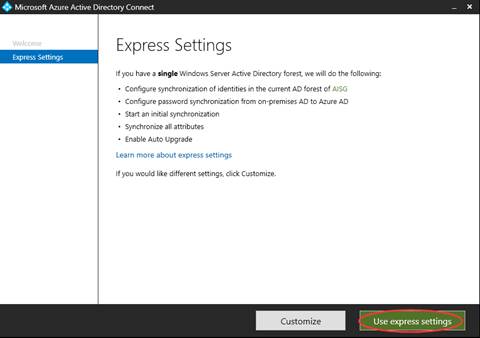 5.Login with your Office 365 admin account and click “Next”.
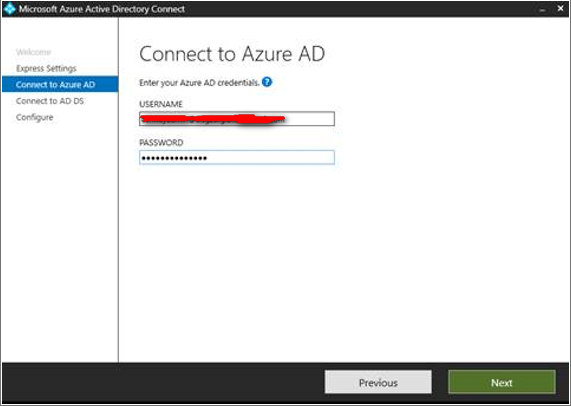 6.Login with your local LDAP admin account and click Next.
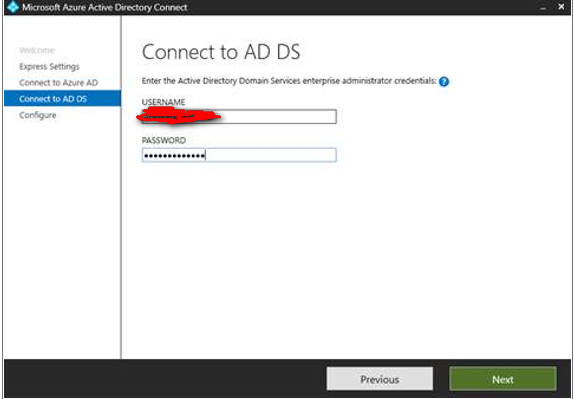 7.Leave all the setting as default and click Next.
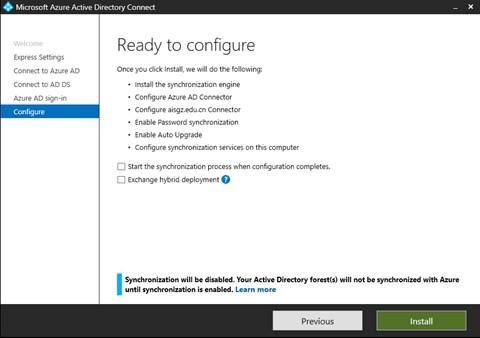
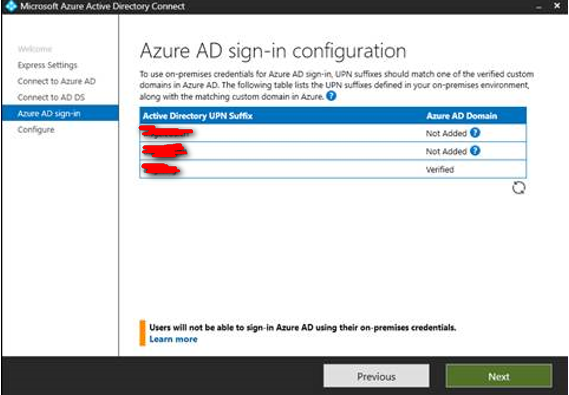 8.Don’t select anything first and we can do the configuration later. Click Install.
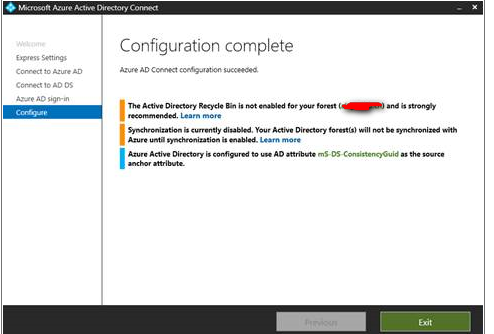
 9.Then you will finish the installation part.
 10.Now let’s start to setup the Azure AD Connect, you should double click this icon from your desktop.
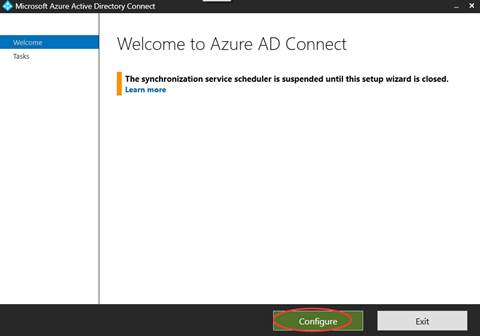
 11.Click “Configure”.
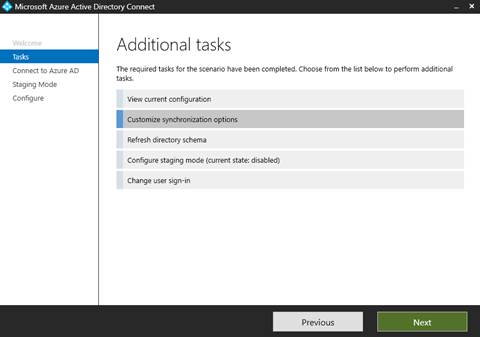
 12.Choose “Customize synchronization options” and click next.
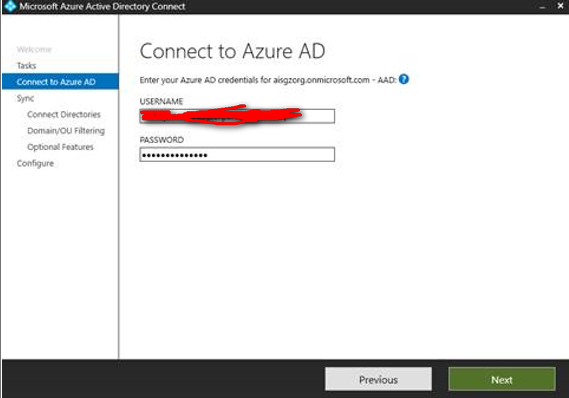
 13.Login with your Office 365 admin account and click Next.
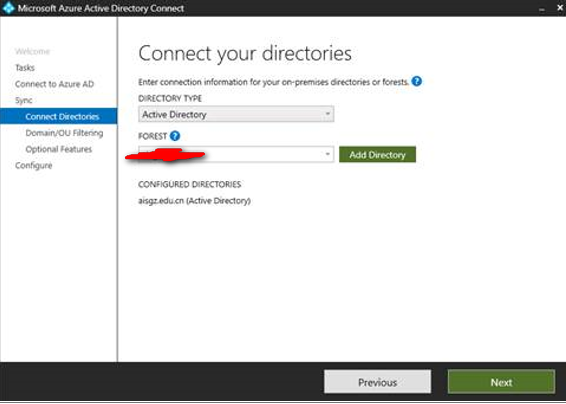
 14.Click Next
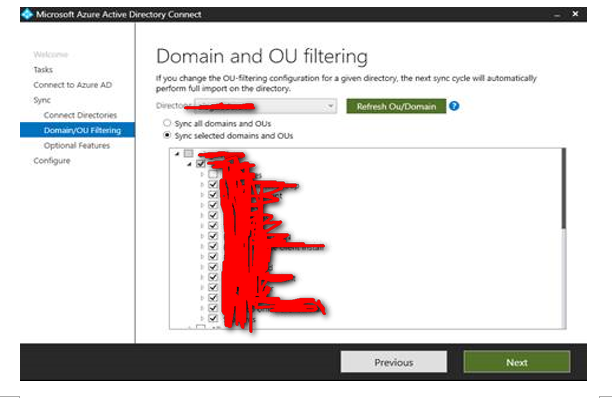
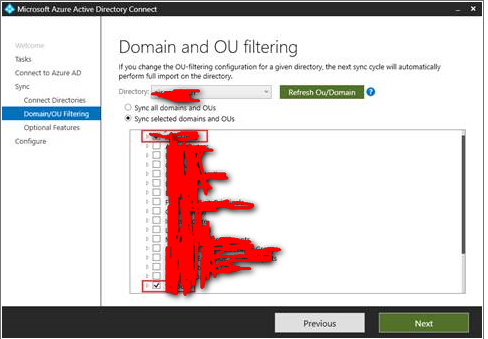
 15.Select the OU which you want to syn to O365. You should ask your LDAP administrator to double check it very carefully, if you forget to select some OU, some user may have problems. Normally, we will just select the OU contain all user and groups in your LDAP. After all, click Next.
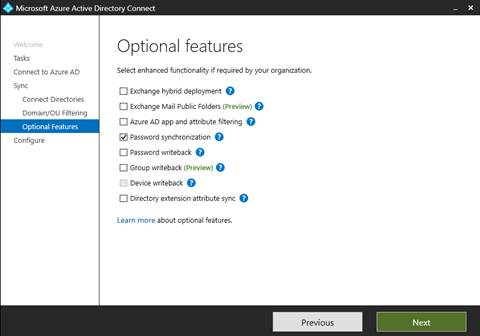
 16.Check the box “Password synchronization” and click Next.
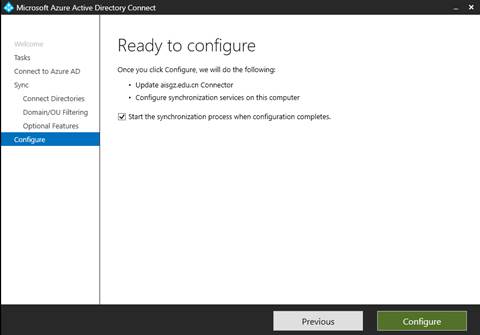
 17.Check the box ”Start the synchronization process when configuration completes” and click configure.
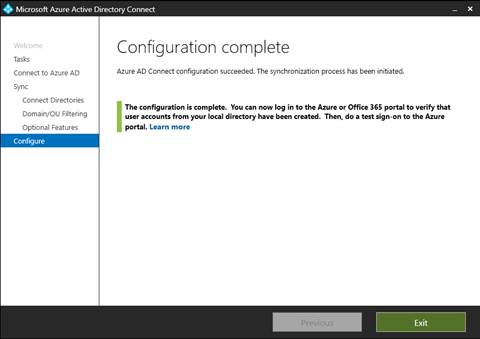
 18.After the configuration complete, click Exit.
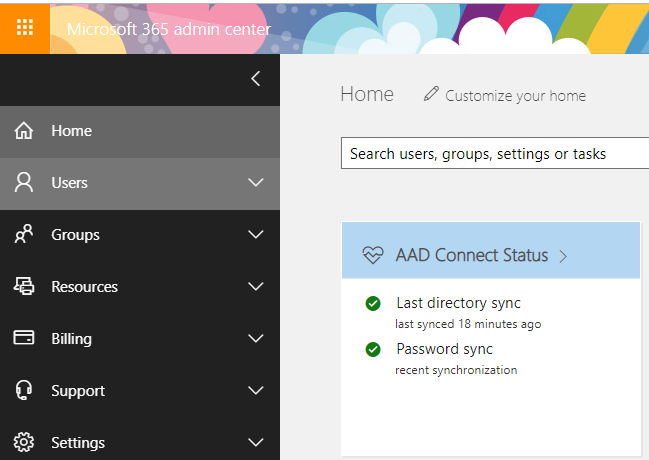
 19.Go to office 365 owa page and click the Admin icon in the waffle then you can check your state for the AAD Connect