If you want to ready all my new article at once, feel free to scan the following QR code to follow my wechat account.


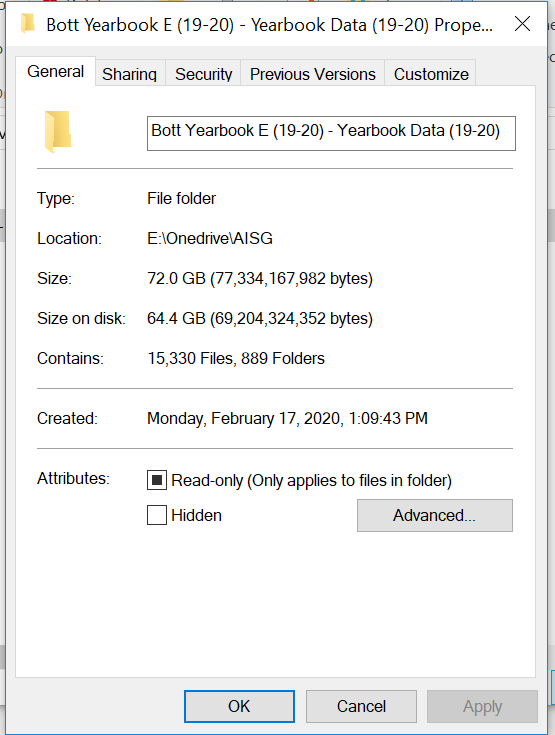
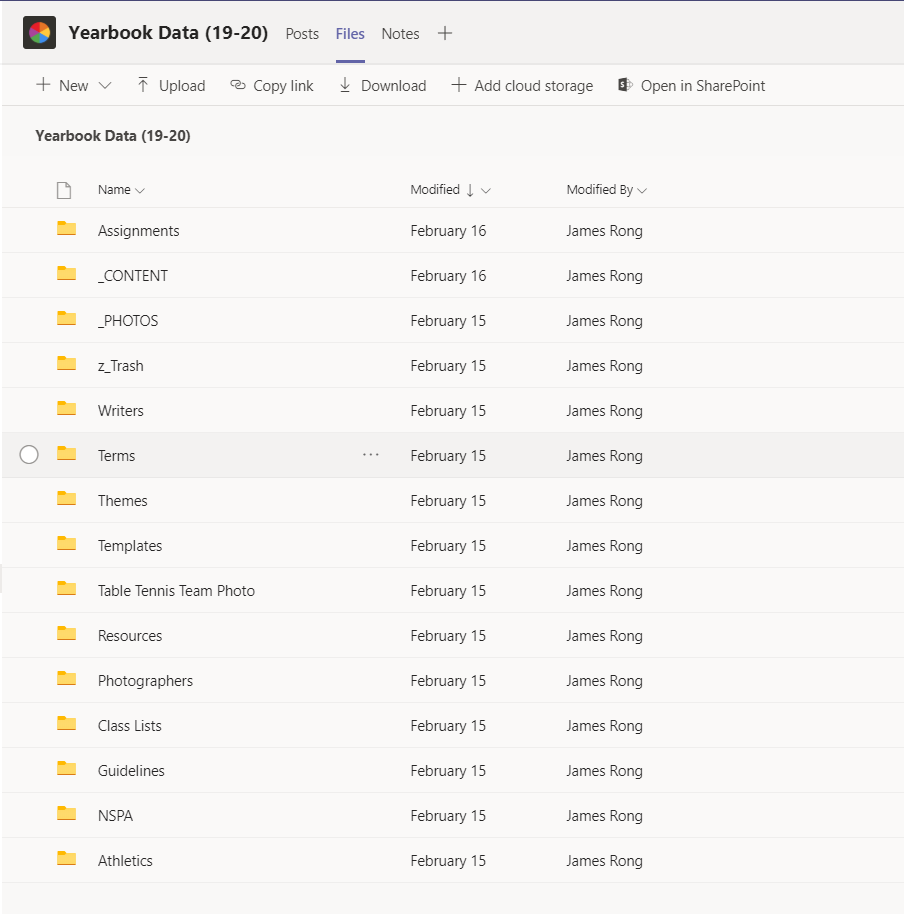
Last week I got a task assign from my Boss that we need to upload our year book photo to Teams during the online learning days. Well, just a piece of cake, however, when I check with the folder, I finally realize this is a different story. Too young too simple for James lar. Let’s take a look the folder first.
What!!??? 15,330 files and 889 folders, totally 72GB files I need to upload the Teams, Are you kidding me?
Well, we all know that the standard way to upload file is using Teams to directly upload file from file Tab. But the problems is if we upload like this way, it will be very slow and we never know the state for upload process. So I need to figure out a way to copy dozen of large file on Teams and finally I found that using Onedrive to synchronized maybe the best solution. So let’s see how to do it.
- Click into the file tab with your Teams and find “Open in Sharepoint”.

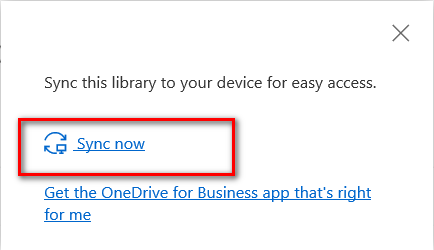
2. Click “Syn” icon like the screenshot below.

3. Click into “Sync now”.
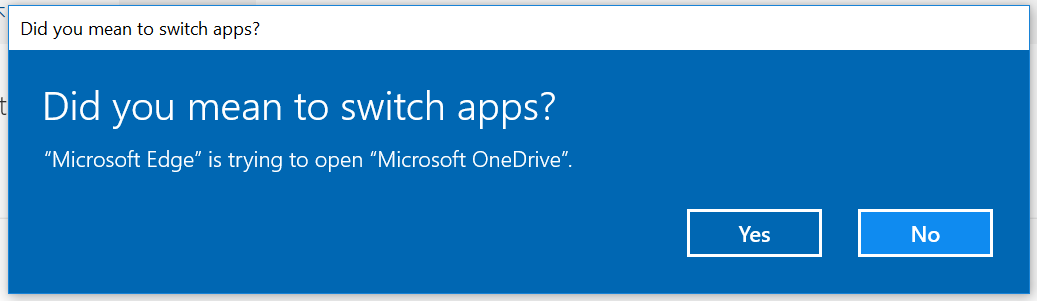
4. Click “Yes” on the pop up windows. Noted: If you never install the OneNote, Make sure to install the application first. I use a windows machine to make as a sample and you can also using the Mac to do it. There may be a little bit different as they have different interface.
5. Once the Synchronized folder has been create, you will see the notification windows come out like the screenshot below.
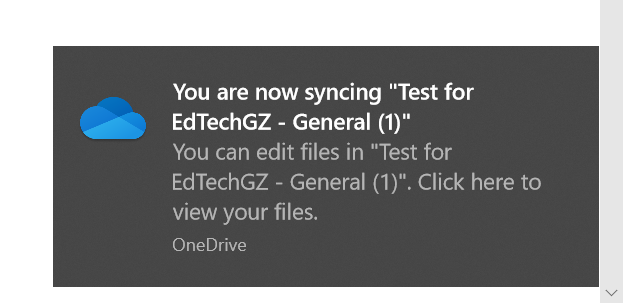
6. The synchronized folder is ready.
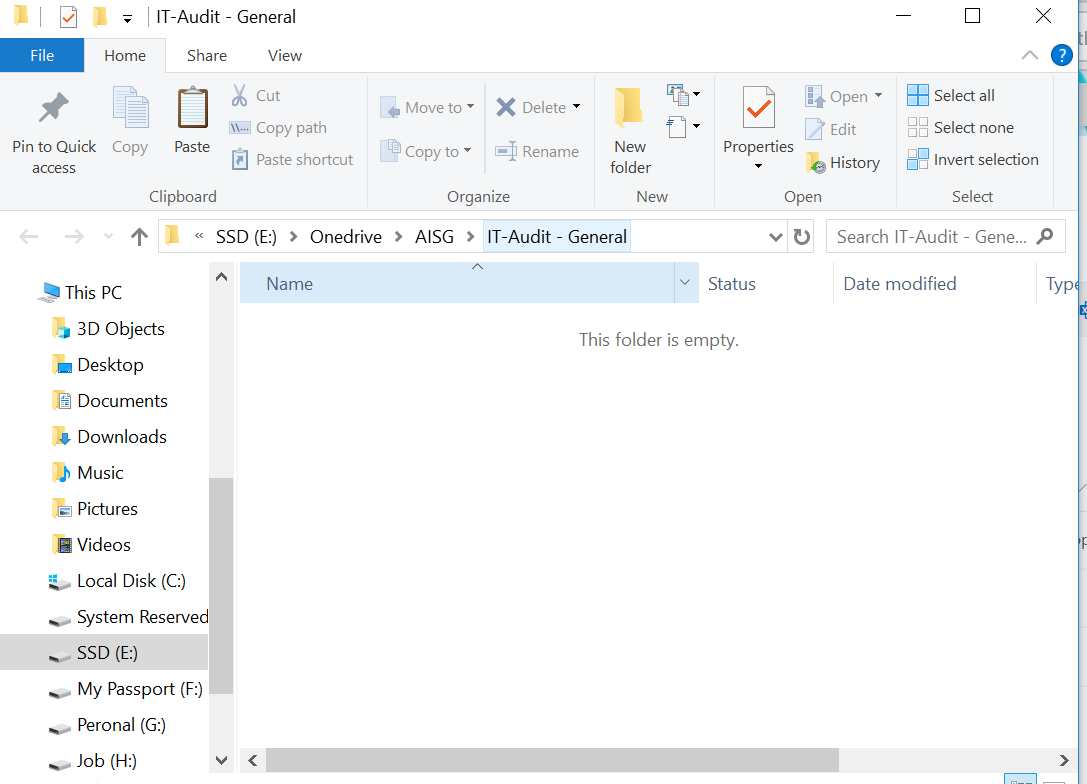
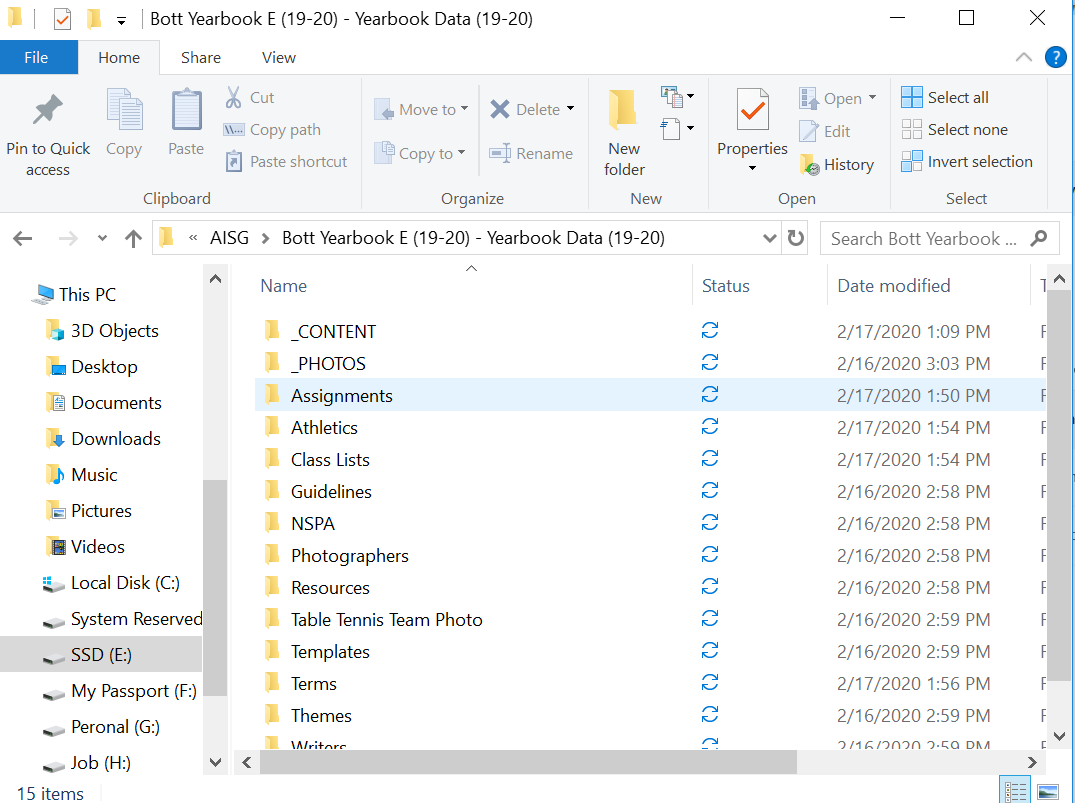
7. Then copy all the files and folders to this synchronized folder so that I will upload all everything to cloud.
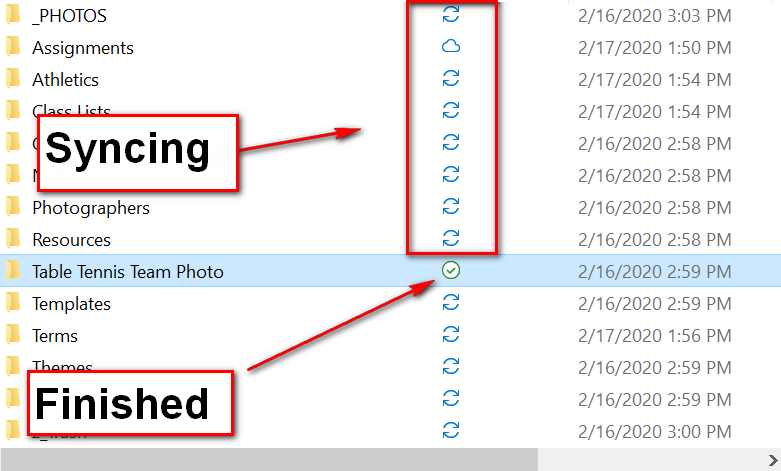
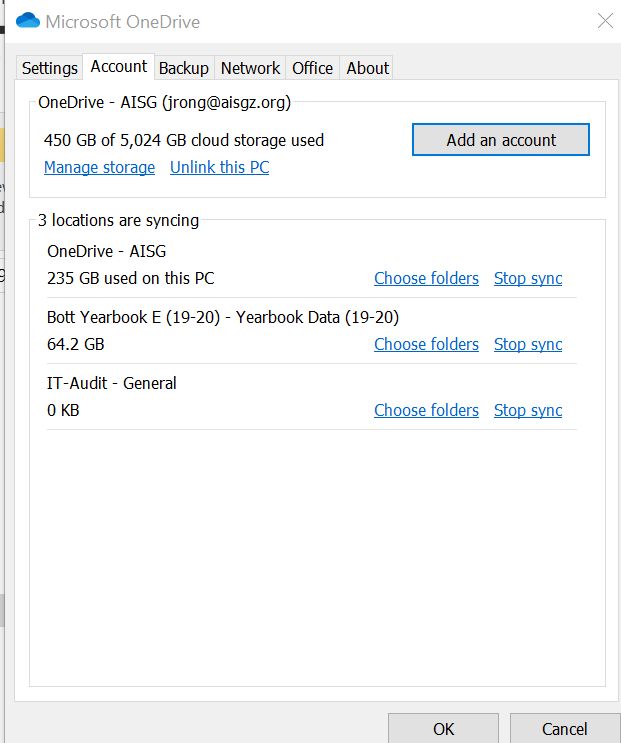
8. You will very easy to check the file state for the synchronized folder like the screenshot below.
9. Make sure to Stop the Synchronized folder after the file has copy to the cloud so that you can free up the space for your local devices. Finally, Mission Completed, all the file has copy to Teams.
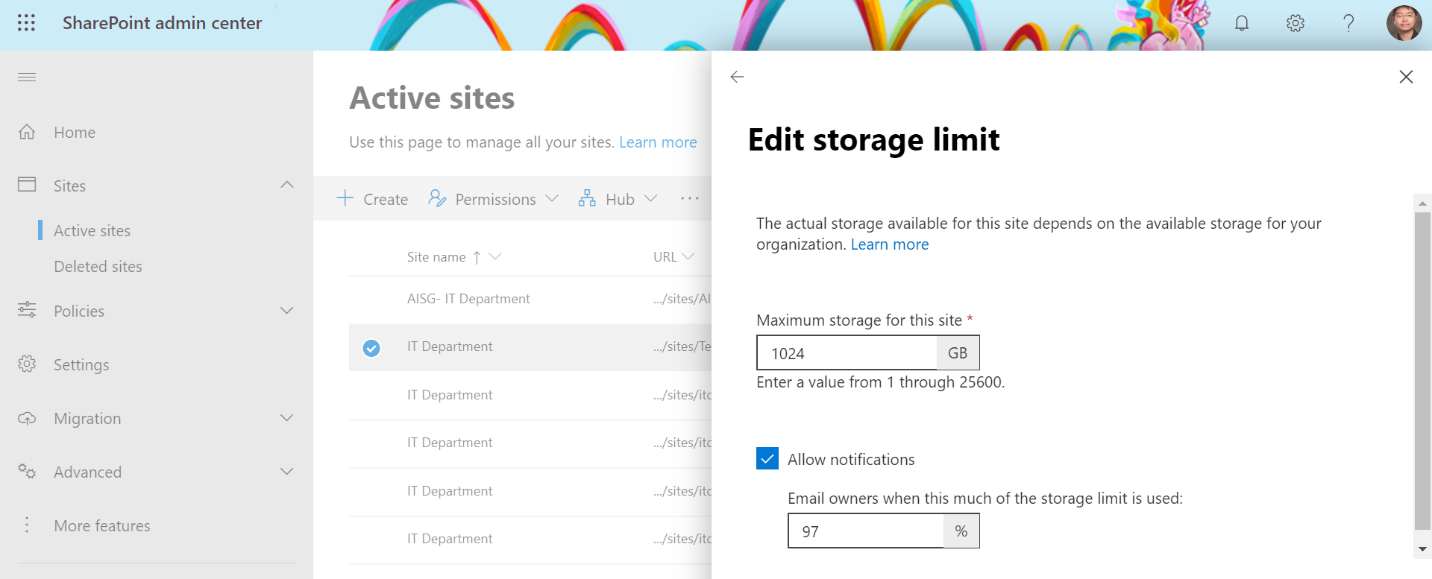
Tips: Make sure to check the maximum storage for your Teams, If file you upload to Teams is over the default limited, you need to change it from the Admin page for sharepoint site.