Setting up Teams for a new year
Microsoft’s instructions for recycling a Team for a new school year are illustrated below. In summary returning teachers will want to:
1. Know the name of their old Team
2. Make a new Team based on the old Team
3. Bring in their OneNote content area and Files into the new Team
4. Let student to join the new teams with Teams code
By following these steps, the following components will come into the new Team.
- Channel & Tabs
- Files
- Onenote Class Notebook
- Assignment
- Teams code (Easier to let kid to join the new Teams)
Task 1: Channel & Tabs
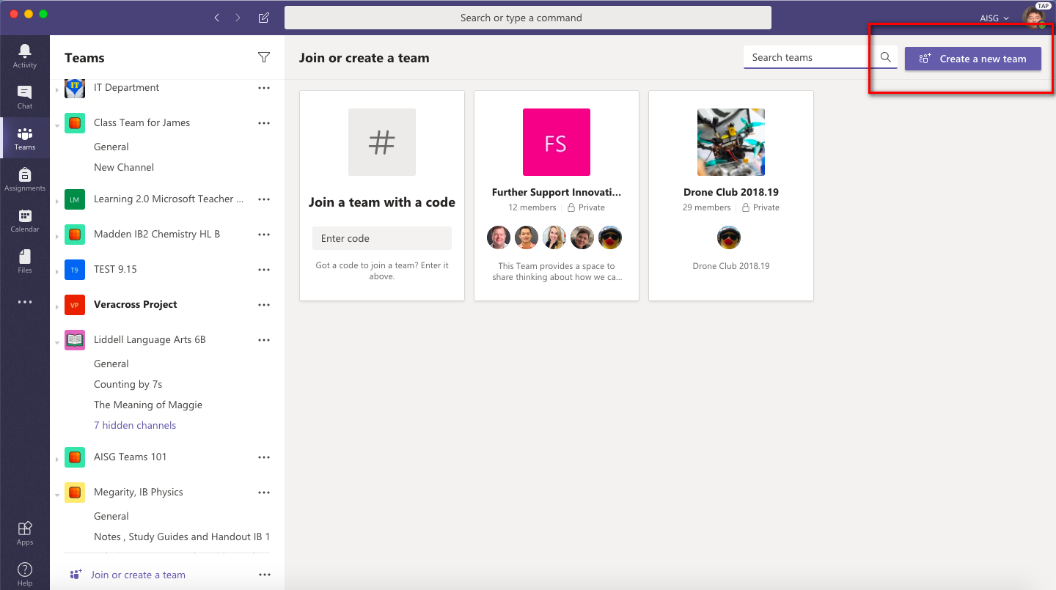
- Open Teams, Click “Show All” on left then Create a new team.
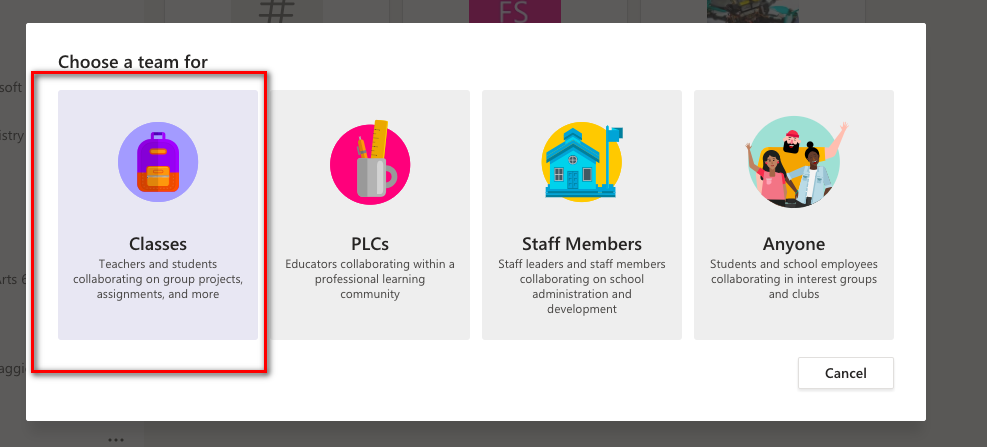
2. Choose the Teams for Classes.
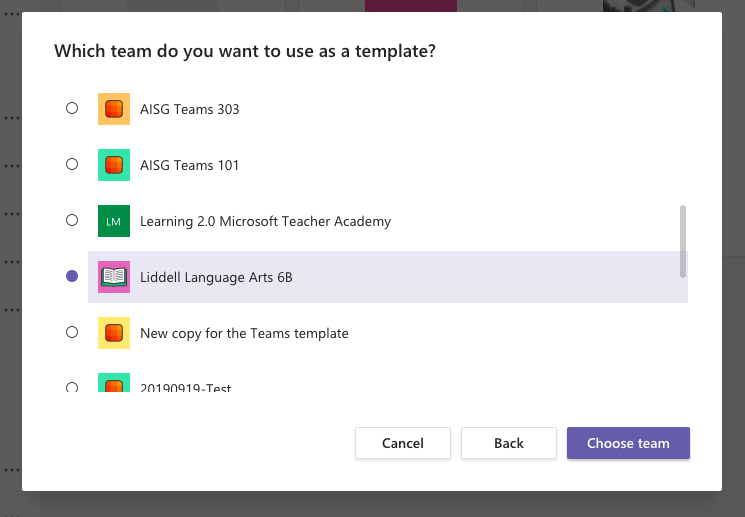
3. At the bottom of screen click: Create a team using an existing team as a template.
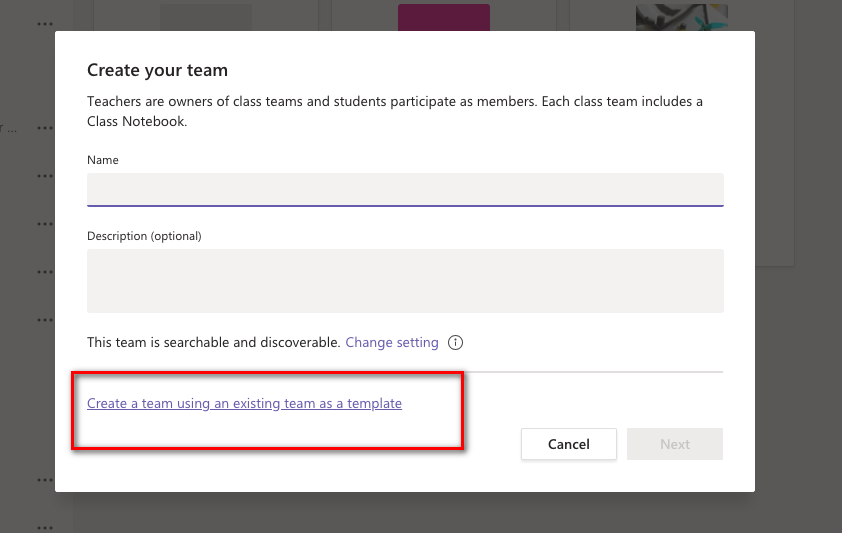
4. Choosing the existing teams which you want to copy as a template.
5. Give a new name for the teams. Use our naming convention of <teacher last name> <CourseName> <Block>. Such as Baker English B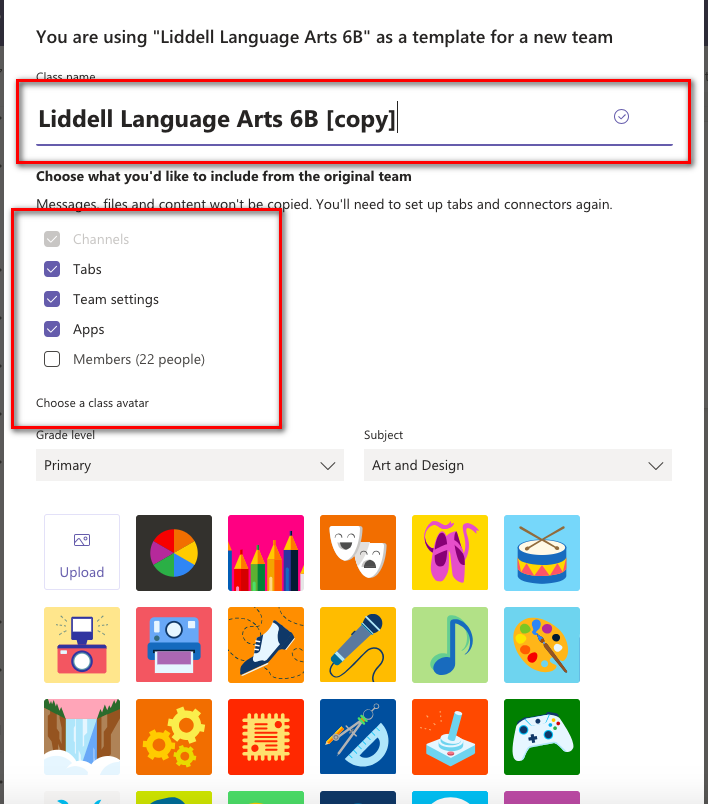
6. You can Add the students one by one OR skip this step. We recommend skipping this step and having students Join a Team with a Code during the first day or two of classes.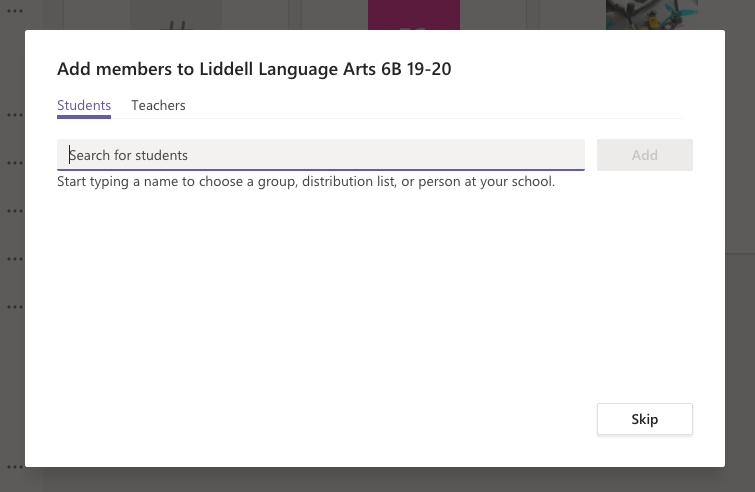
7. Now you will see the new Team you just created. It will include the Channels and Tabs setting copied from the previous Teams, if you selected those options.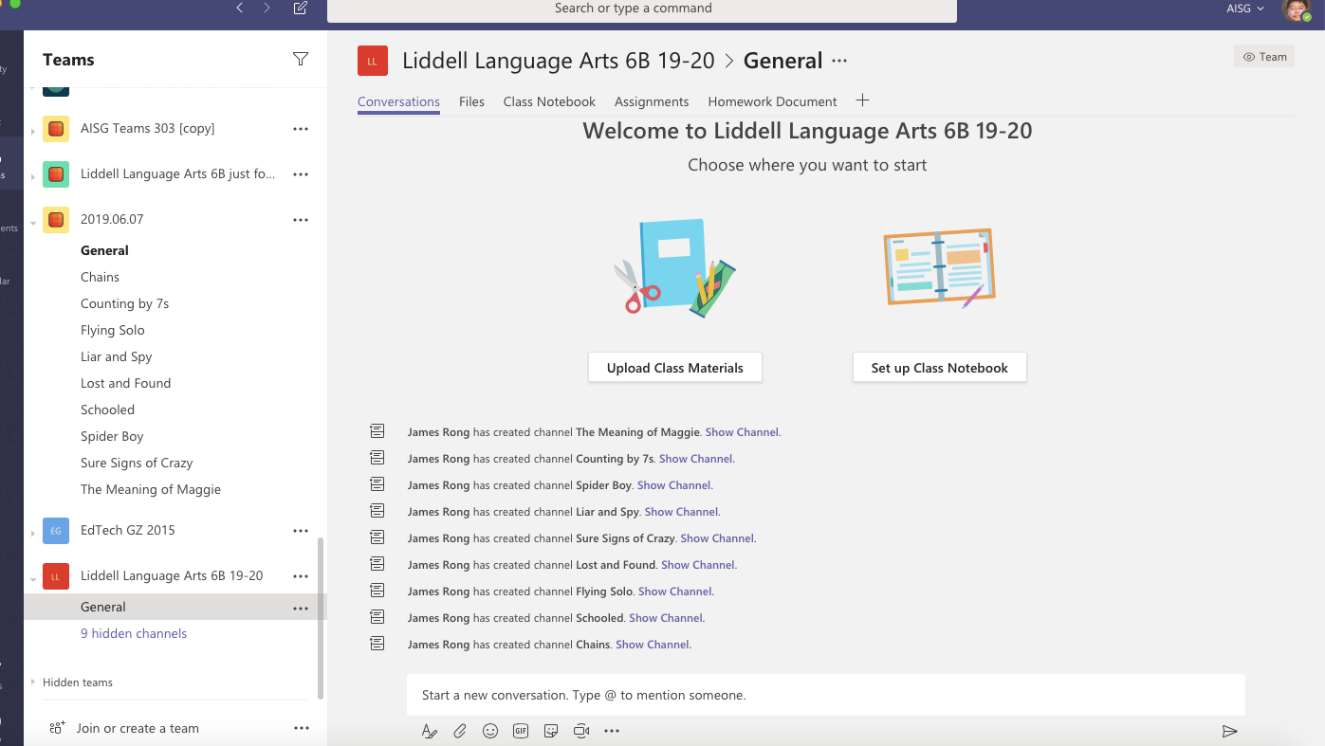
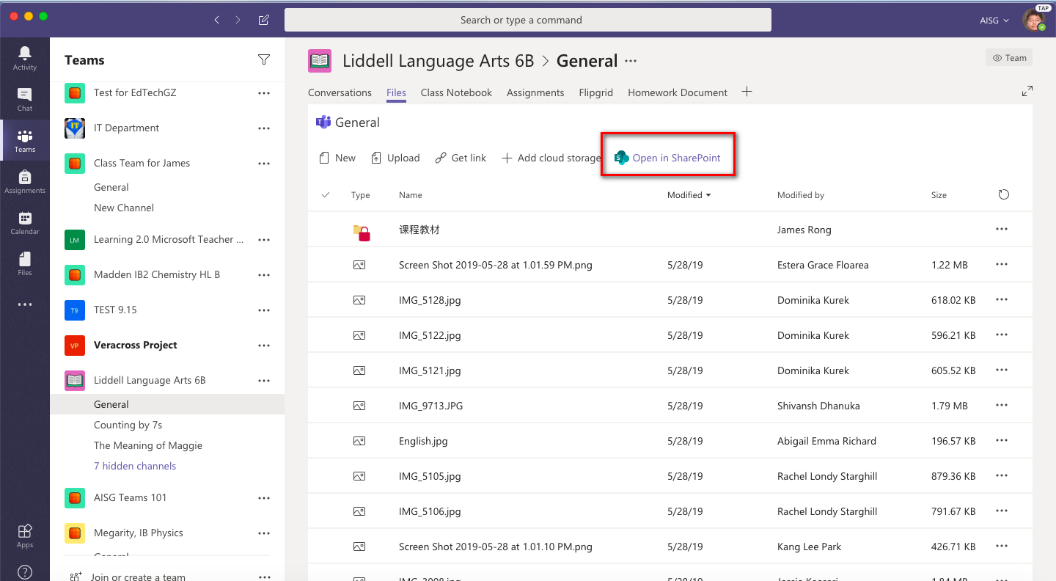
Task 2: Copy all the file from old Team to new one
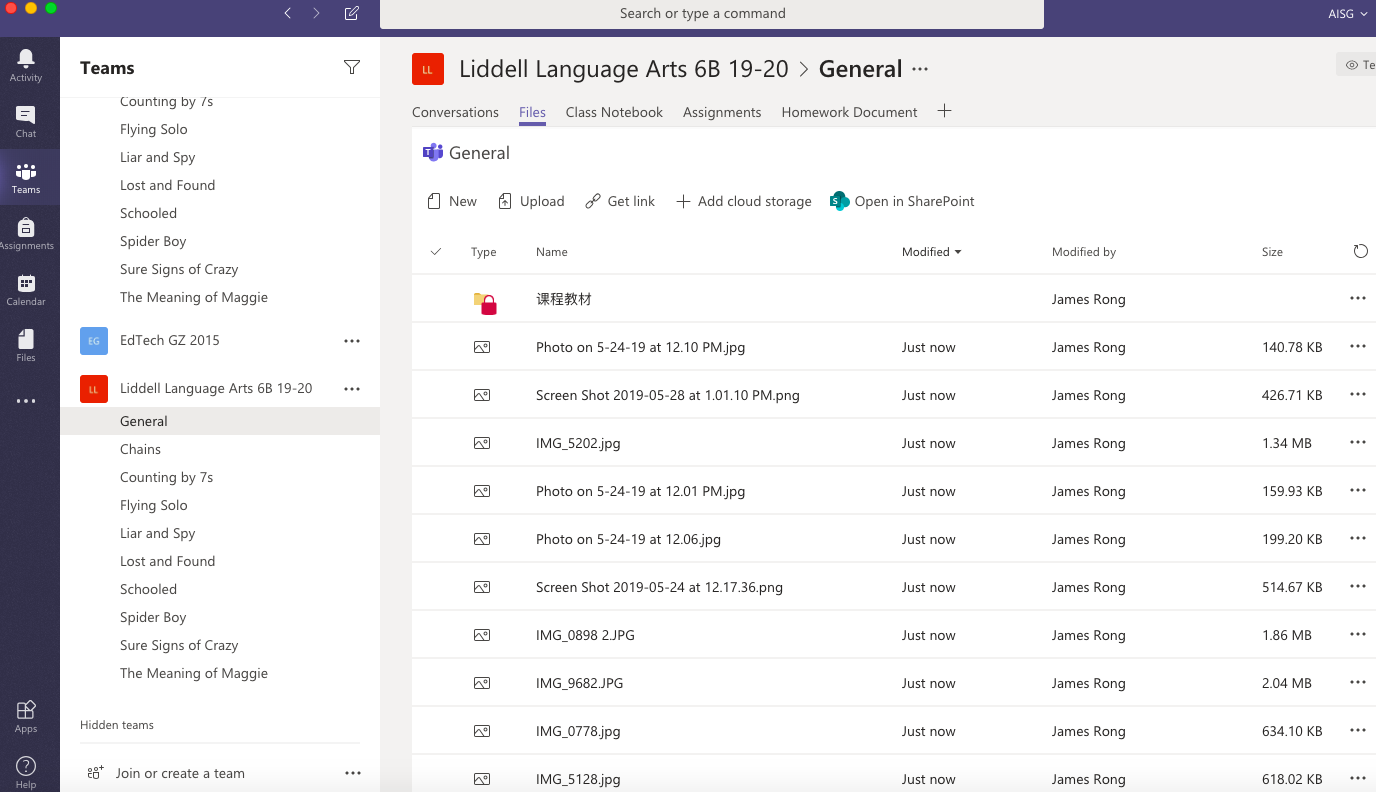
- Access to the File tab on your old Team and click Open in SharePoint.
2. Select all the file you want to copy to new Team.
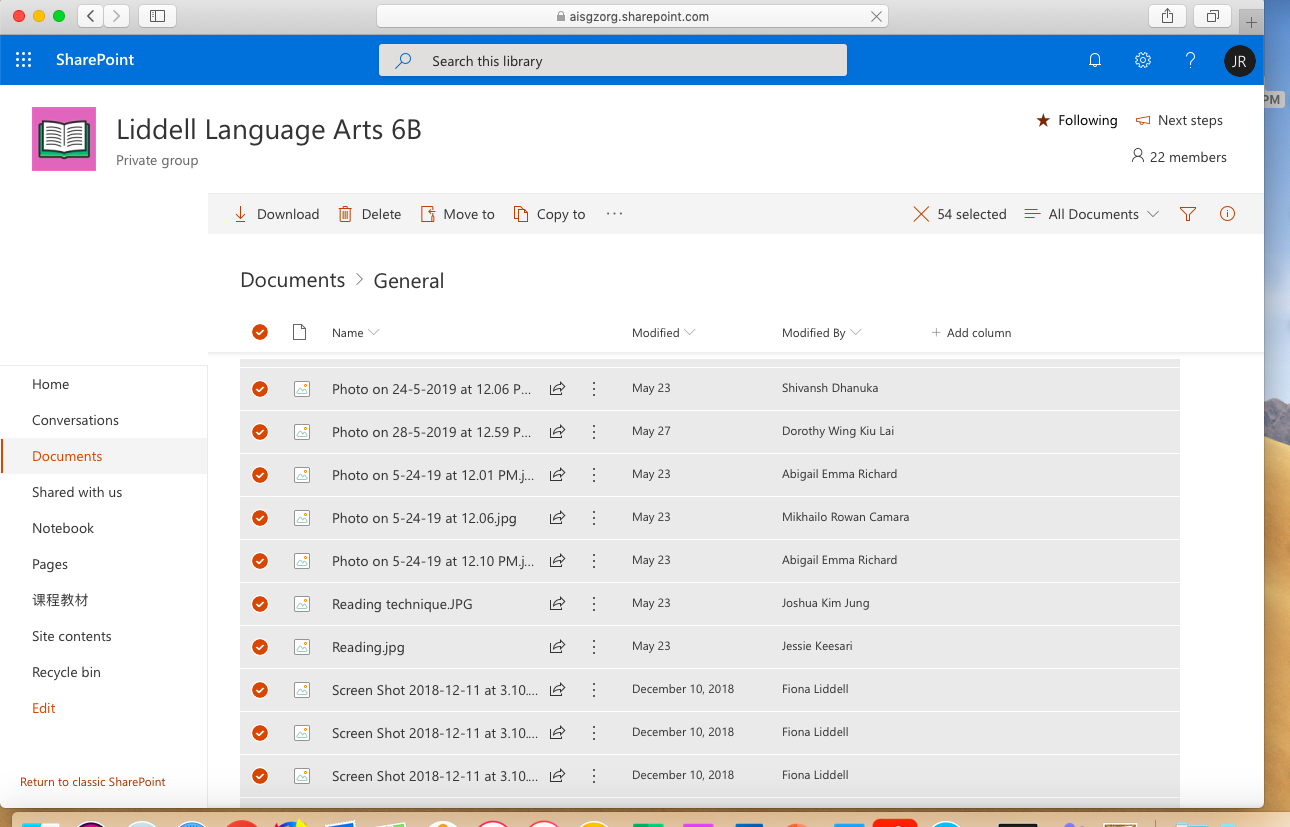
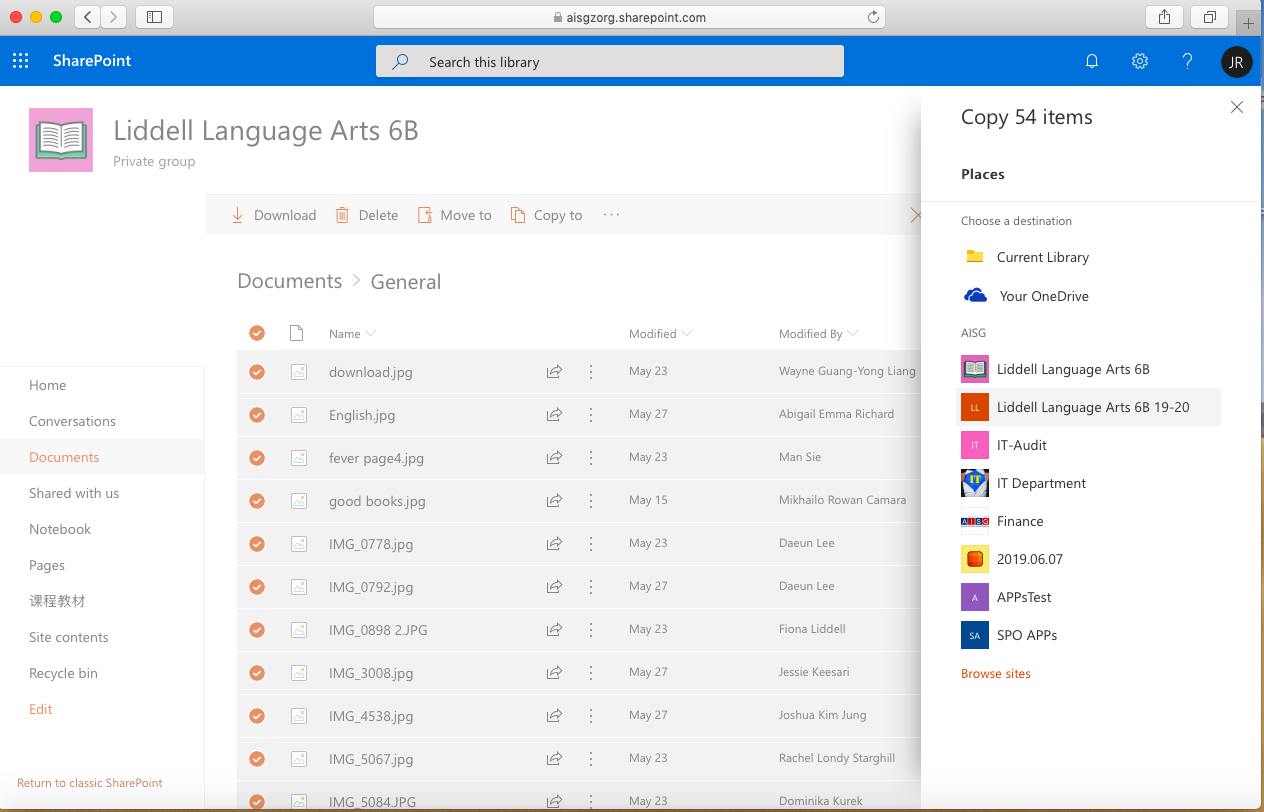
3. Click Copy to and Select the new teams you create it just now.
4. Select the “Document” folder.
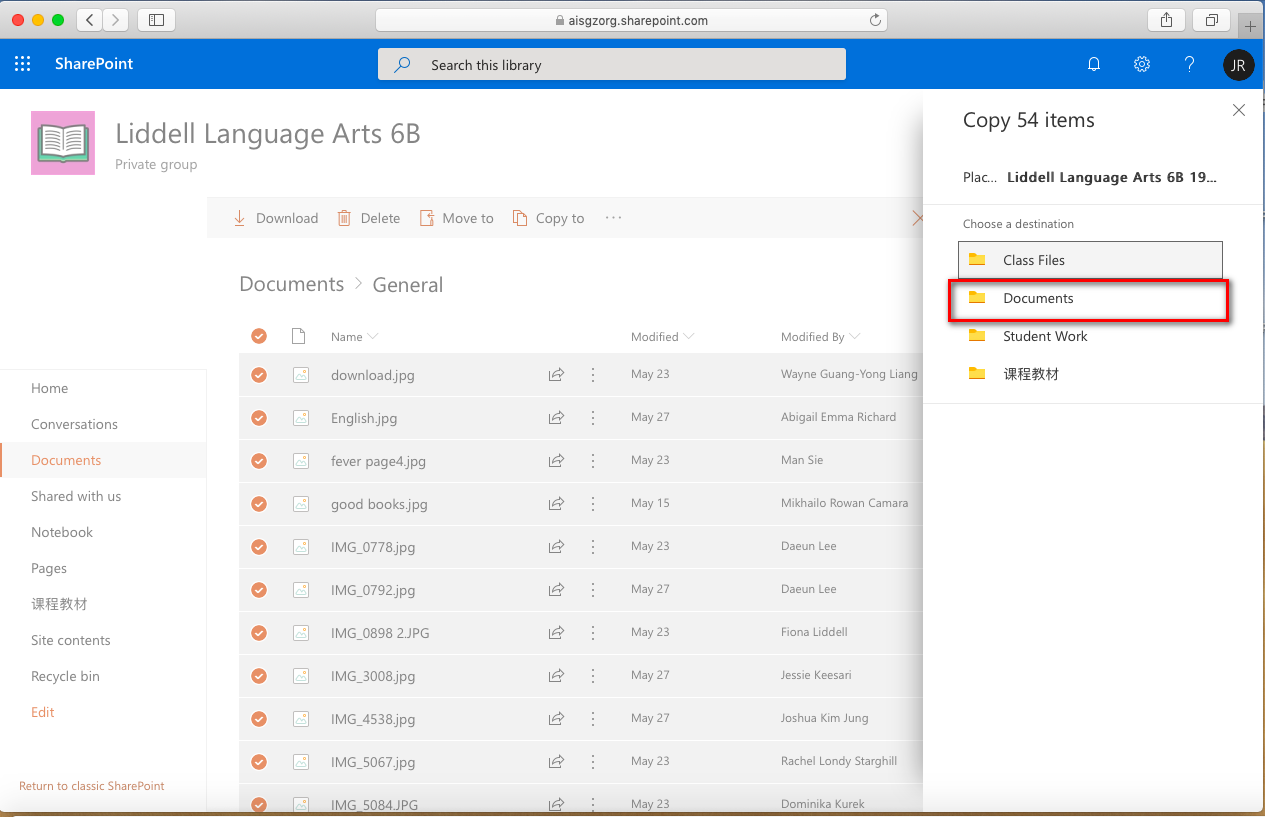
5. Select “General” folder and click Copy here
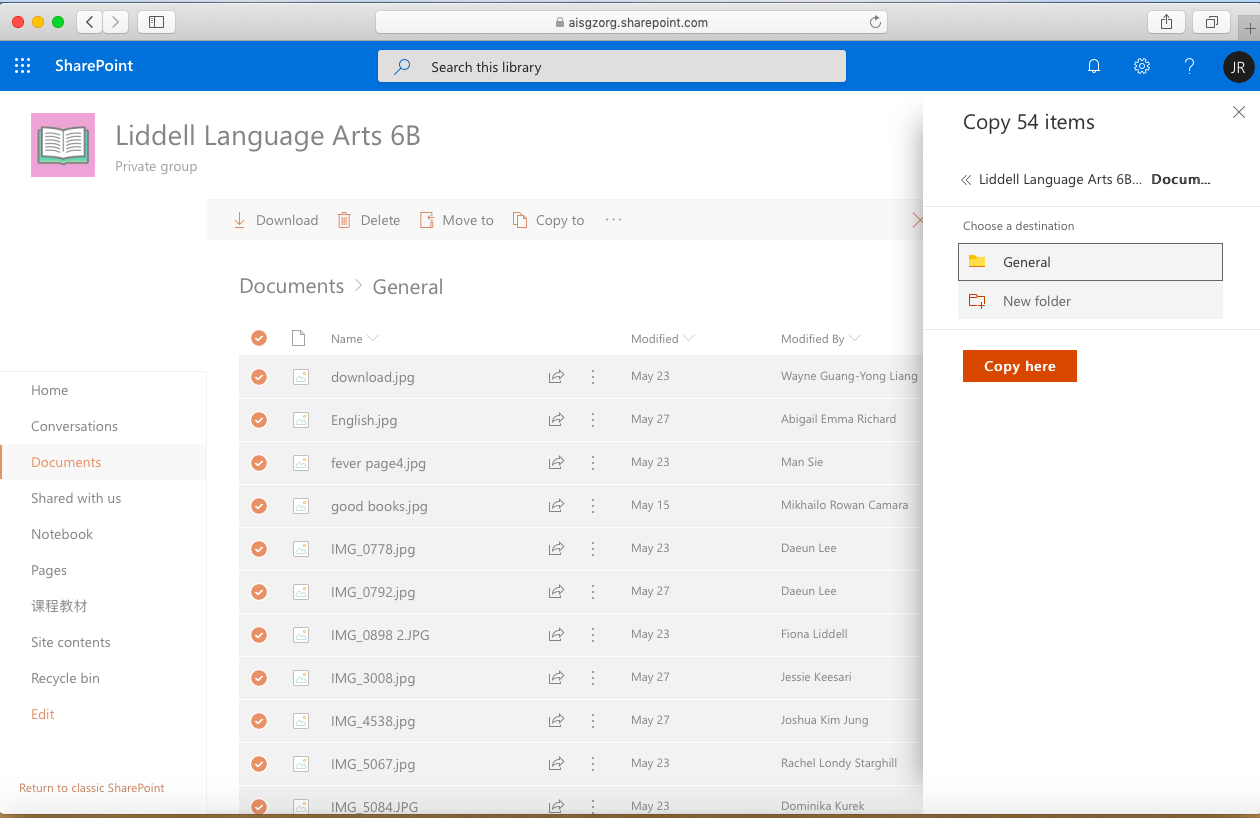
6. Make sure wait until the copy process finish.
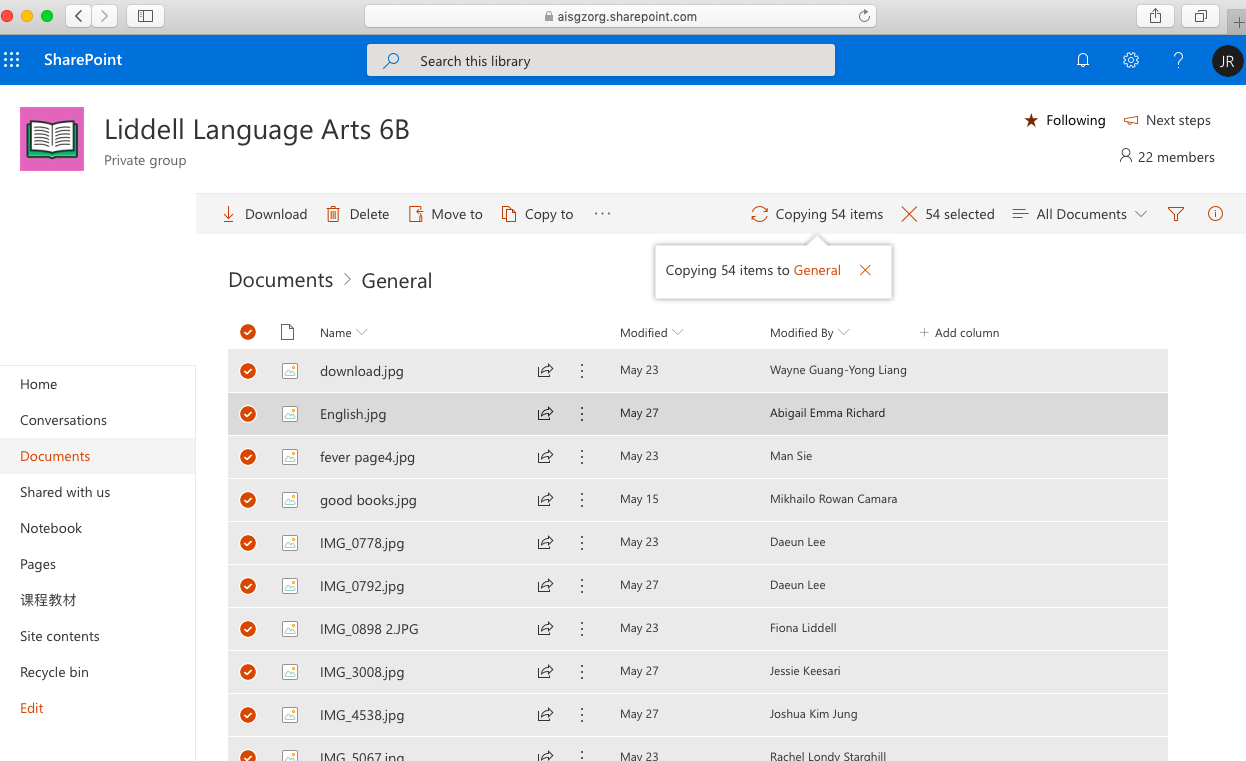
7. You will see all your file copy to your new teams now.
Task 3: Copy the old notebook content to new one.
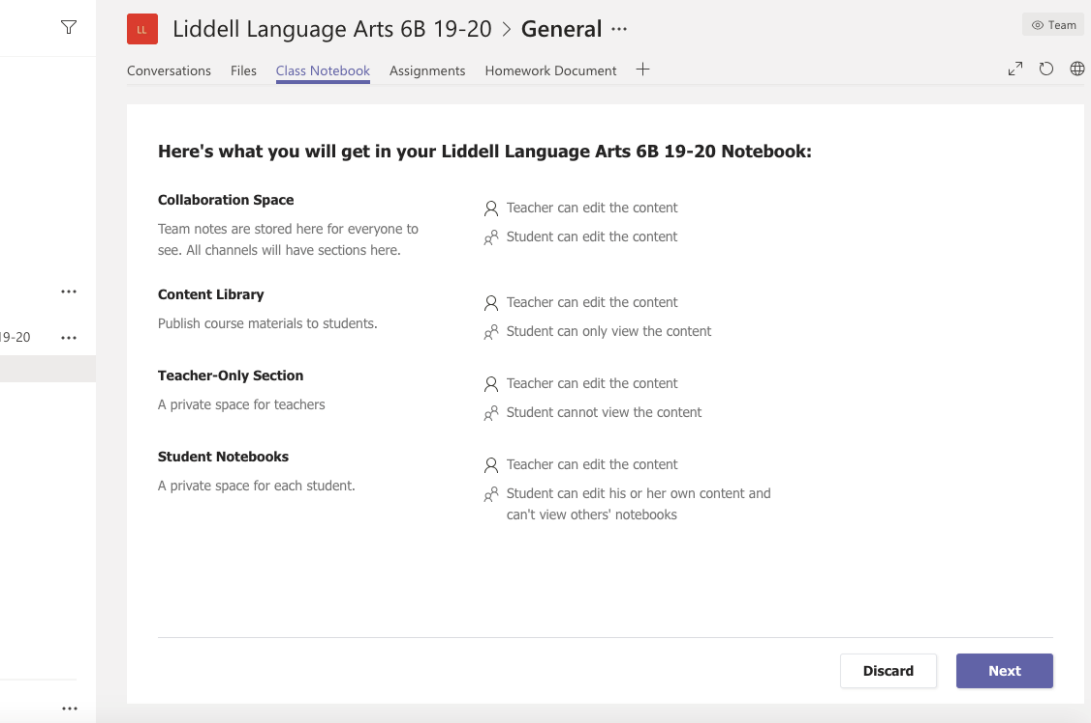
- Click the Class notebook tab and set up a Onenote Class Notebook from existing notebook content like the screenshot below.
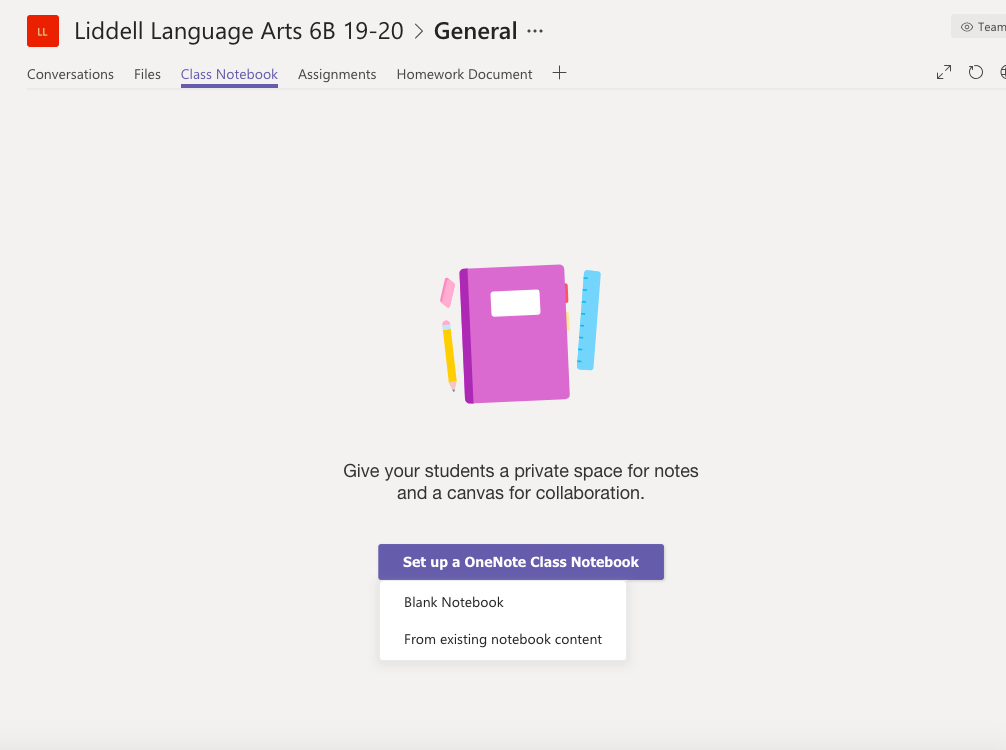
2. Click Next.
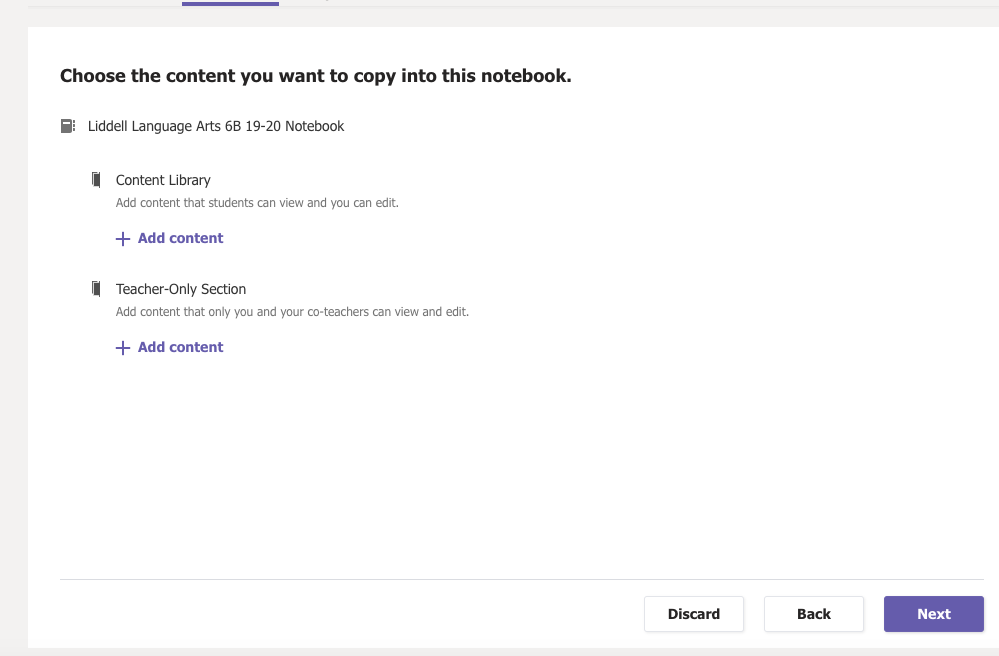
3. Select the content you want to make a copy from your notebook. For example, if you wan to copy the content library from the old notebook, click “+Add content” under Content library. Note: we only can copy the Content Library and Teacher-Only section for this moment. Collaboration space and student private notebook no available to copy for now.
4. Choose the old notebook you want to copy from. Note: Make sure you are the owner for this notebook.

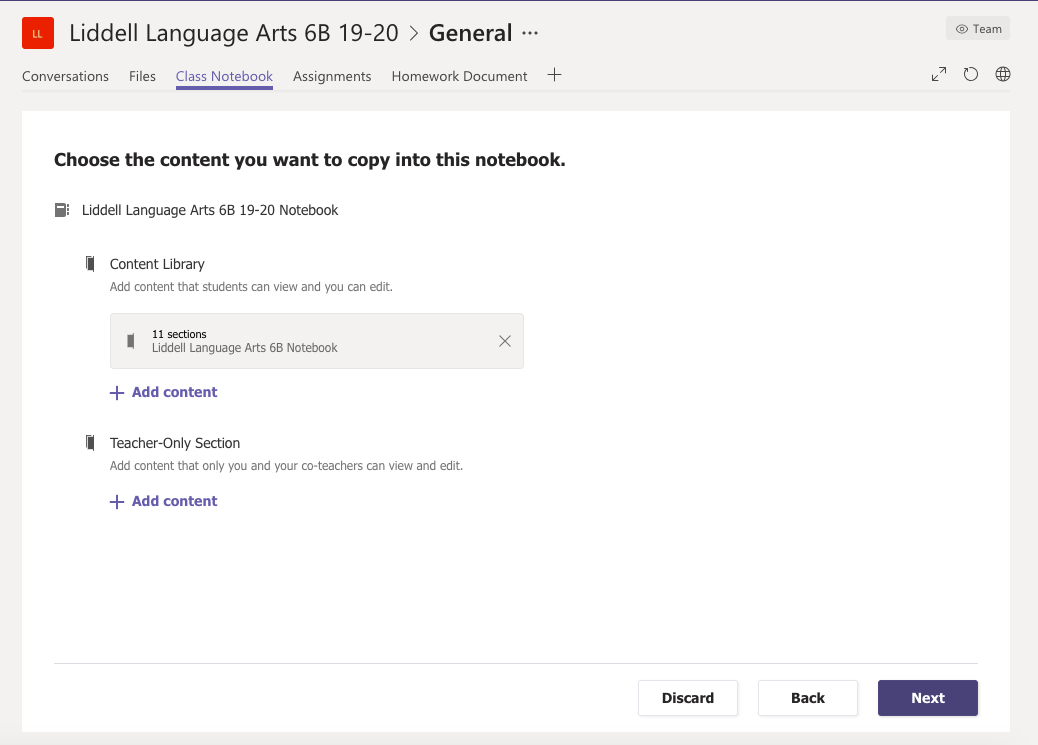
5. Choose the section you want to copy and click “Done”.
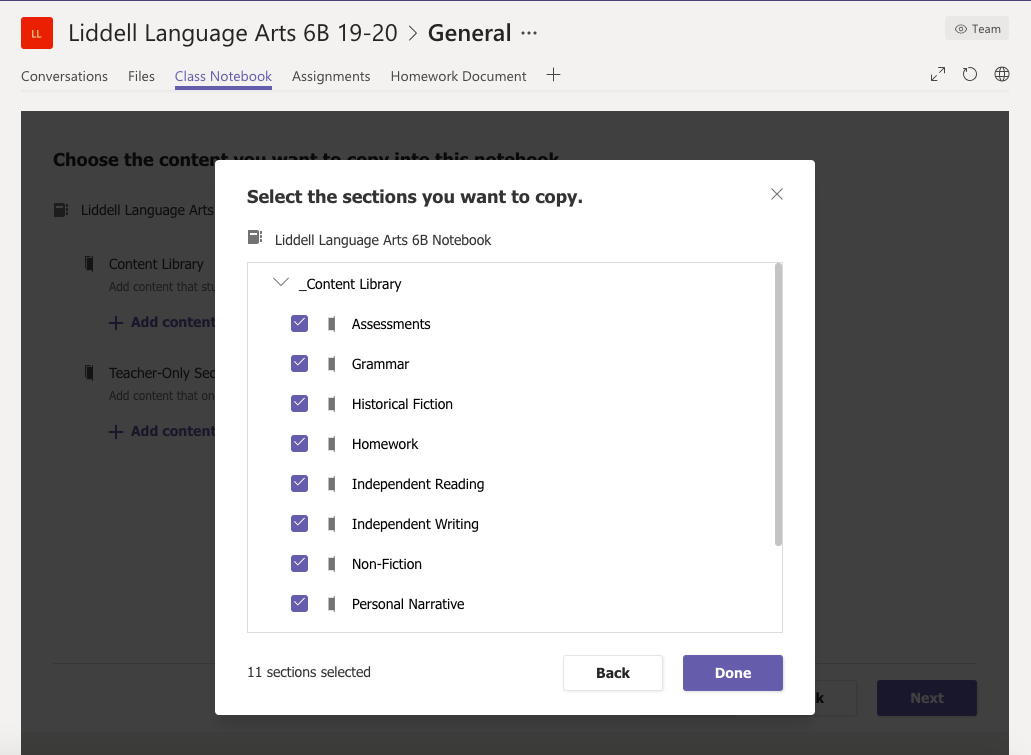
6. Click “Next”.
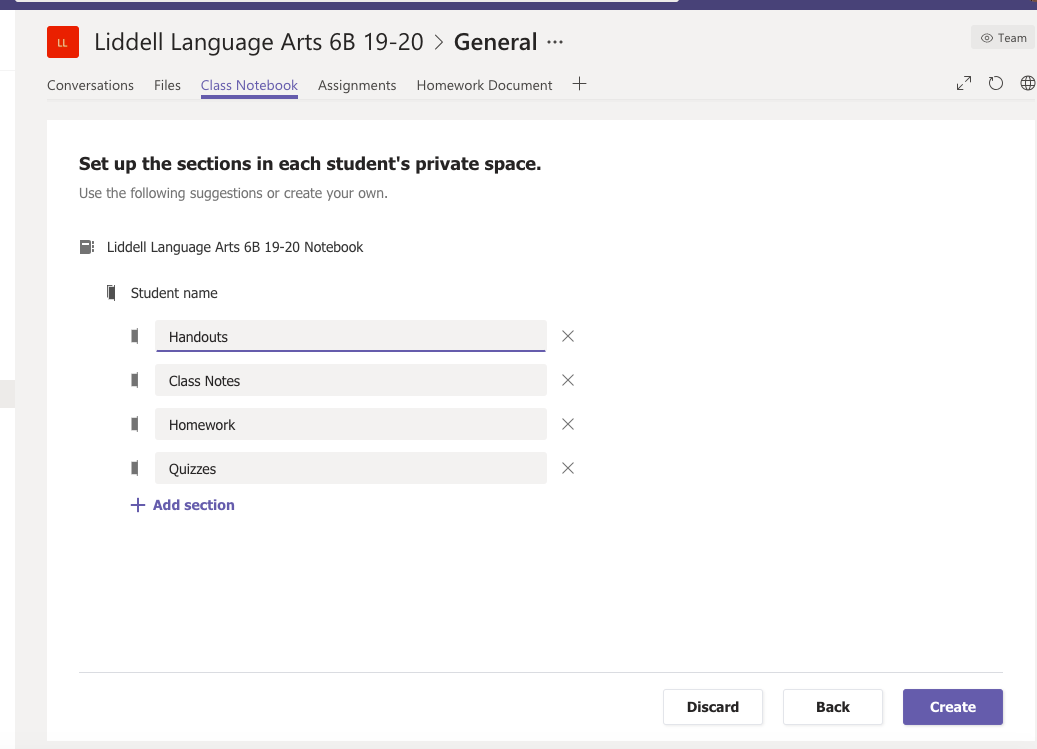
7. Setup the student’s private space template and click “Create”.
Task 4: Copy all the old assignment template.
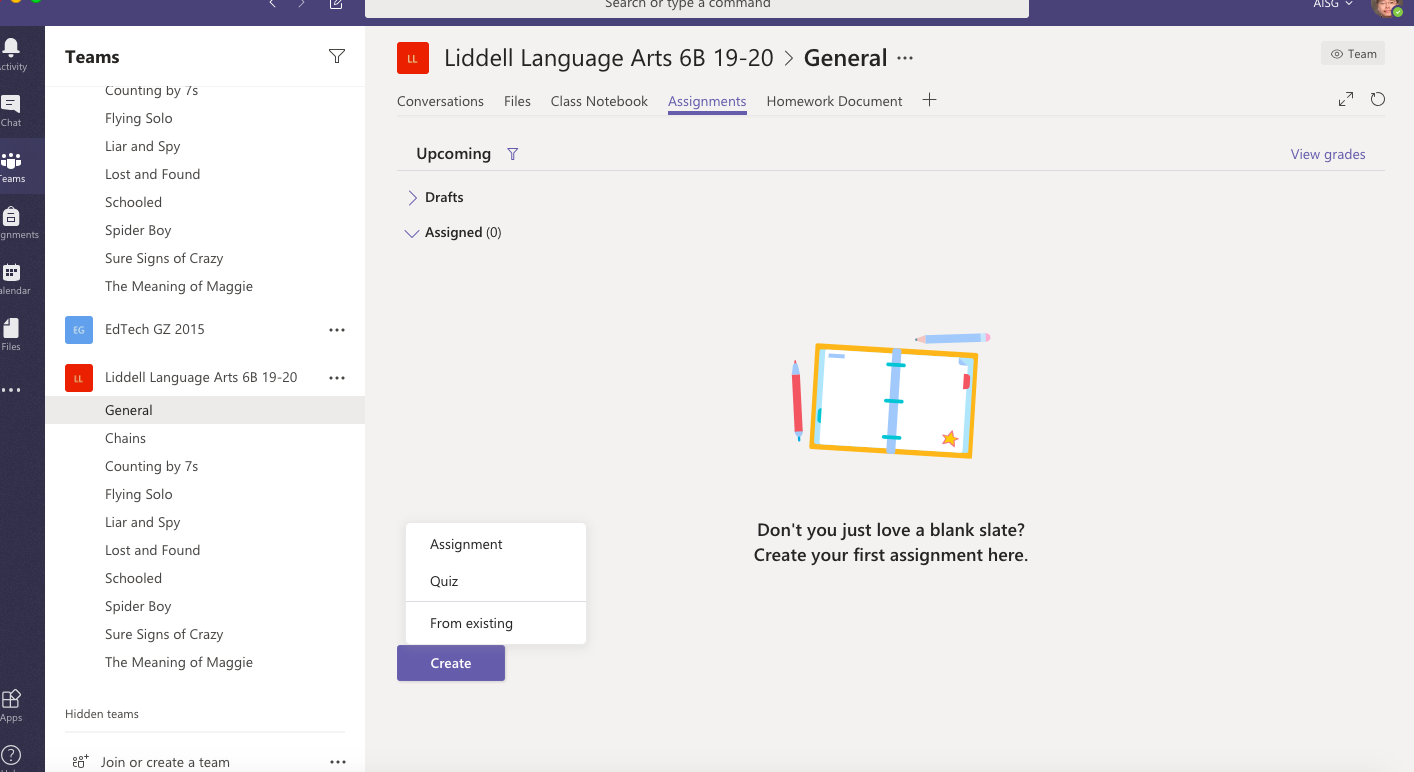
- Access to assignment tab. Click “Create” from an existing assignment.
2. Choosing the source assignment from the old Teams.
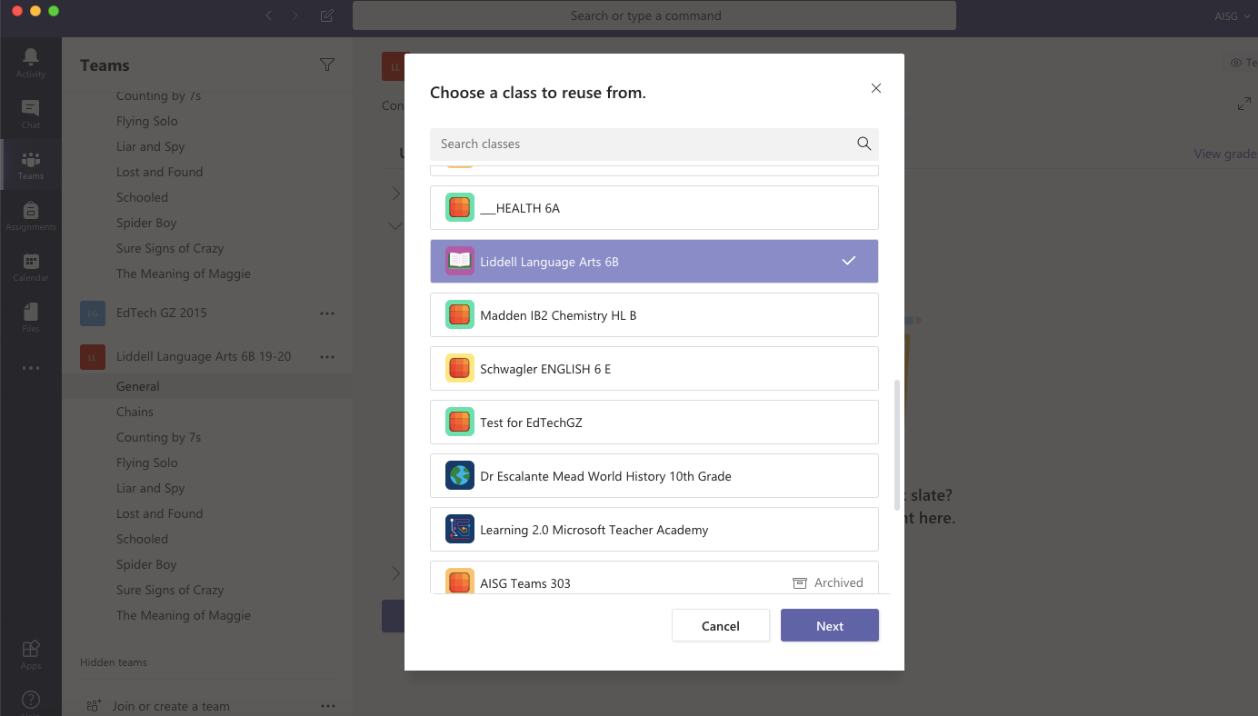
3. Choosing the old assignment and click next.

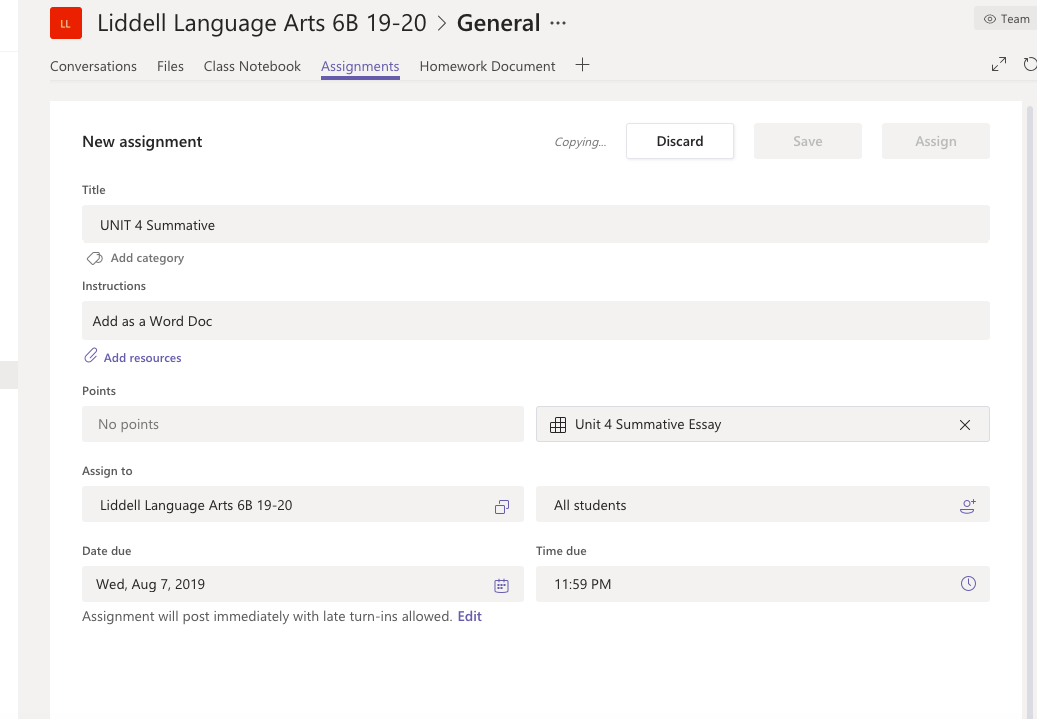
4. Then you will get the old assignment from the old Teams to new one.
Task 5: How to Archive old Team
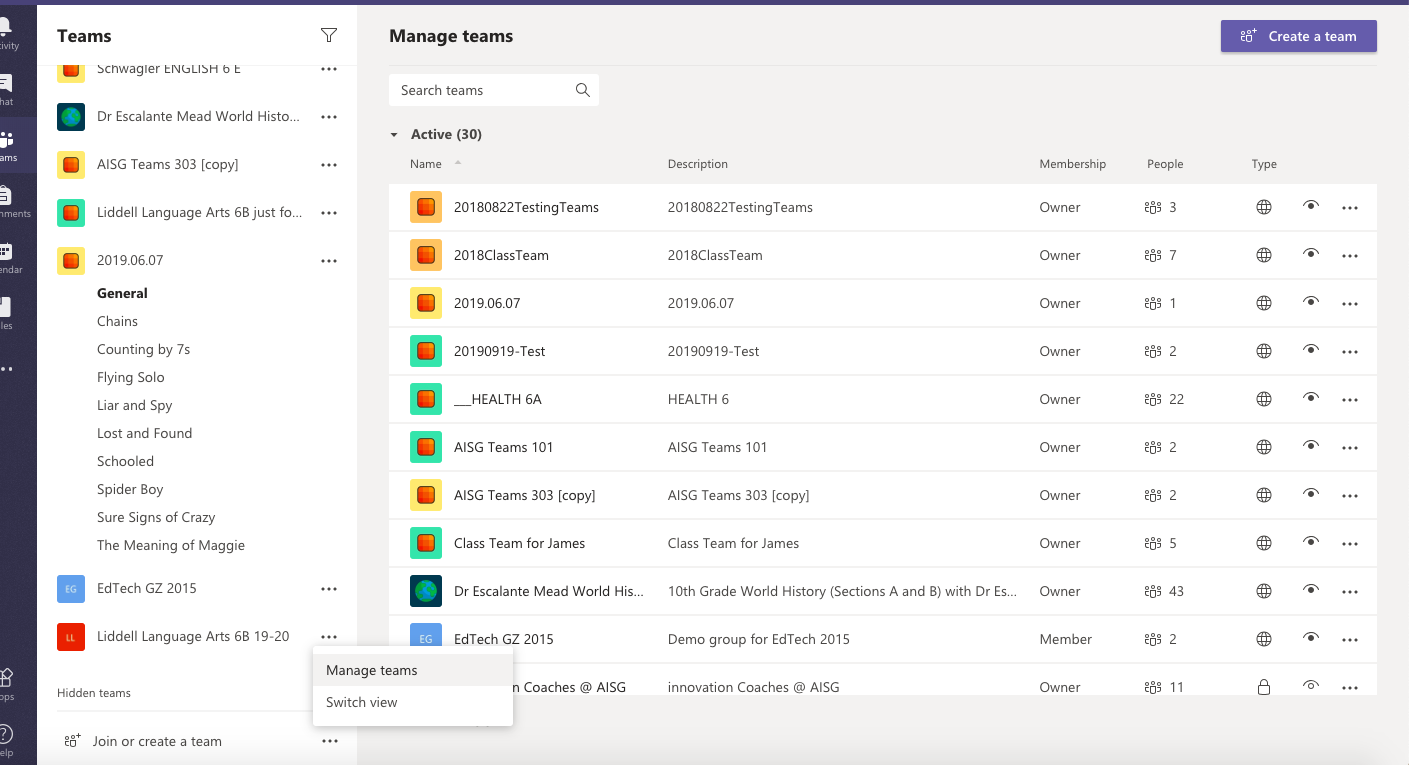
- Click “Manage Teams” like the screenshot below.
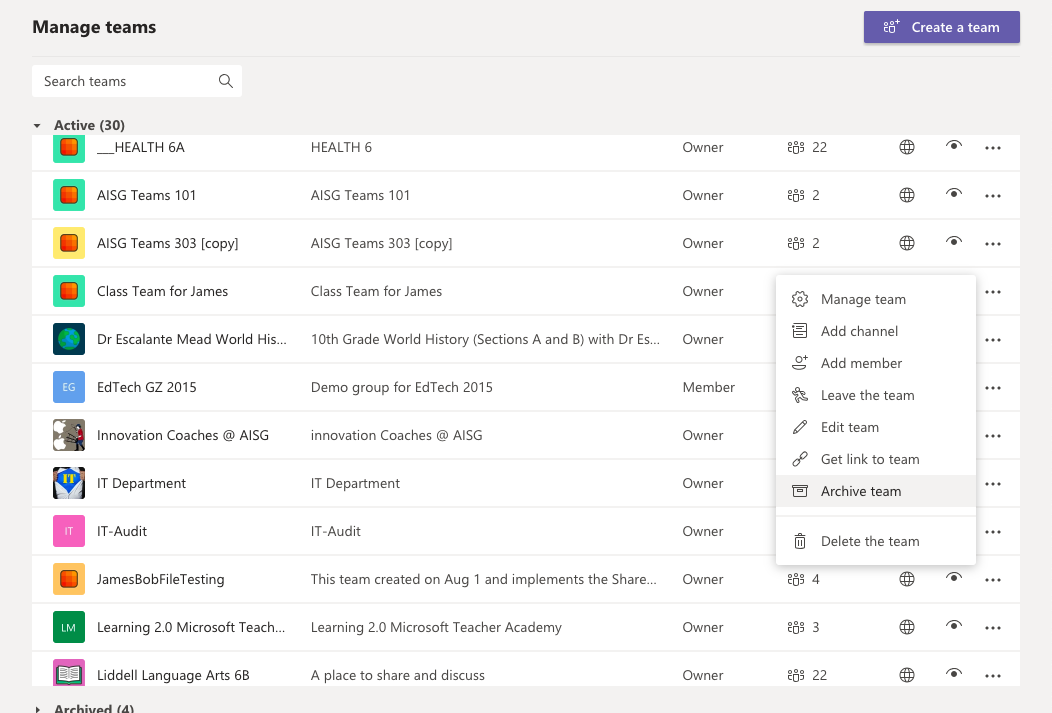
2. Choose the Teams and Archive the teams like this way.
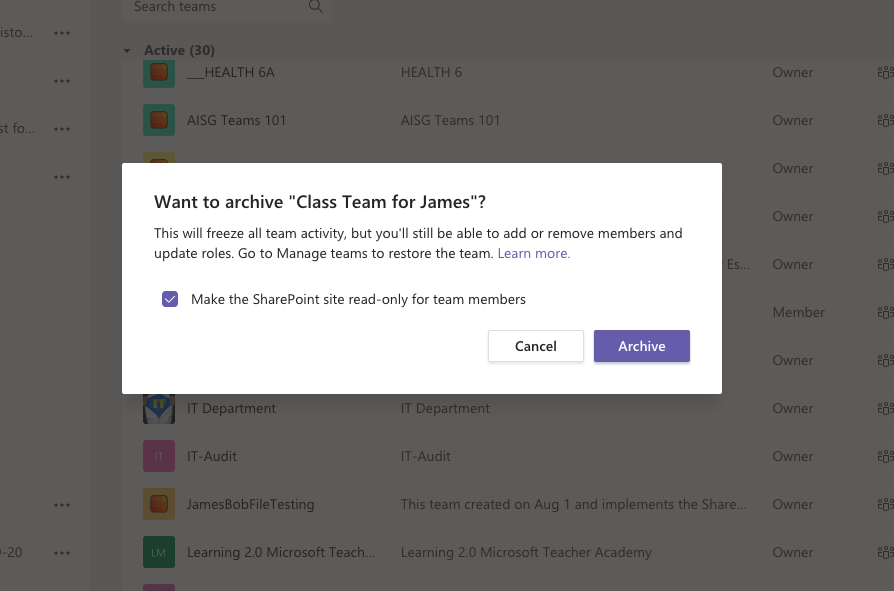
3. Check the box and let the old Teams set as read only for the member and click “Archive”.
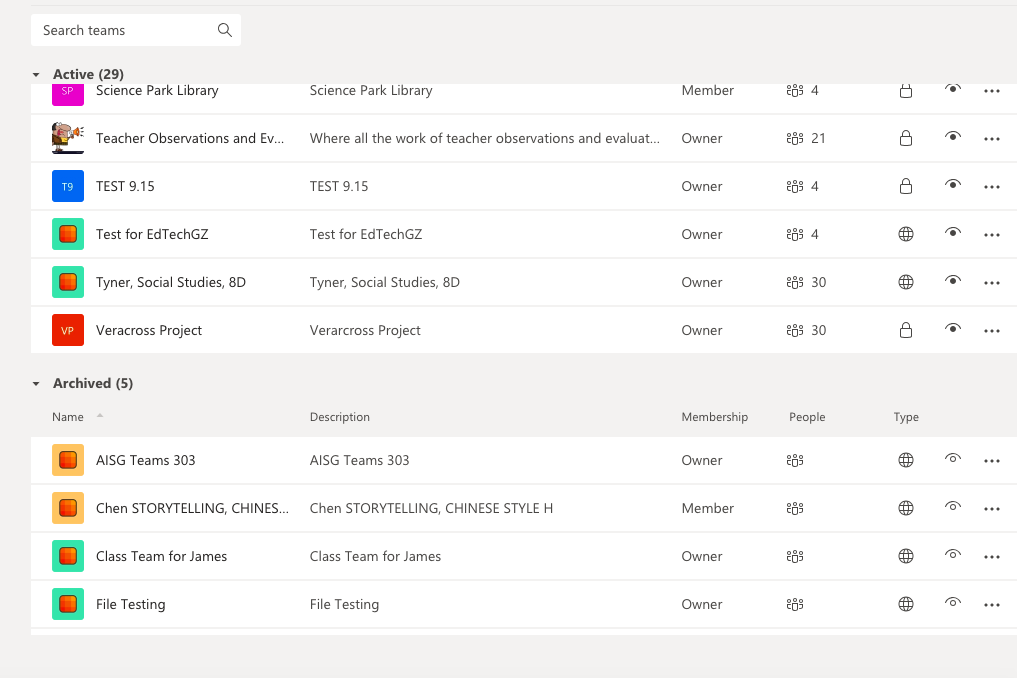
4. You can expend the Archive icon and find all your archive team like the screenshot below:
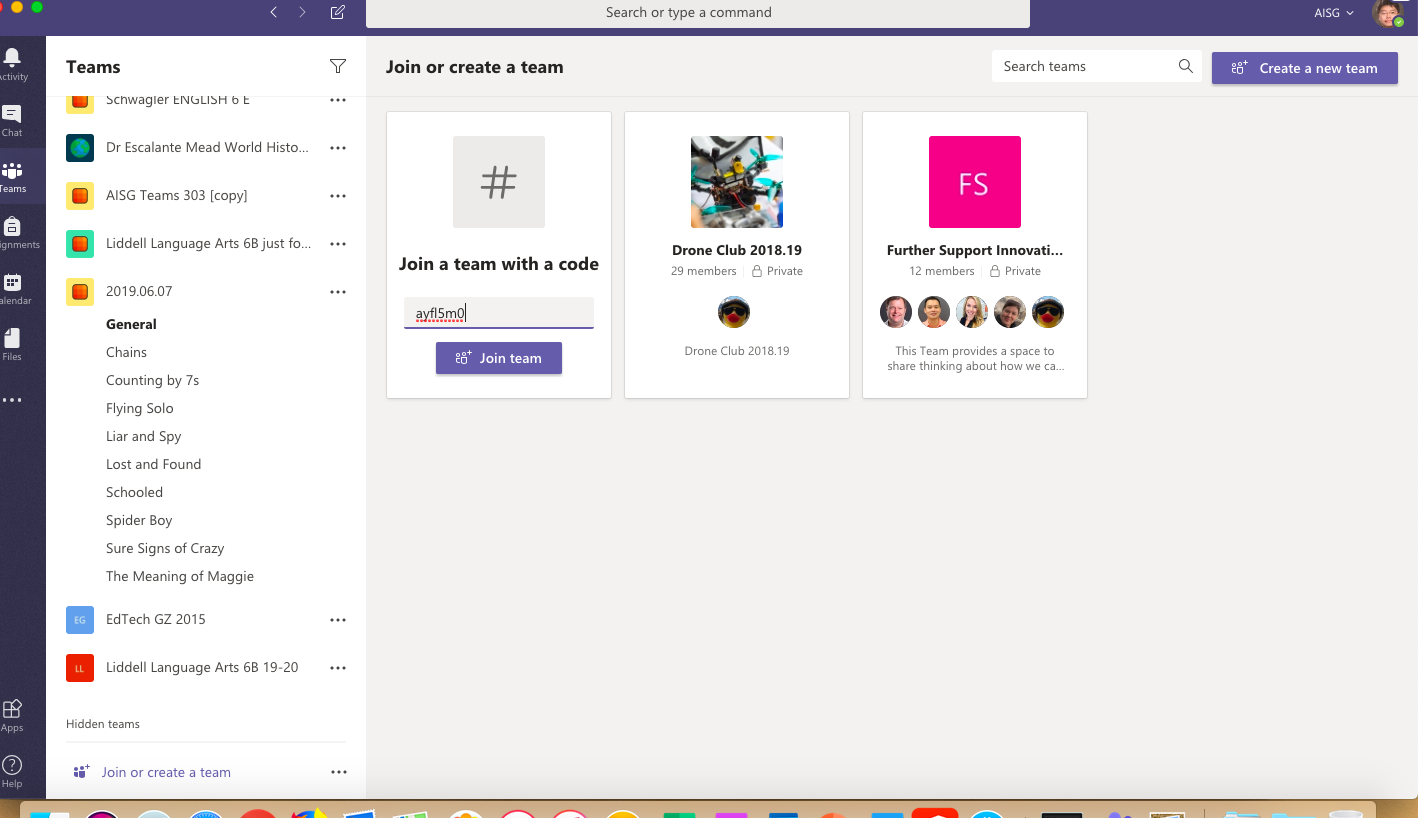
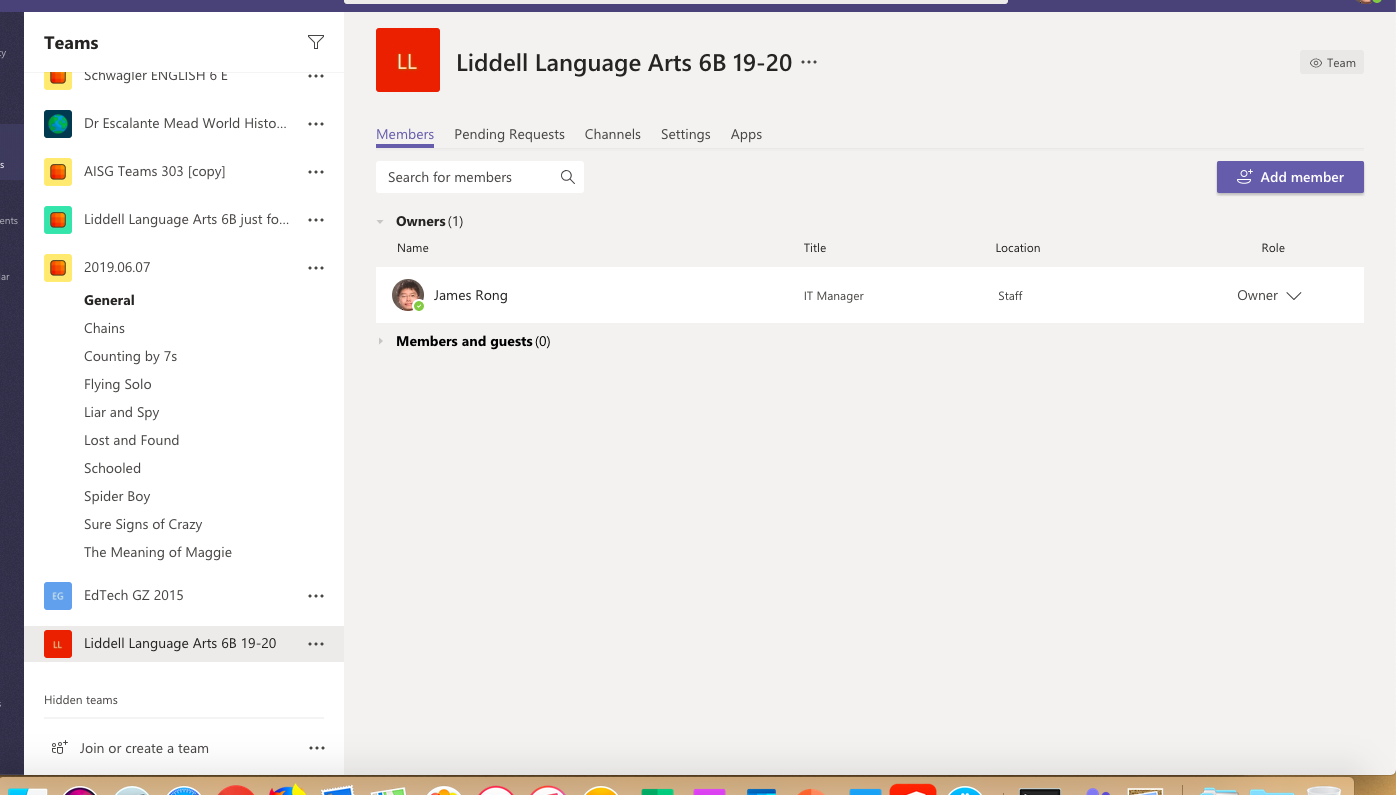
Task 5: How to use Teams code invite Kid to join the Teams.
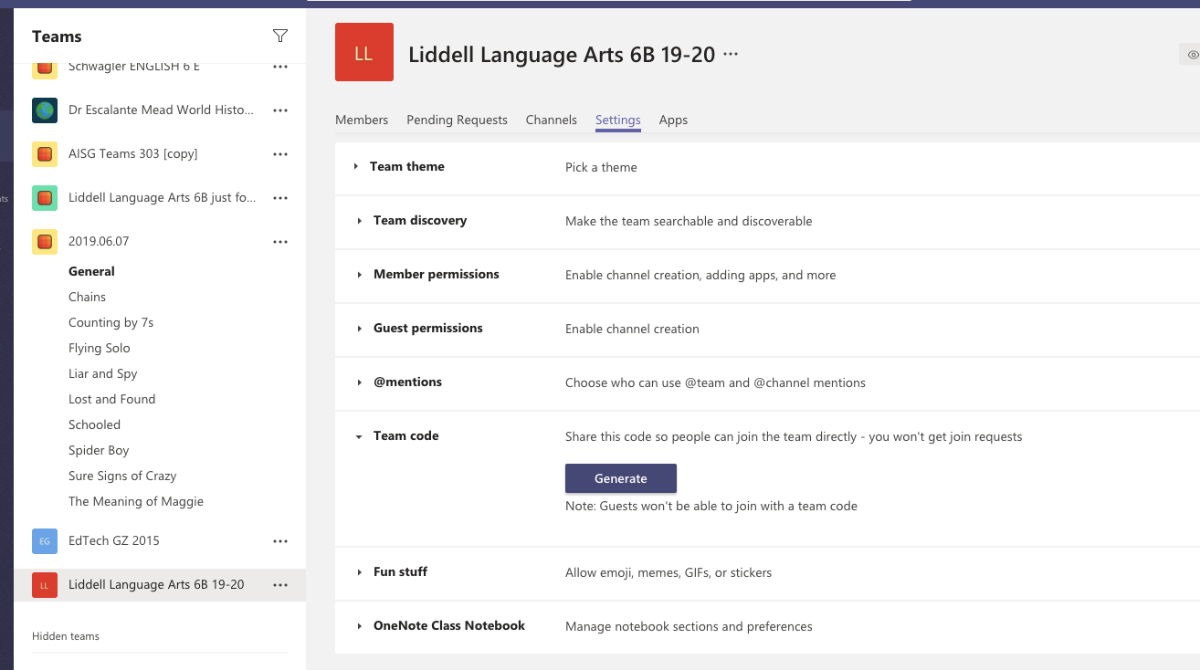
- Click Mange Teams and access to “Setting” tab.
2. Click “Generate” to get a code for the Teams.
3. Copy the code and share to your kids.
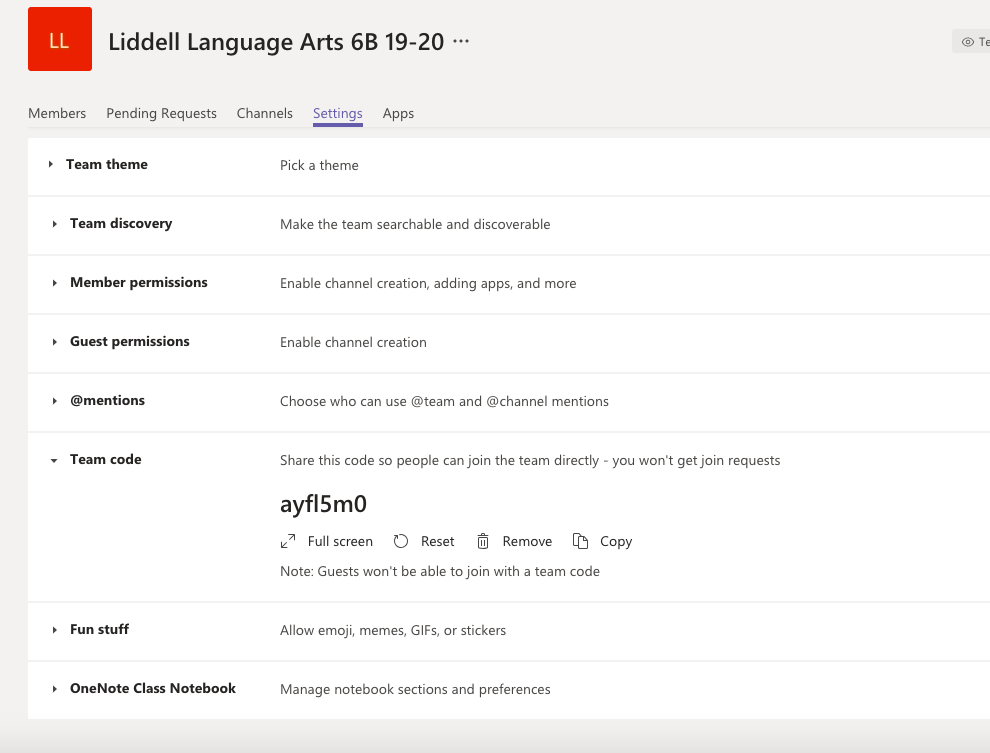
4. Student should use your code to join the Teams like this way.