My last article show how to use Office 365 platform to start an E-Learning course with desktop(PC & Mac) as our school have to provide the online video course to student around the world during this period. Some of our teachers report that they will come back later after the school open again. However, they never bring school’s computer during holiday. The good news is Teams can not only work on desktop, but also work on all kinds of mobile devices. So the end user can even use their iPad or even phone to present the online course. The end user interface is different compare with the desktop version and mobile version, so I will show you how to start the E-Learning course from iPad today. They Android and iPhone should similar.
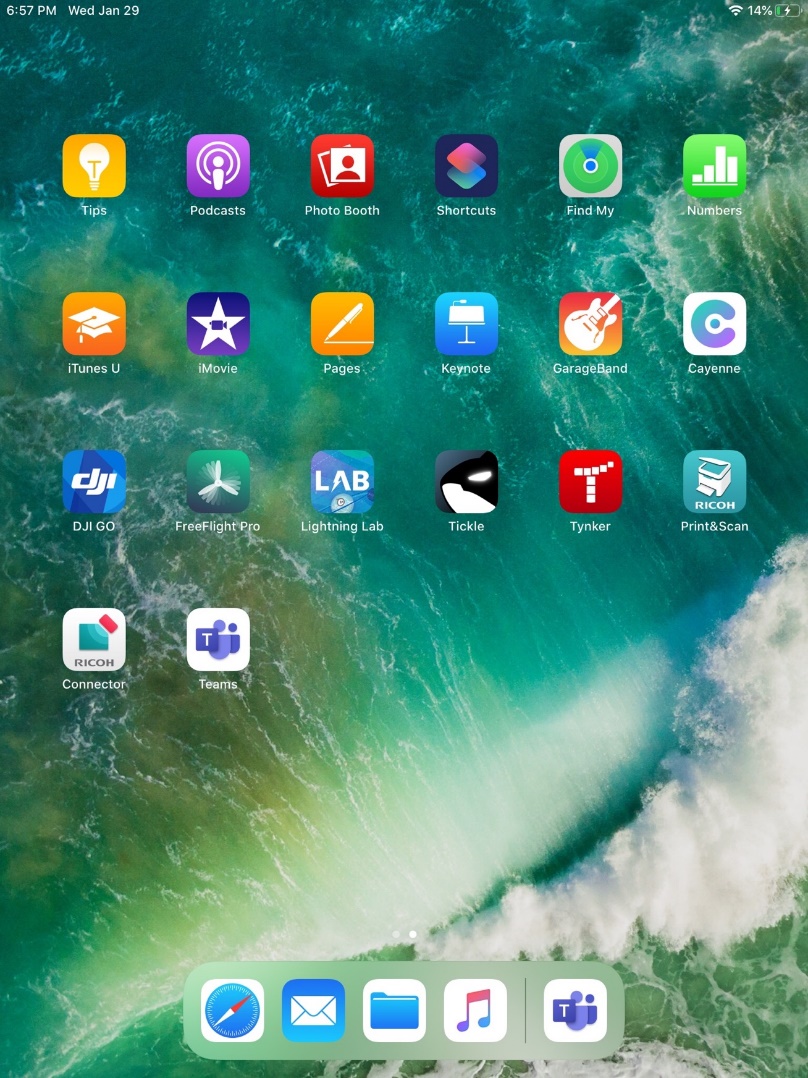
- Open the Teams client on your iPad.
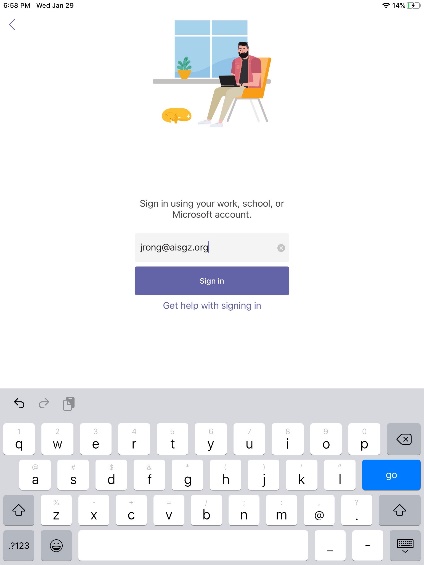
2. Login with your school’s account.
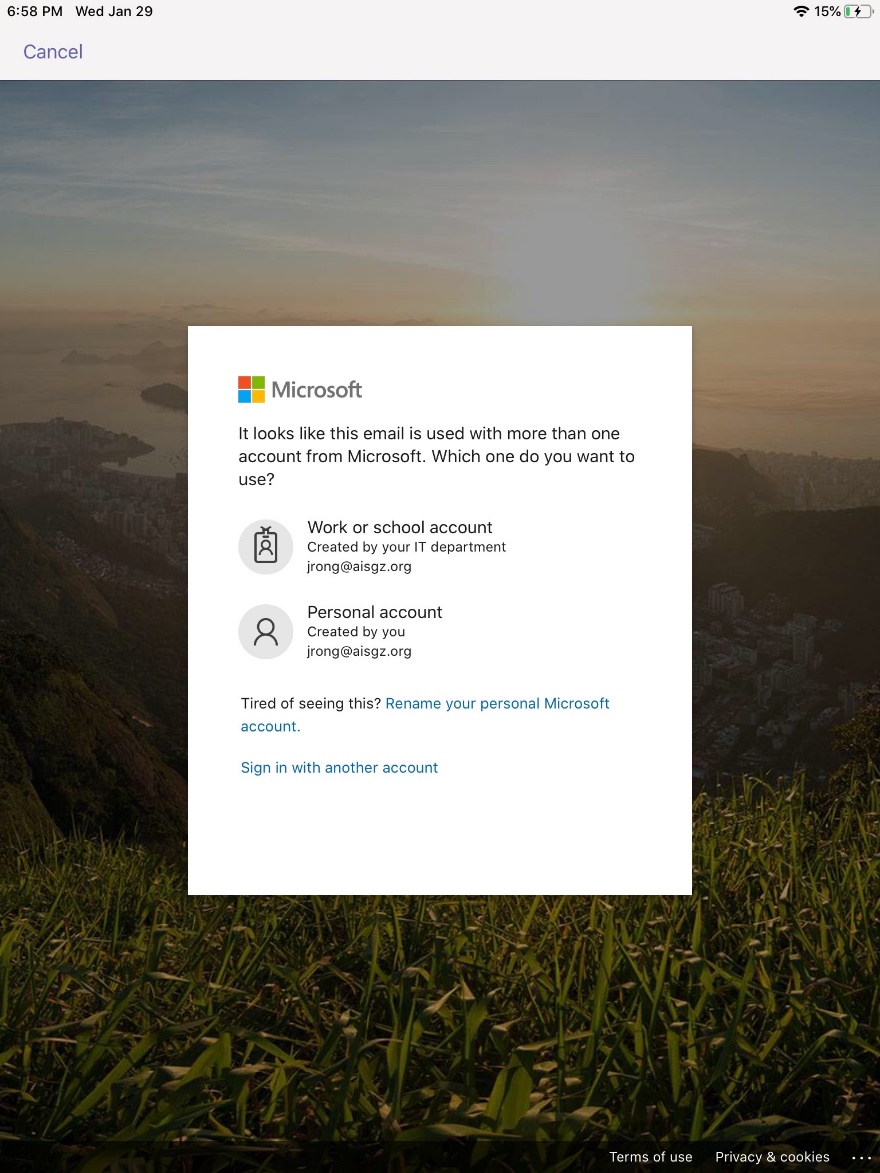
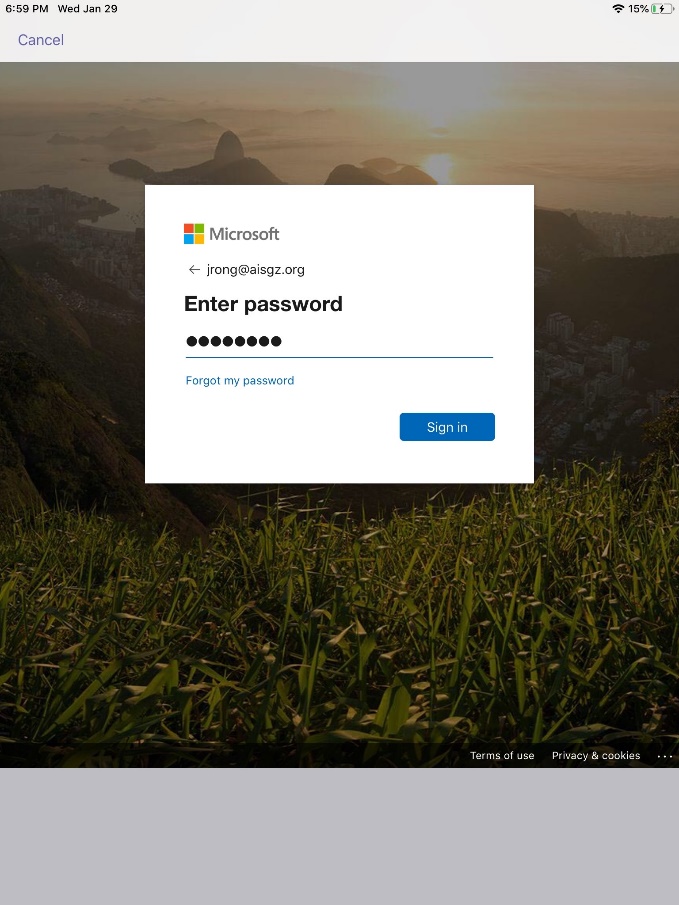
3. Choose “Work or school account”.
4. Type in your password.
5. As we can not start the video call from Teams’ post tab directly compare with the desktop app. So we need to find another method to start the E-Learning course from mobile device.
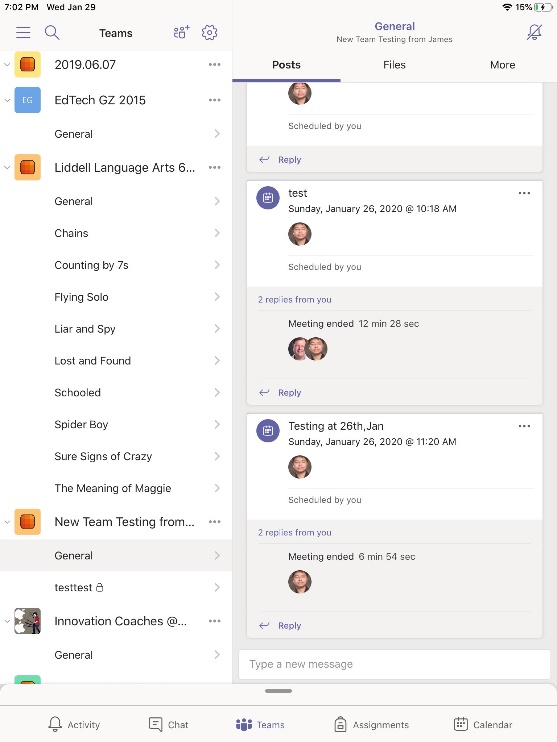
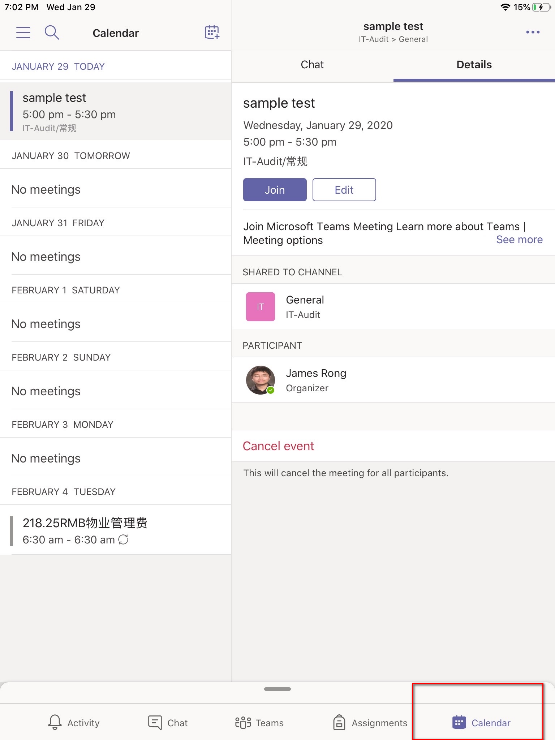
6. If you want to start the E-Learning course from iPad, you should open the calendar first.
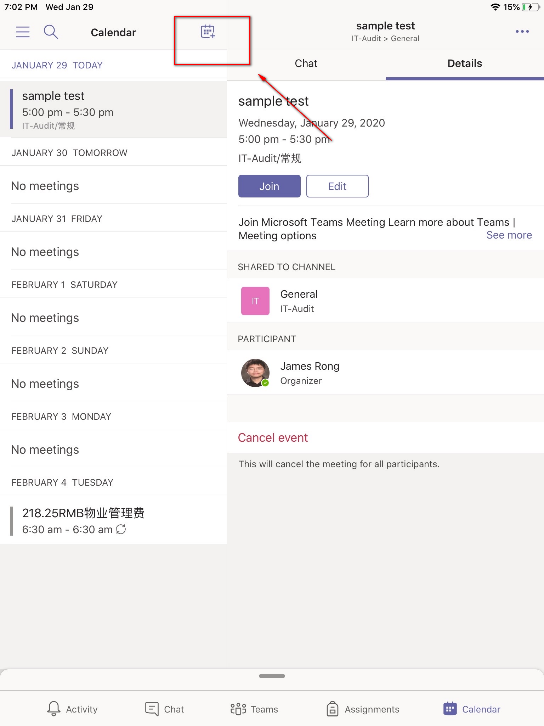
7. Create the online course from this icon.
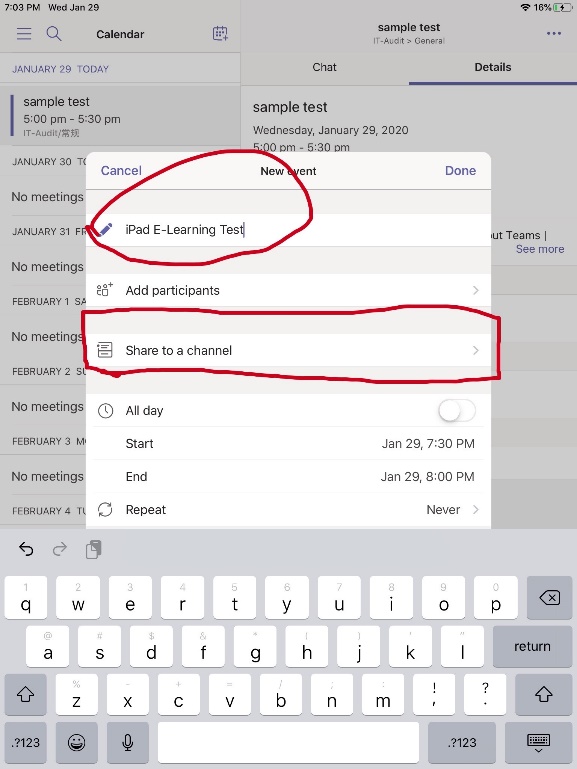
8. Named for the online course and click into “Share to a channel” so that you can assign the online course under the Teams’ channel.
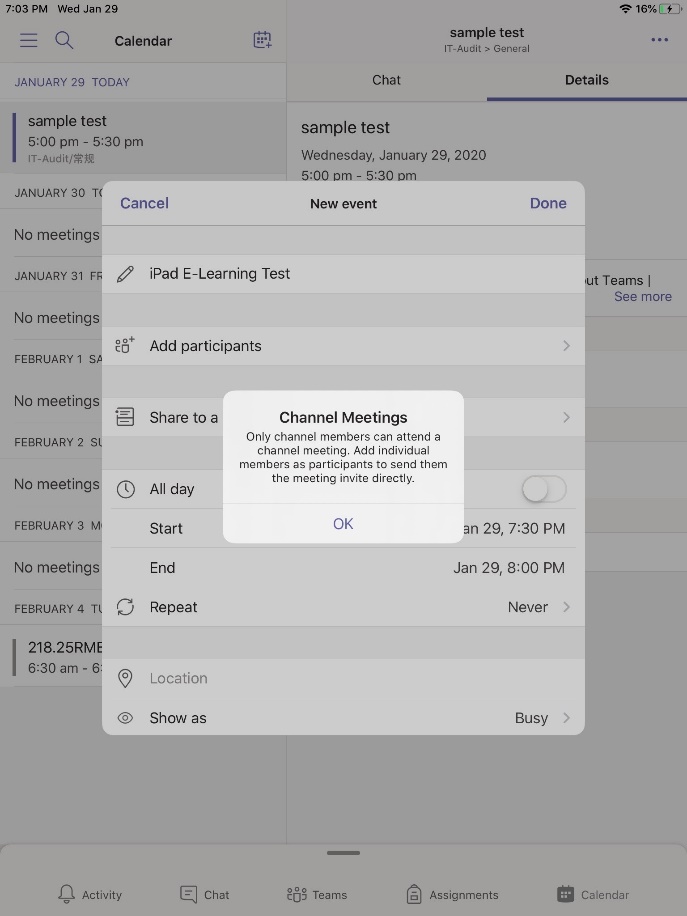
9. Click “OK”. Noted: once you assign the meeting to one of the Teams, all the team member will got the notification from their calendar and find the link from Teams’ post tab.
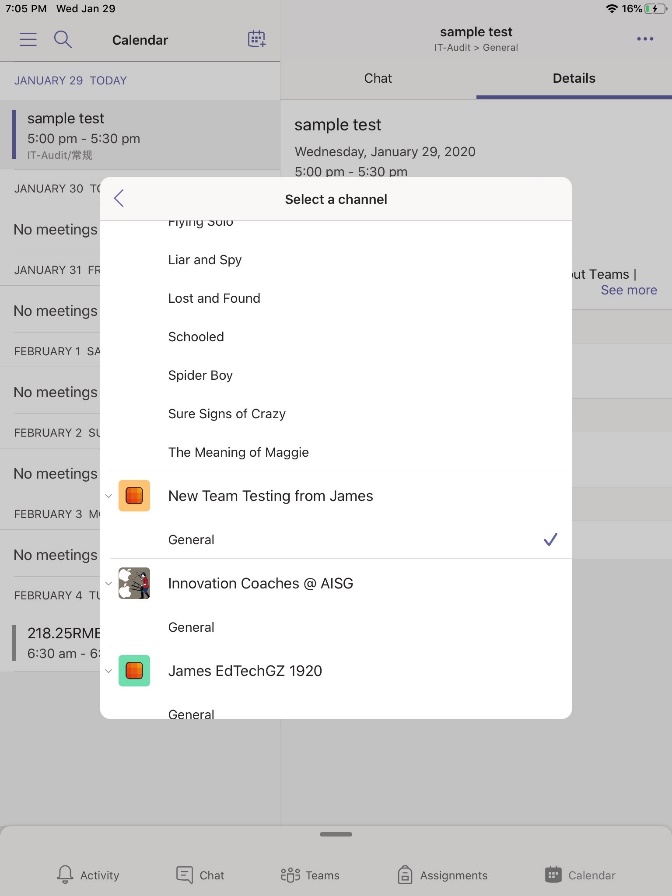
10. Choose the right Teams’ channel you want to assign the online course.
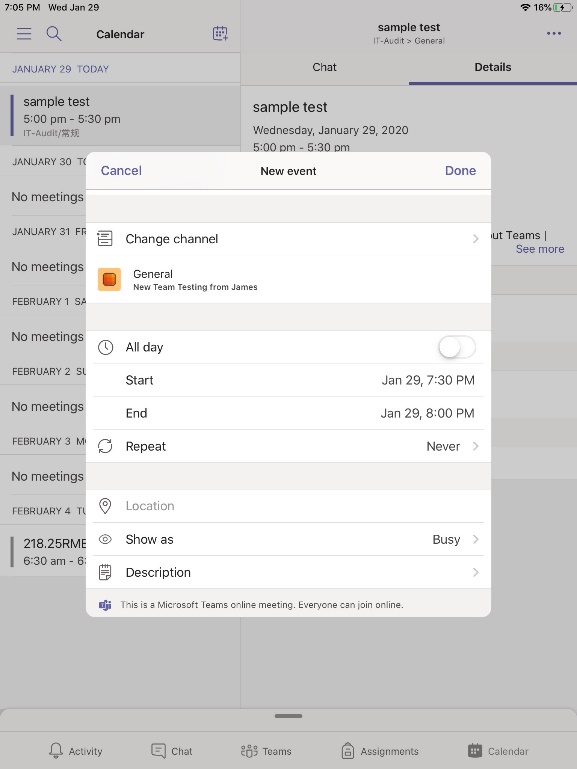
11. Click Done to save the online course.
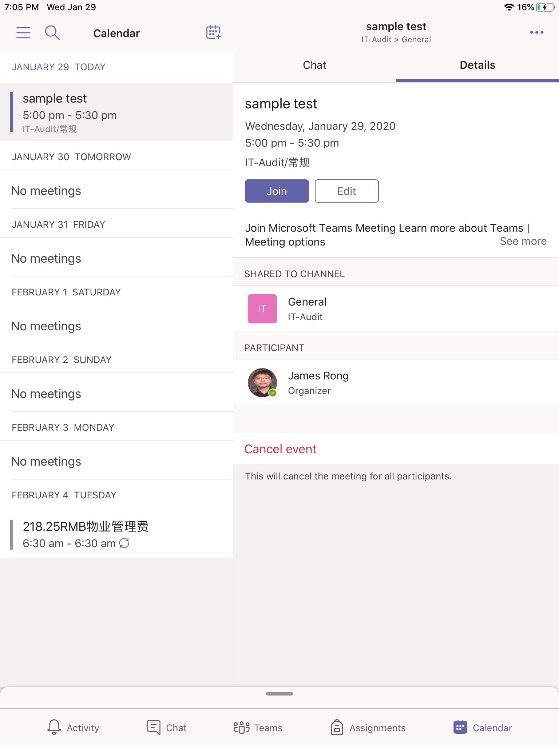
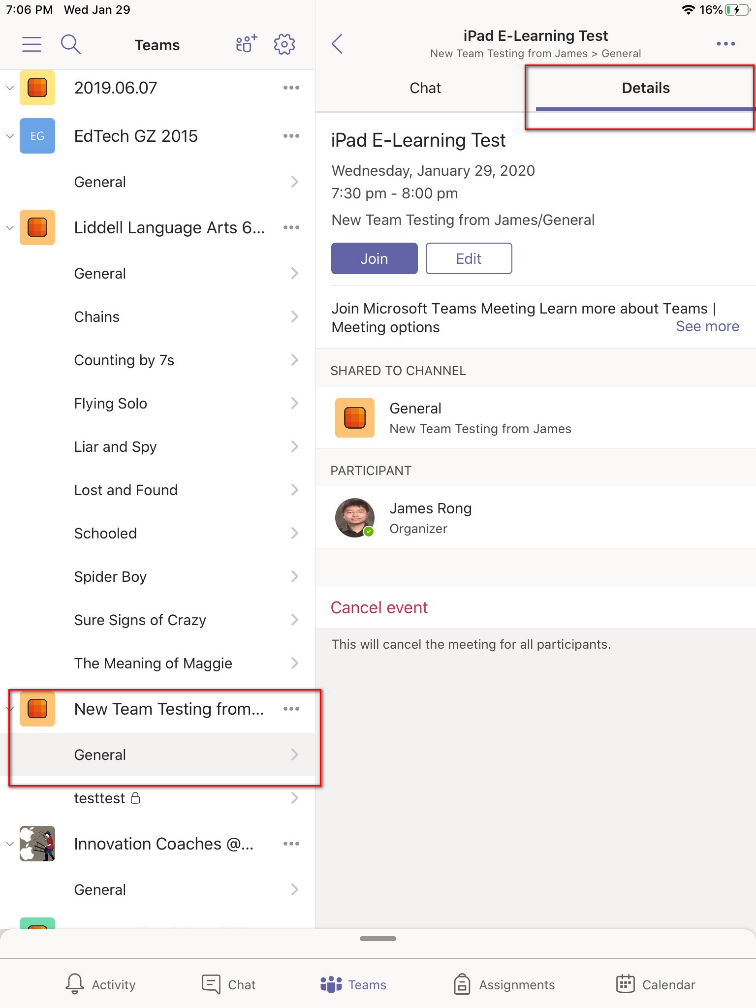
12. Click Join under Calendar tab or find the link in the post tab then you can join the online course after you click into “Detail”.
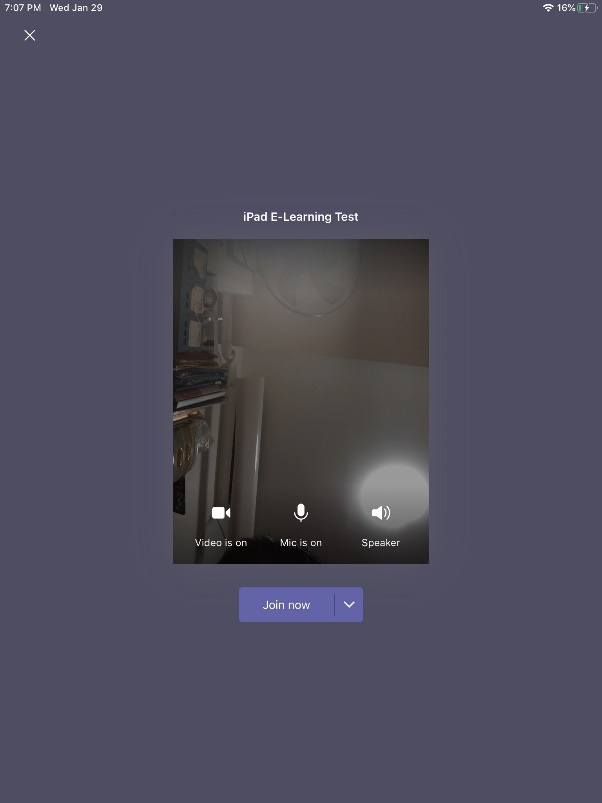
13. Make sure to turn on the video and audio then click Join now. Noted: I suggest teacher should join in the online course at least 10 minutes before the course start as they need sometime to prepare everything.
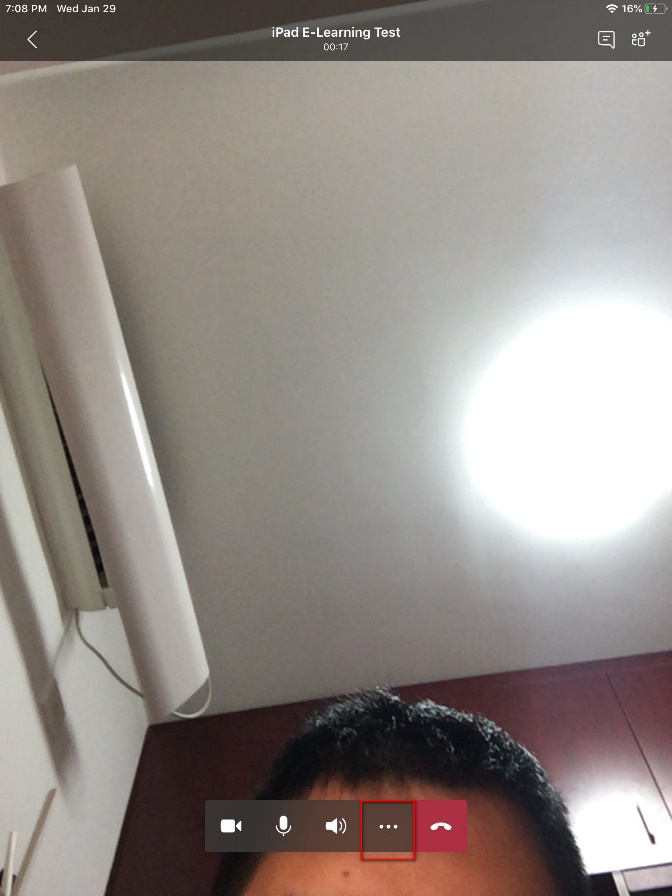
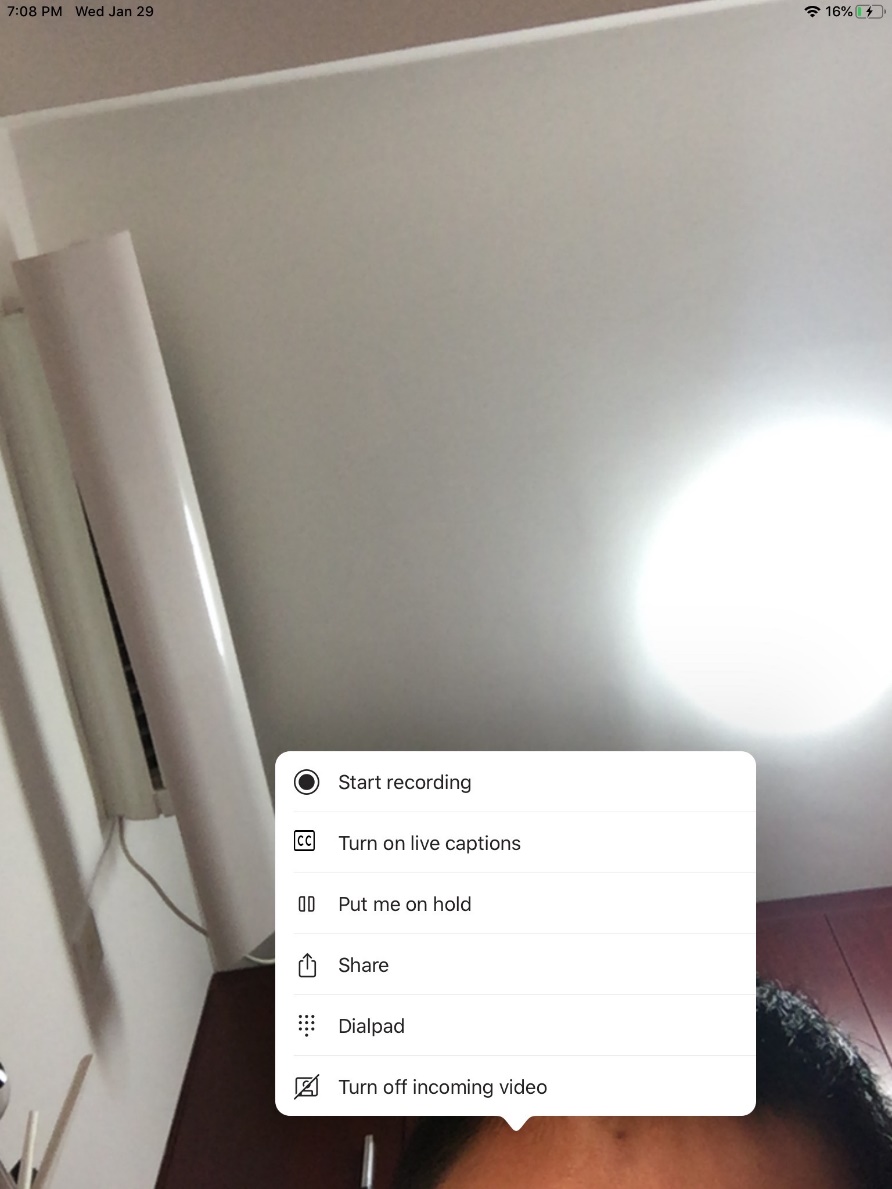
14. Click “…” so that you can modify the setting with the online course.
15. Click “Start recording” so that you can get the recording video after the online course finish and let the kids to review the recording video if they miss the course. Noted: You can try to turn on the live captions feature, even currently it just can capture the English, but I am know that they will support more language soon and the real time translation feature will also available later.
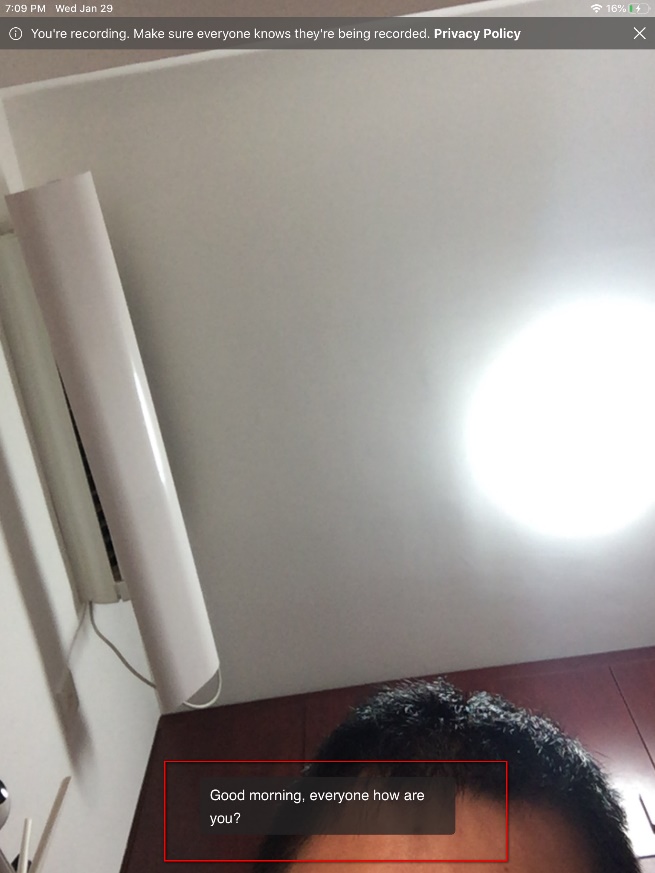
16. Here is the live captions result.
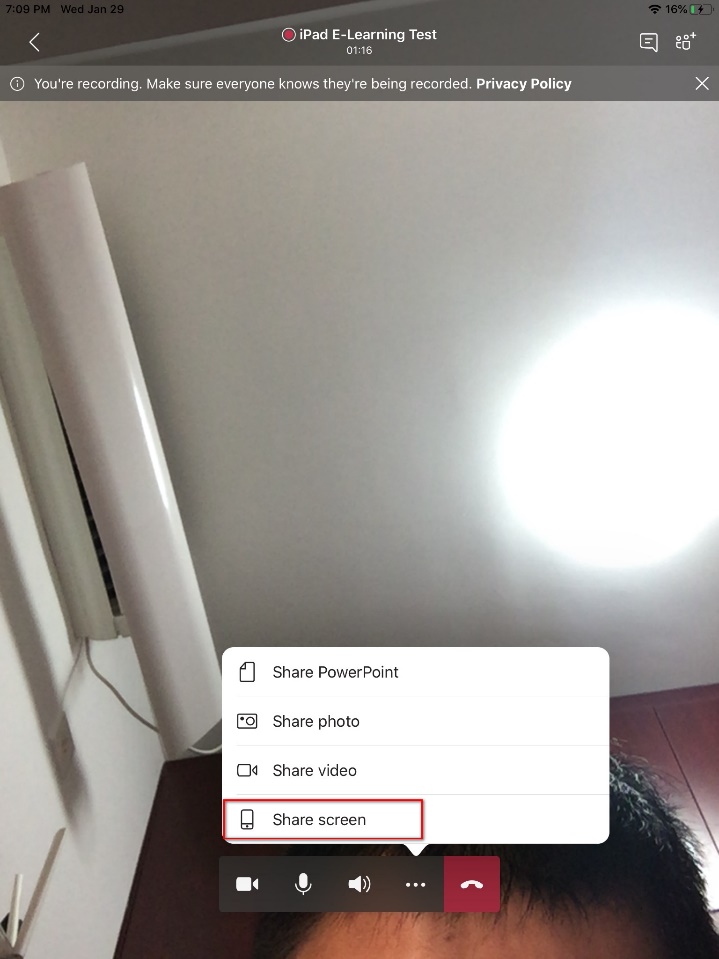
17. Click “Share screen” so that you can share your noted to kids
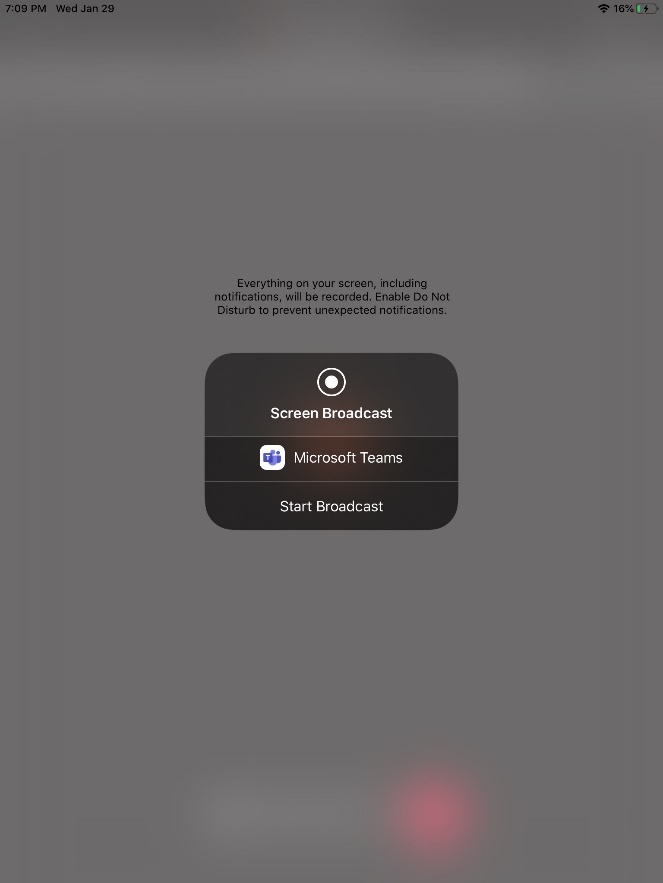
18. Click “Start Broadcast” so you can share your screen to kids.
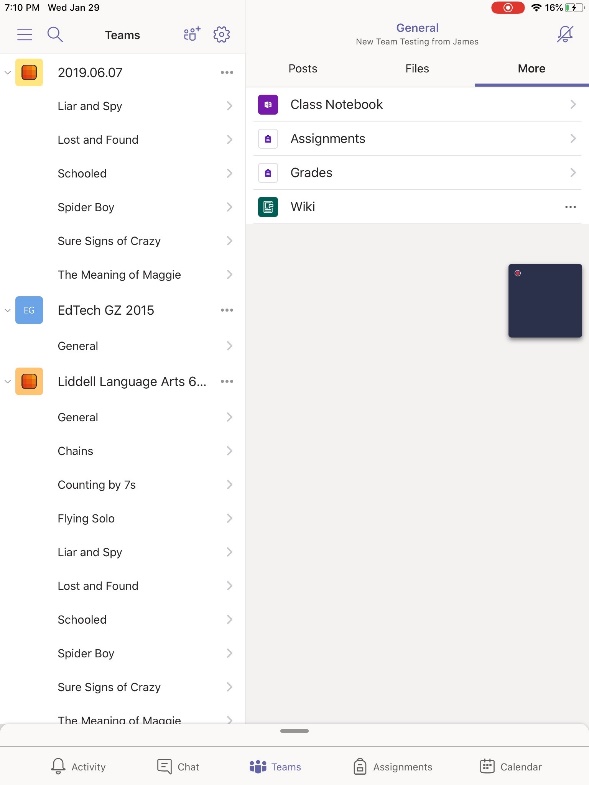
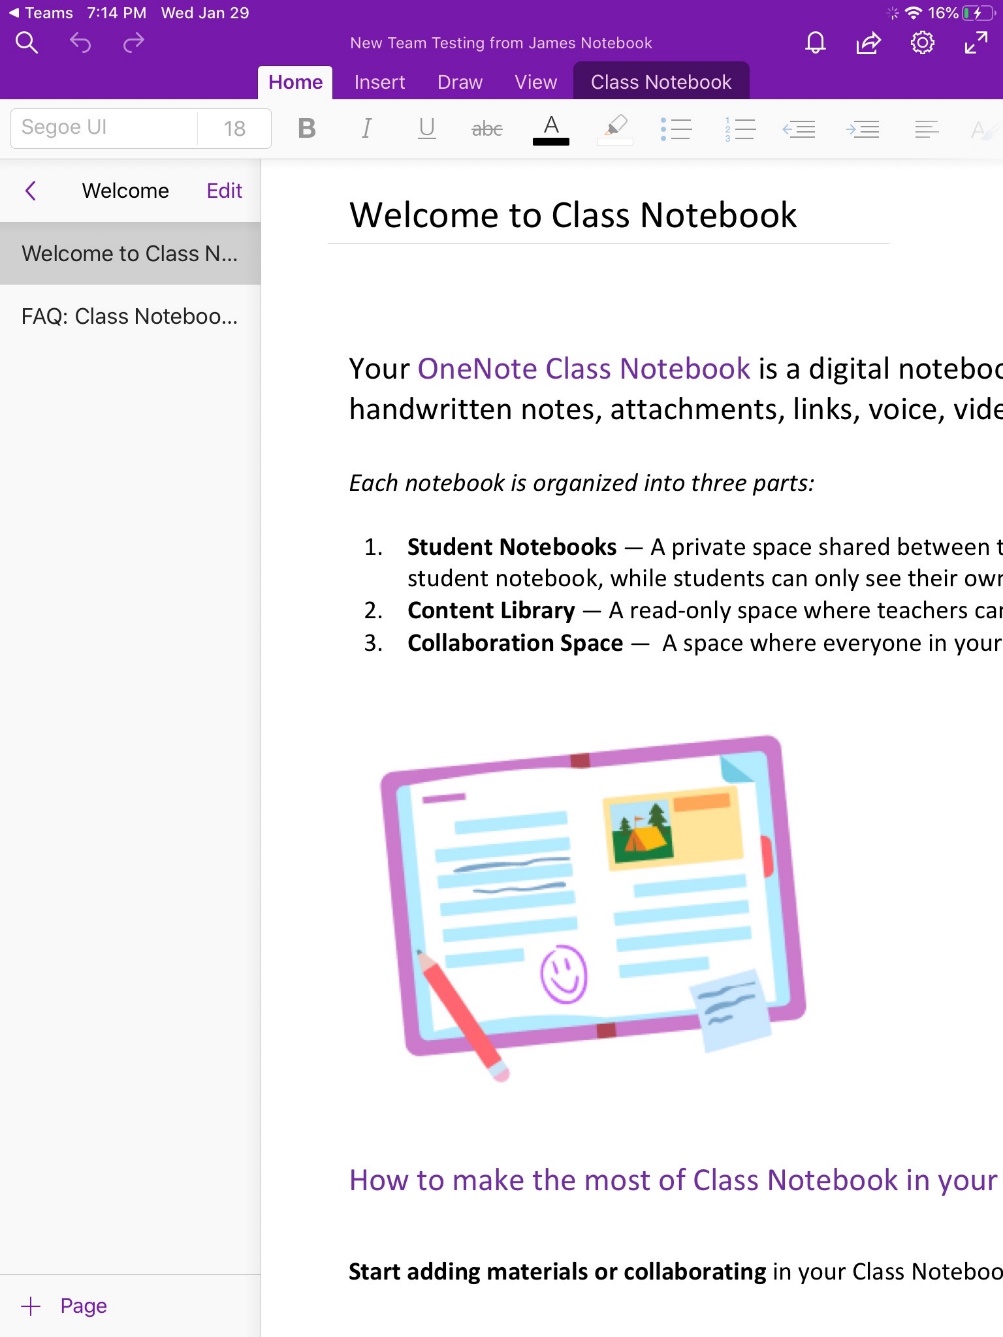
19. For example, you can share your Class Notebook from the screenshot below. Noted: the onenote can not directly modify on Teams client for iPad. You have to install the onenote app on your iPad first.
20. Once you click Onenote Class Notebook, it will jump to the onenote client. And you can cancel the call after the online course finished.
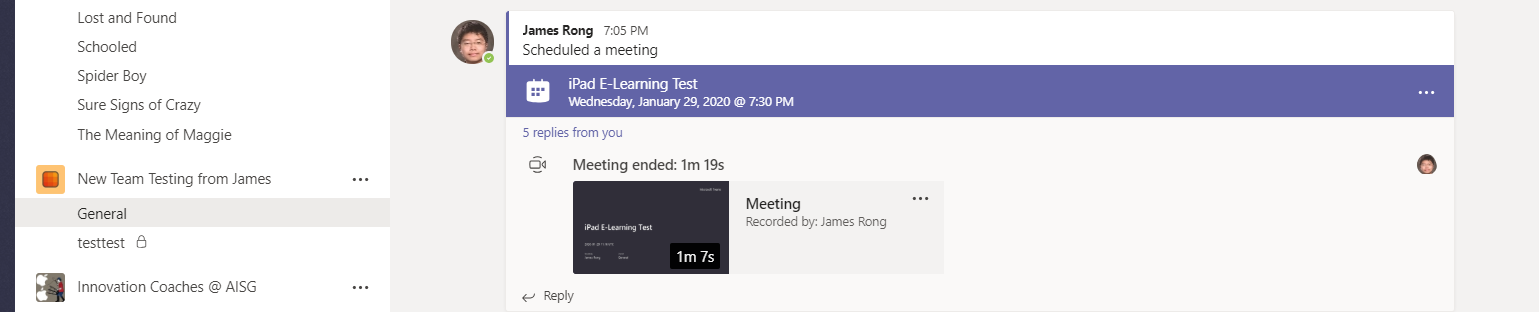
21. Same as my previous article, the recording video will upload the stream and Teams’ post tab after a while. So all the kids who missing the online course can review the recording video when they have time.