Microsoft Office 365 is a SaaS Platform which fits the needs of international school perfectly. Office 365 provides has redundancy database storage and uptime to ensure your users never skip a beat. But it still important for us to have our own backup plan for Office 365 which can let us easier to maintain our data and protect you against many other security threats. My previous article already explain why we need to have our own backup solution for Office 365. Synology NAS is the equipment I used to backup our O365 data. Easy enough to deploy the backup plan and the cost is reasonable. So let’s see how we create a Office 365 backup task from the Synology NAS. If you want to figure out how to install the application, you can find the guides from my last article.
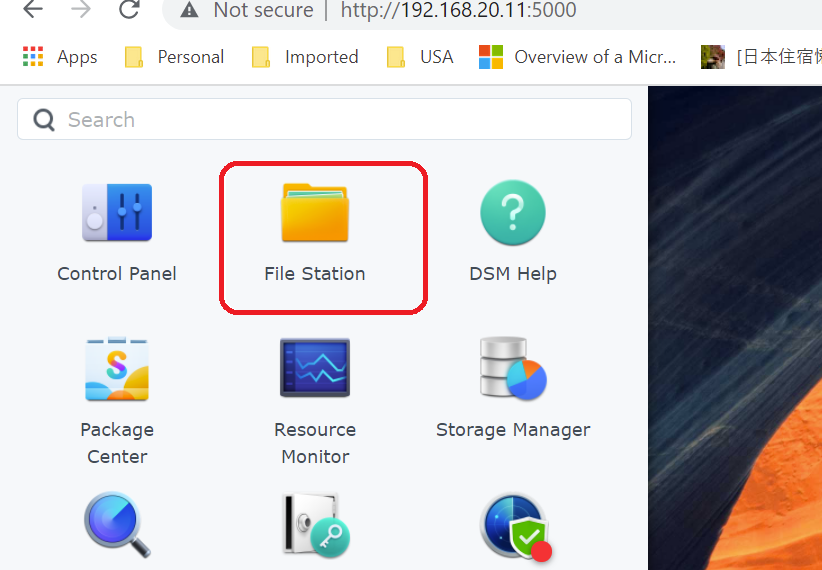
- Login to your NAS and click into the File Station icon to create a share folder to store the O365 backup data.
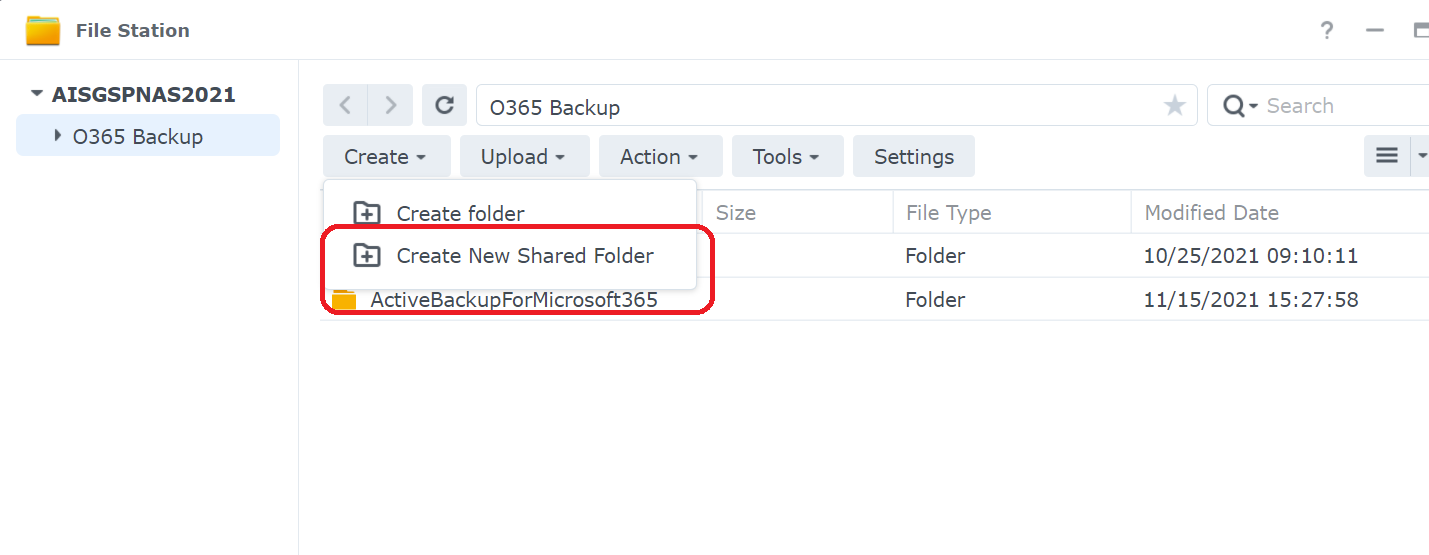
2. Create a new shared folder.
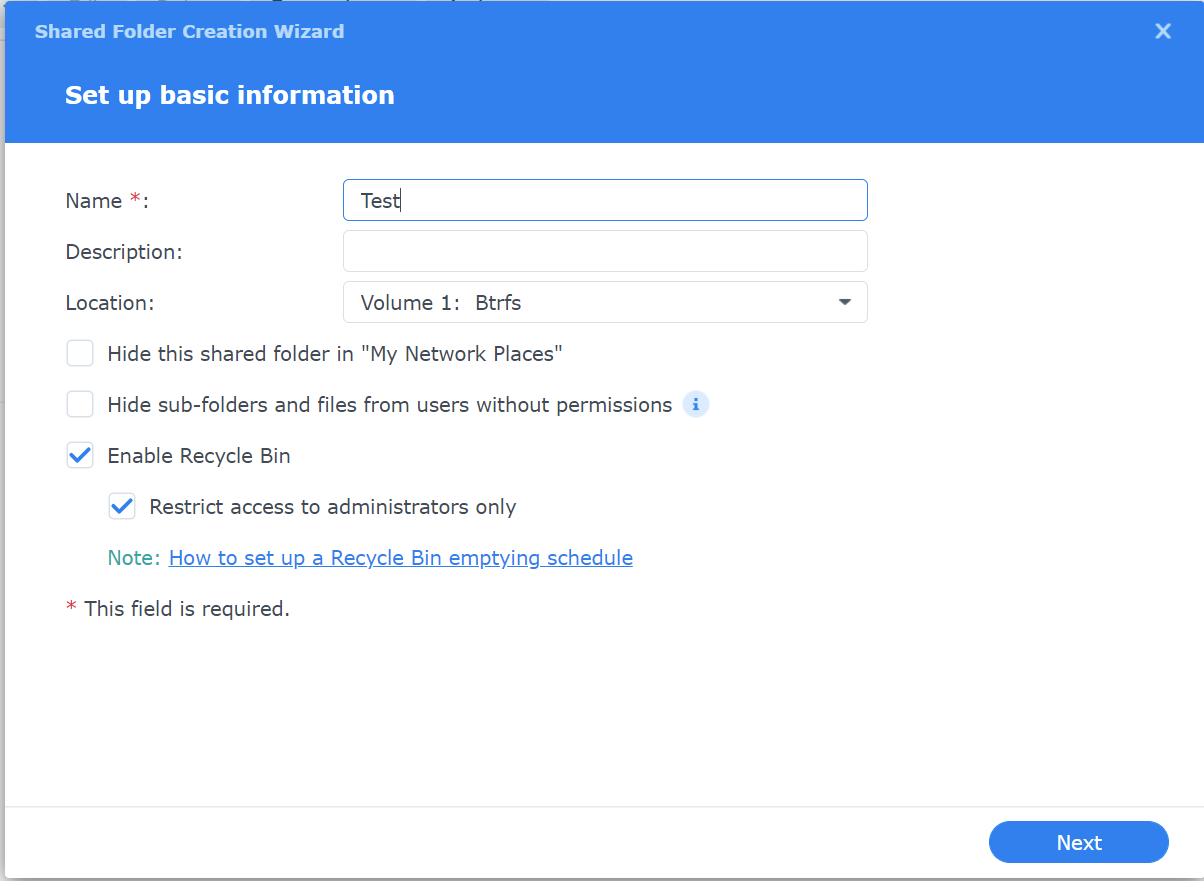
3. Named your share folder.
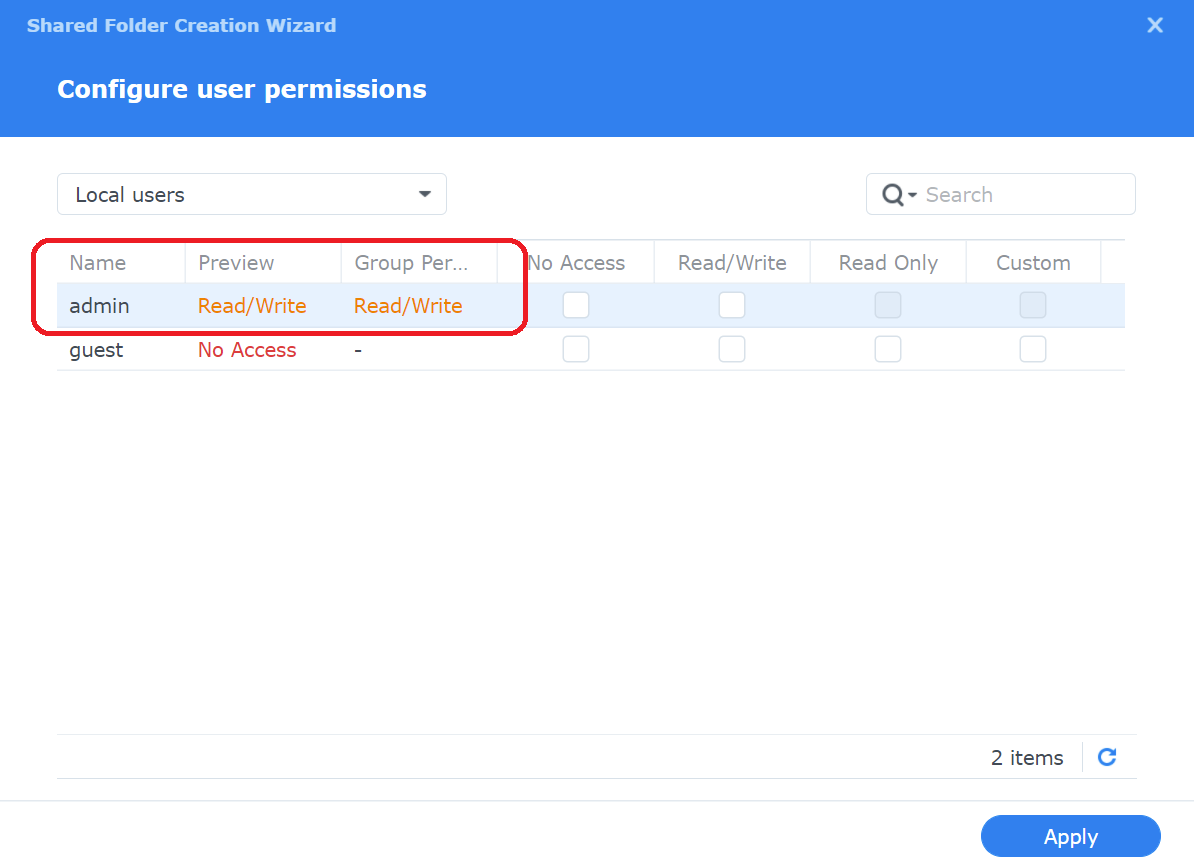
4. Grant the permission for the shared folder with your account.
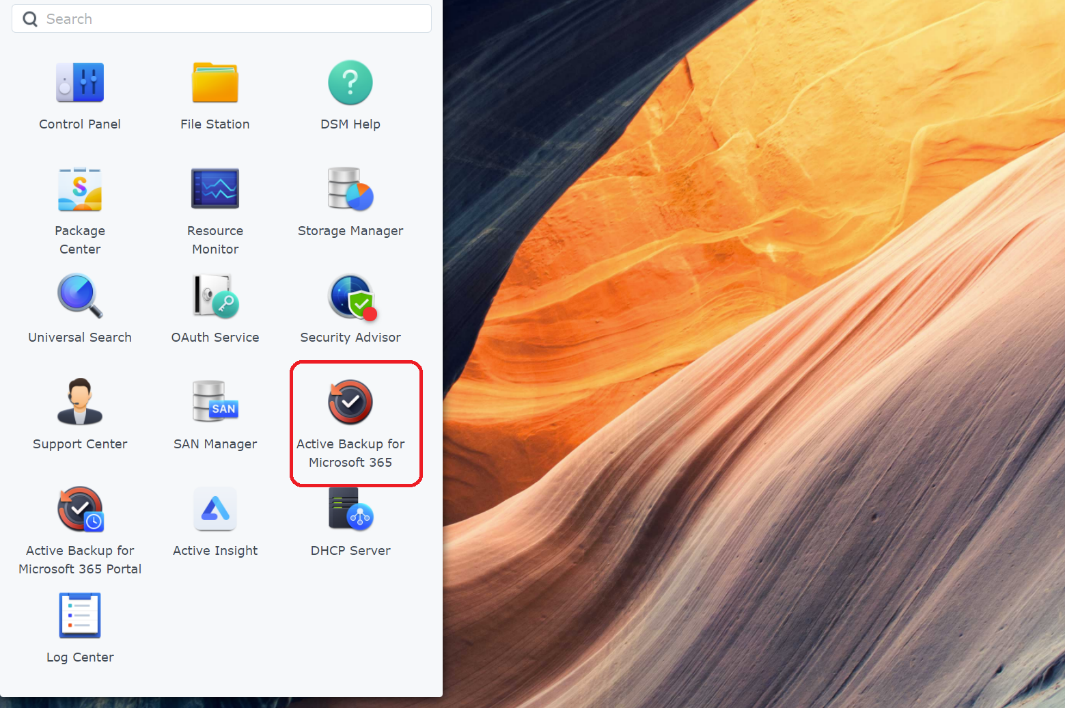
5. Click into the “Active Backup for Microsoft 365” from your admin account.
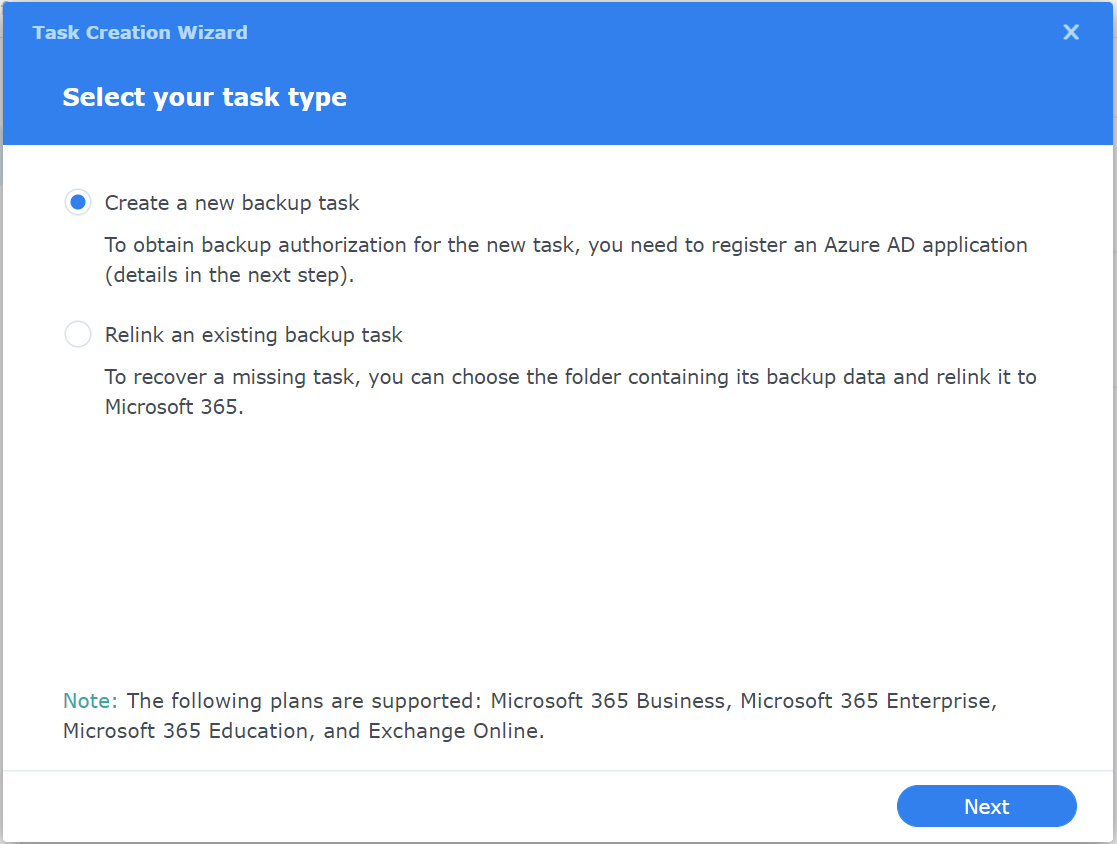
6. Create a new backup task.
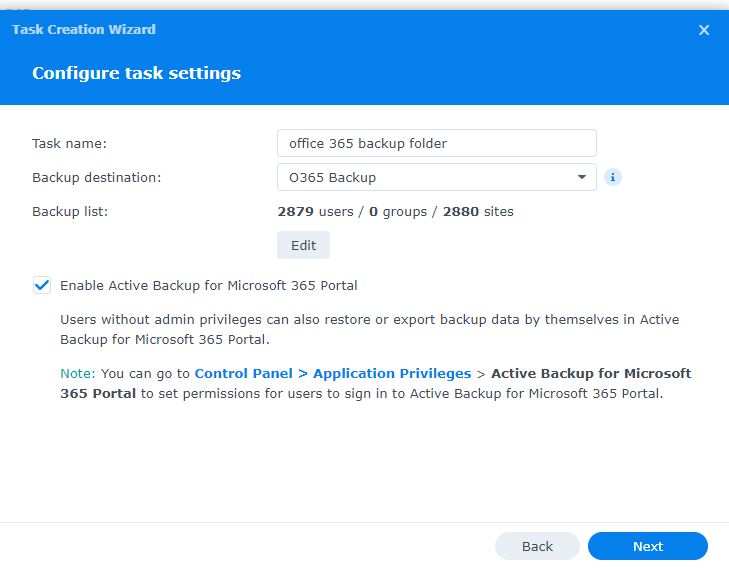
7. Named your backup task and choose the backup destination. Noted: Check the box “Enable Active Backup for Microsoft 365 Portal” so that you can easier to go into the portal to restore your data.
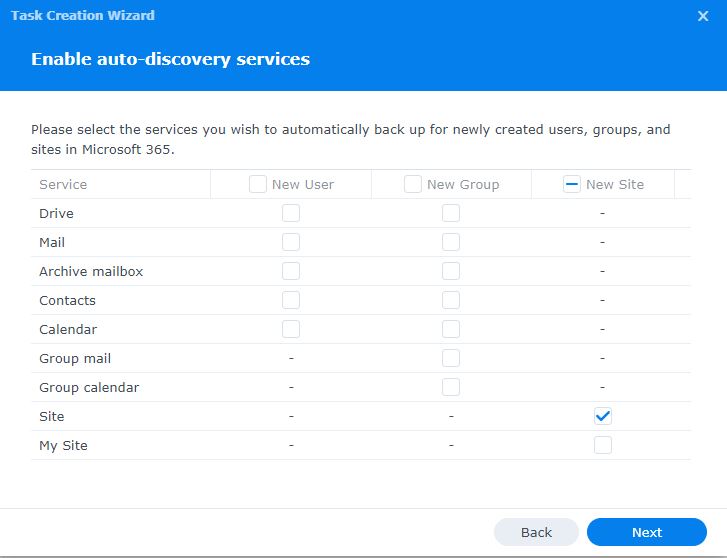
8. Choose the auto-discovery services for all new services create from Office 365.
9. Set up the backup task schedule. Noted: You can decide to save the version for all your file host on Office 365.

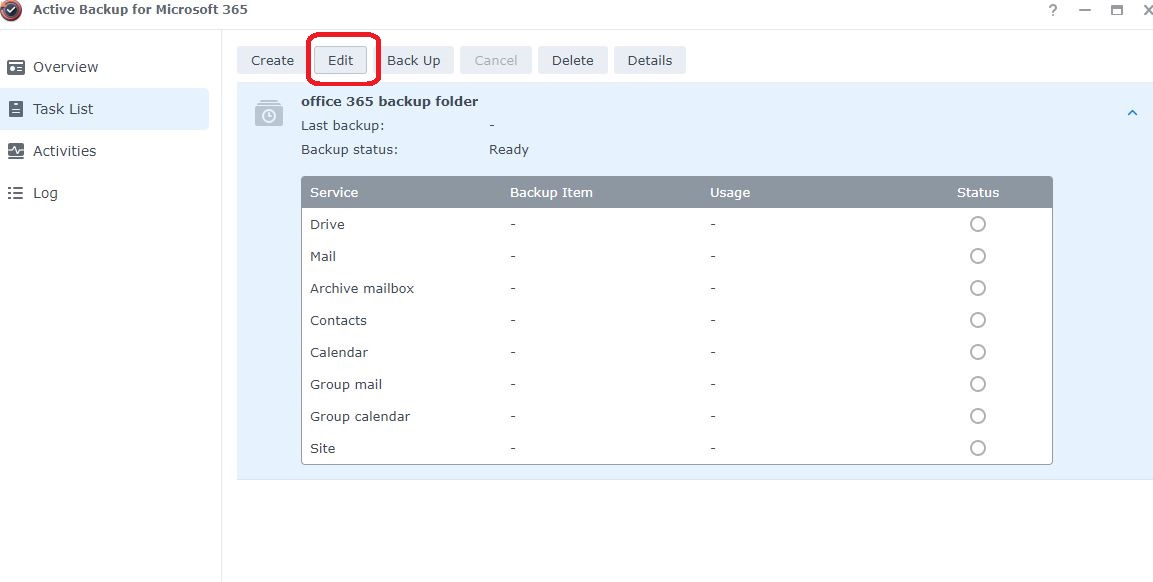
10. Modify you backup task like the screenshot below.
11. Under the User tab, you can choose to backup the specified user’s Onedrive, email, Calendar and their Contacts.

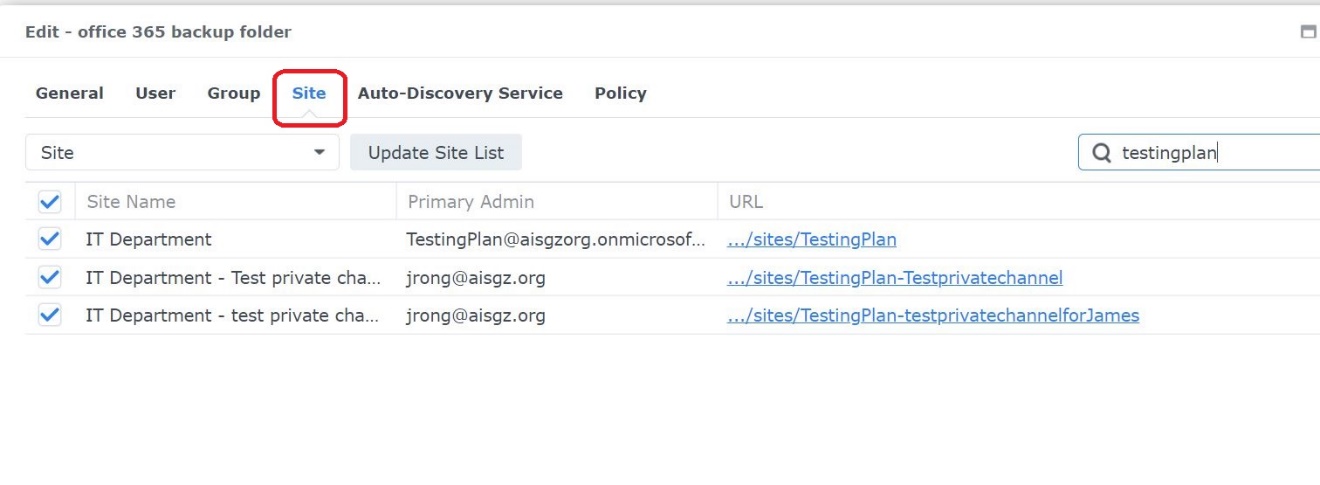
12. Under the site tab, you can choose to backup the specified site’s data. As Teams is also base on the site, so you can also find all your teams here.
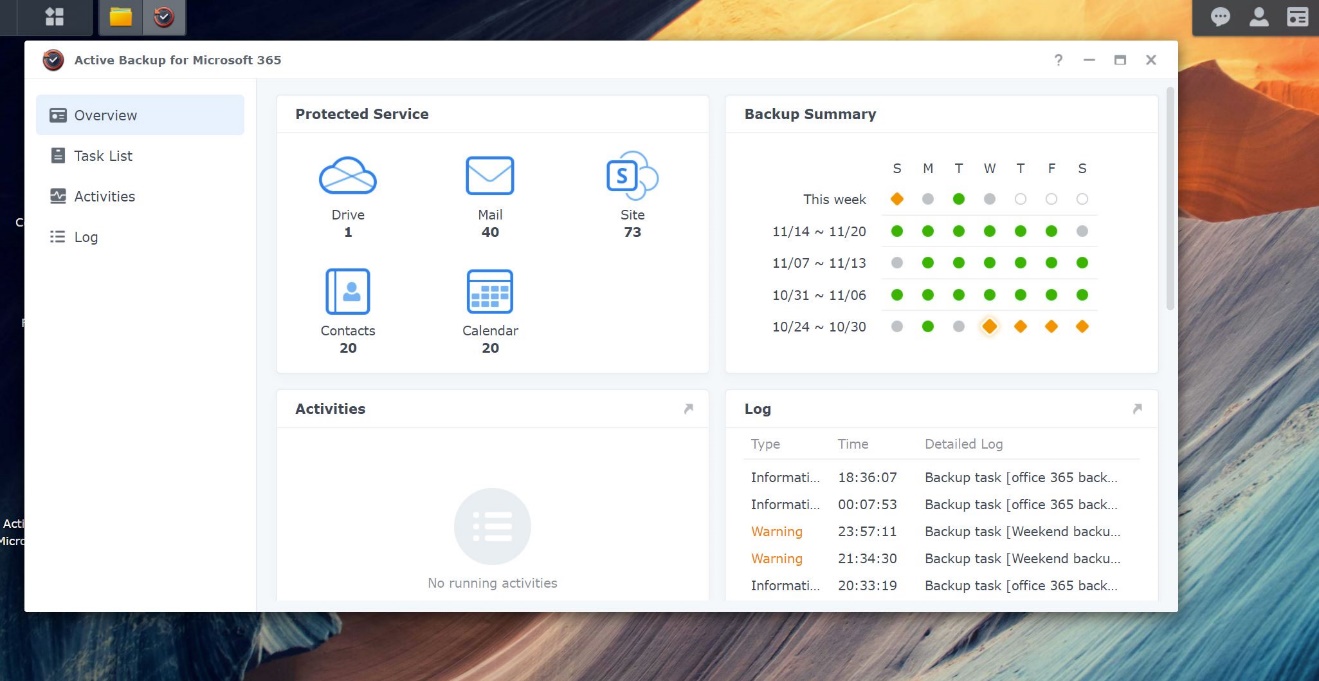
13. Then you will see the task summary in the admin portal.
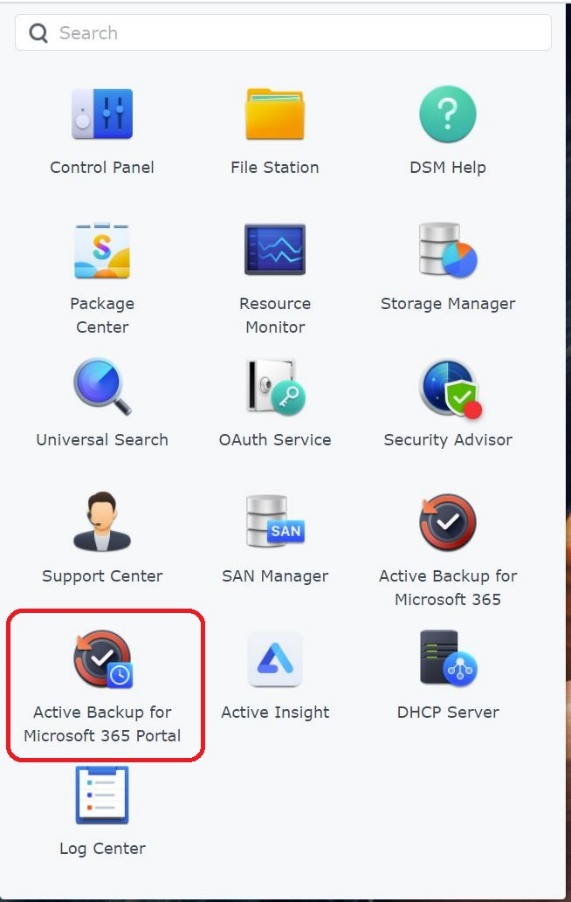
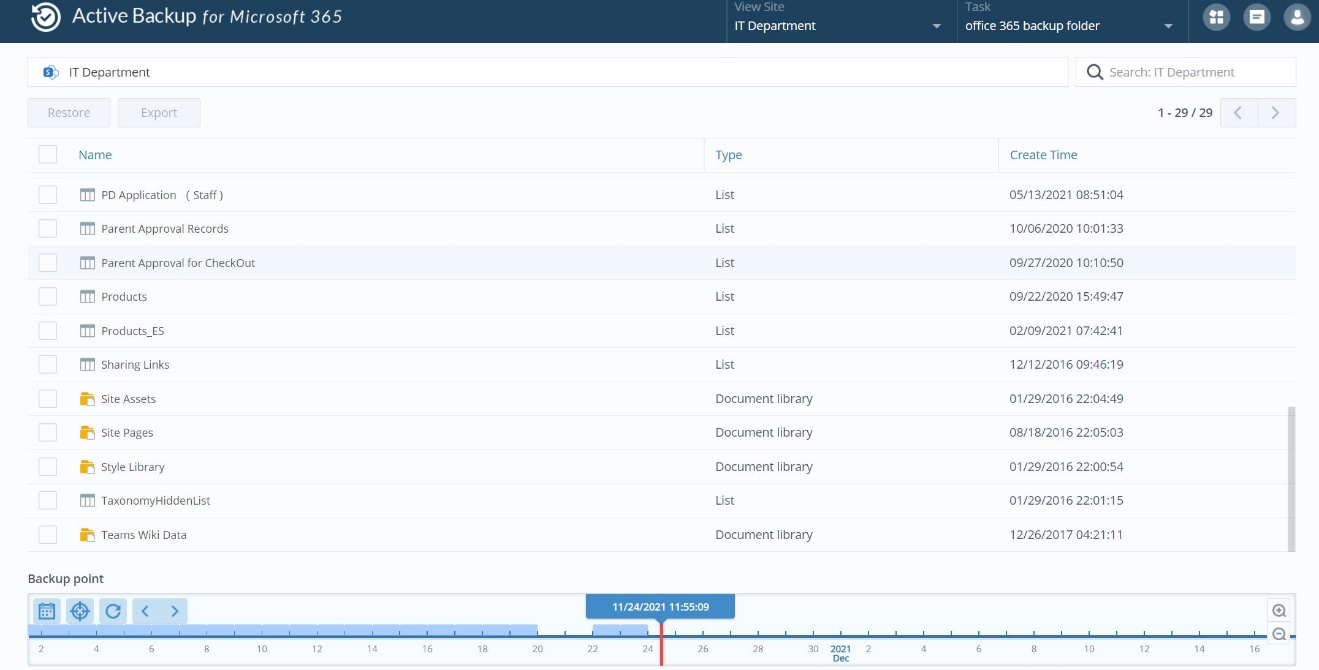
14. If you want to restore the file from your NAS. Click into the “Active Backup for Microsoft 365 portal” icon from the admin page.
15. Find you files you want to restore.
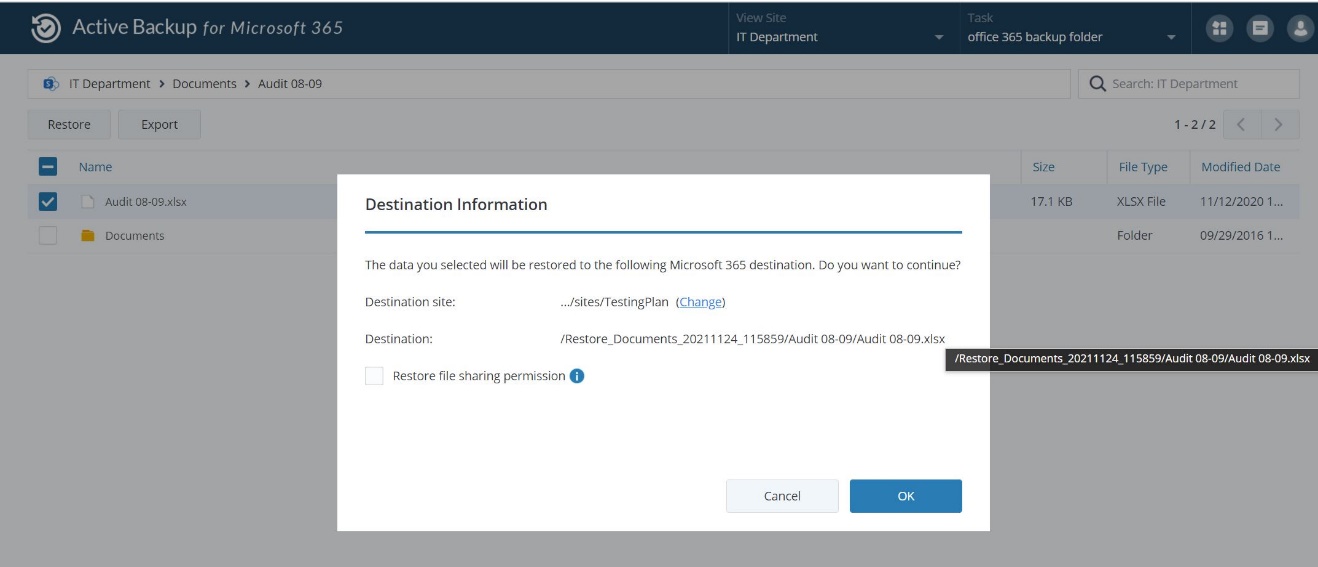
16. Restore the file and choose the Destination site to restore the files.
Active Backup agent on Synology NAS is free to used forever but you may not get a good support from them. The NAS itself is just a one time deal business and the cost is reasonable. That’s why I choose this solution to backup the Office 365 data locally. You can also choose some enterprise Office 365 backup solution which will get better support from the vendor to backup your cloud data. Just like Veeam, CodeTwo etc. Anyway, there is lots of solutions we can choose so you can decide which one is fit for your need.