How to use the OneDrive client on PC
As the onedrive installing step is as simple as you install any application, so I won’t spend any time to show you how to do it for my tutorial this time. This article will base on how to setup Onenote application and some advance feature you can use for it.
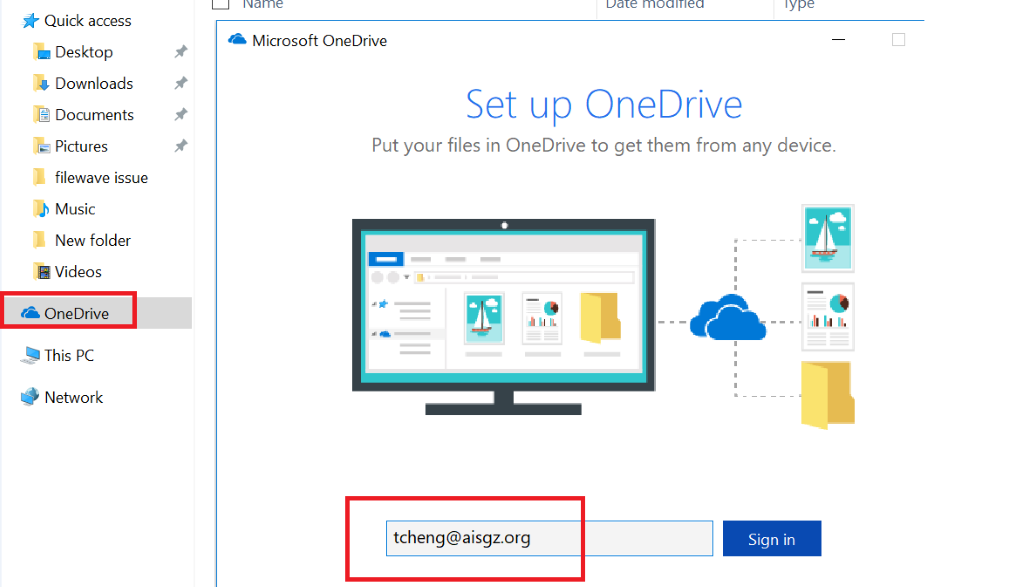
- Open the OneDrive client and then sign in with your o365 account and password.
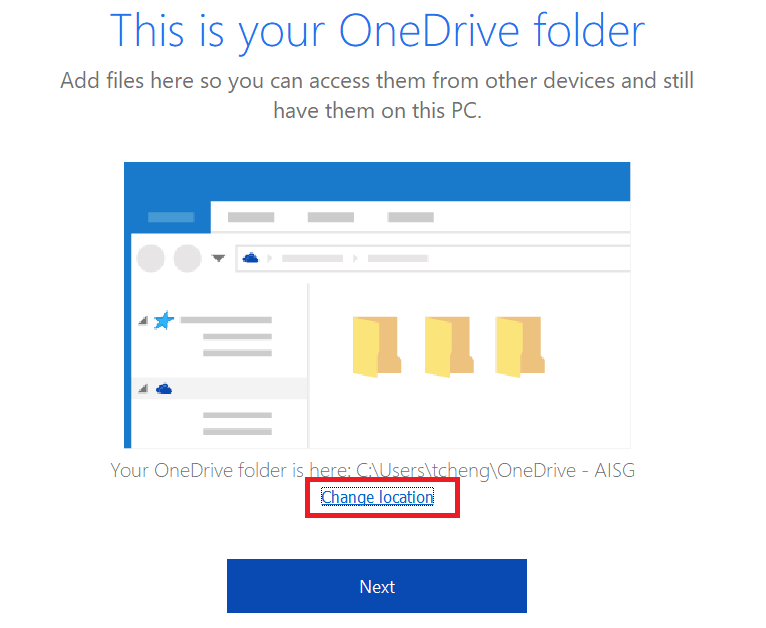
2. After sign in you can change your OneDrive synchronize folder location then click Next.
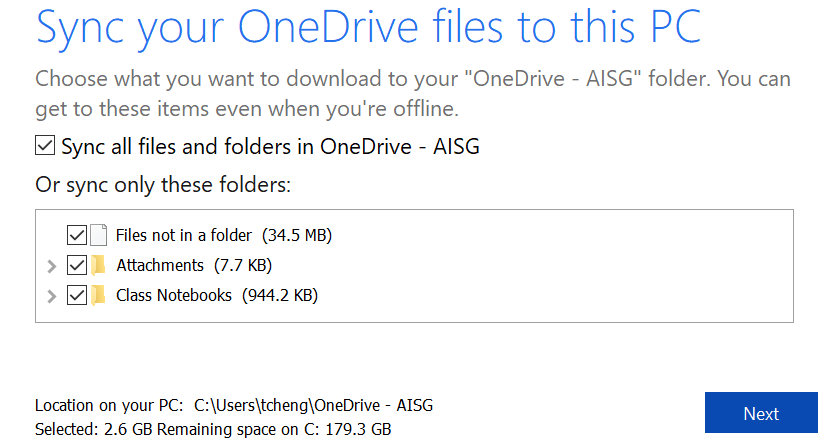
3. Select the files or folders you’d like to keep synced between your PC and OneDrive, then click the Next button. Your OneDrive client will start the synchronizing process between local computer and cloud.
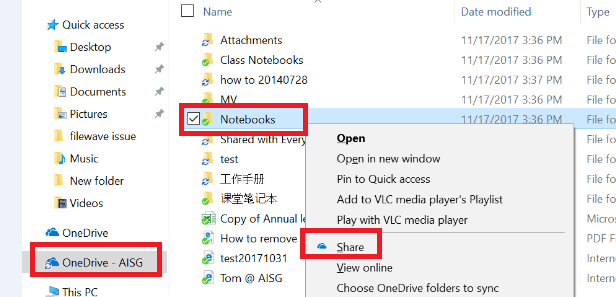
4. You can also share your OneDrive folder or files to another people. Just right click your folder or file which you want to share and then click Share.
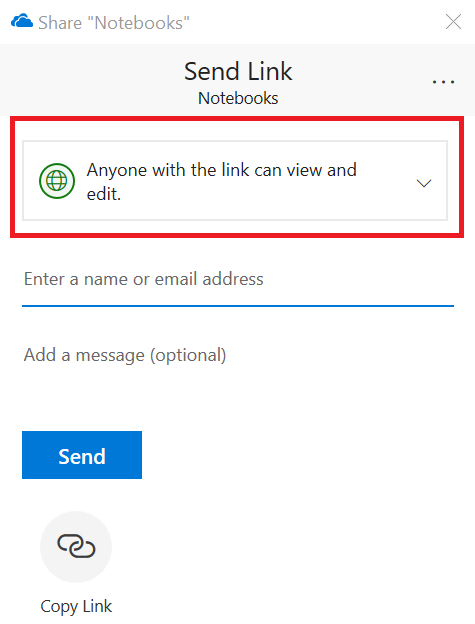
5. Click “Anyone with this link can edit this item”
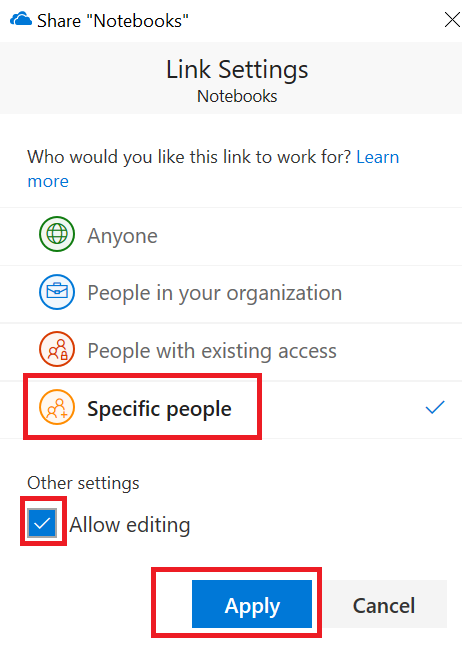
6. Change the share option to Specific people (very important! If you select the other option, you will not able to change the permission in the future) Uncheck the “Allow editing” if you just want to share the file as read only. When finish just click Apply.
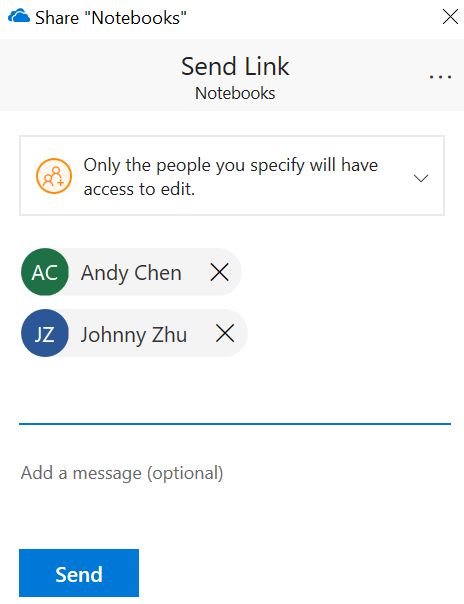
7. Enter the email addresses or contact names of people who you want to share with. You can also add multiple people to share. And then click Send.
8. If you want to change the share permission, please right click your file or folder and click share —> Manage Access
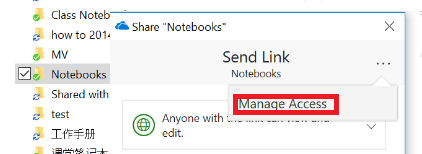
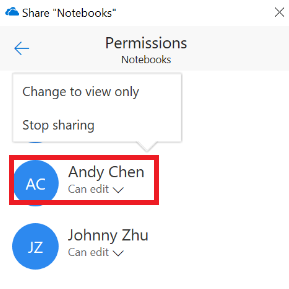
9. Now you can change the share permission.
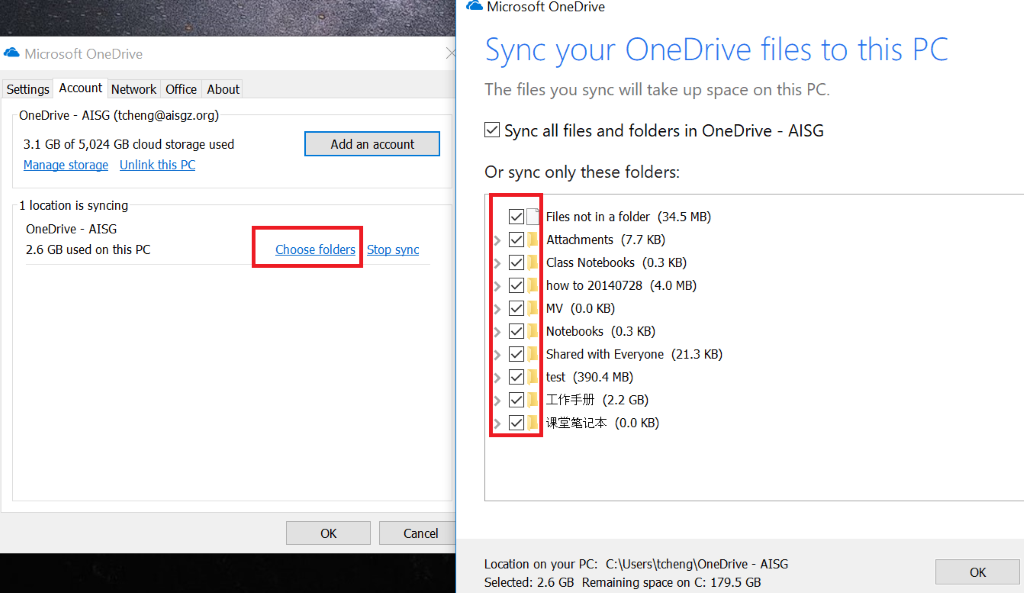
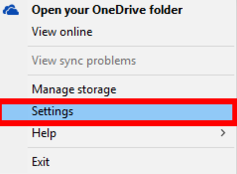
10. If you don’t want to sync some folder from local to the OneDrive anymore. Just click on the upward-facing arrow on the far right of the taskbar, and right-click the OneDrive icon in the panel that appears. From the context menu choose Settings.
11. Click on the Account tab and then select the Choose folders button. And now you will see the window listing all the folders in OneDrive. Folders that are synced to your PC have a check mark next to them. Just uncheck the folder which you don’t want to Sync.