Considering an online form with approval rules for your school or organization, such as online leave form, PD request form, etc., but you don’t have a program developer in house, or don’t have time to learn a new computer language to achieve it, the Microsoft Office365 Sharepoint workflow is a simple and reliable way for this.
In this article, I will walk you through the steps and ideas about using Sharepoint workflow, which is highly customizable and you may apply to your school or organization to fit the needs.
Before we get started, there are some requirements; Firstly, you need to have administrator right to your Sharepoint site. Secondly, A3 license of Microsoft Office 365 is required to download InfoPath and Sharepoint Designer.

Now, let’s have fun. I am going to create an online form that allows faculty and staff to submit leave application and get principal’s approval, faculty and staff will be notified by email if their submission are accepted or rejected.
Step 1.
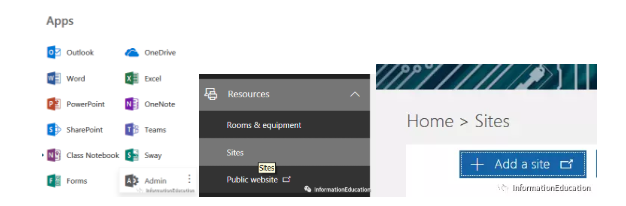
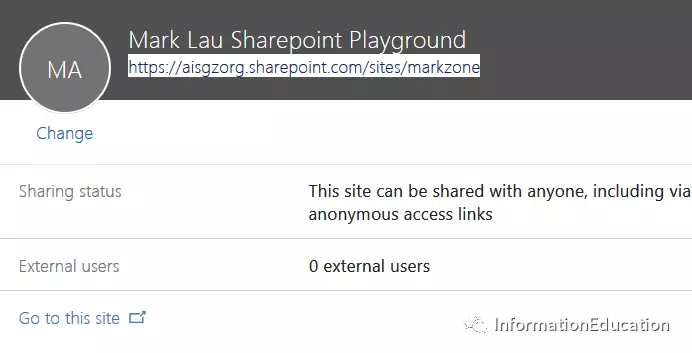
Login to Office 365 with administrator permission and create a Sharepoint site where you store all your forms and results (Microsoft called them List and Libraries here).
Go to Apps -> Admin -> Sites -> Add a site
Step 2.
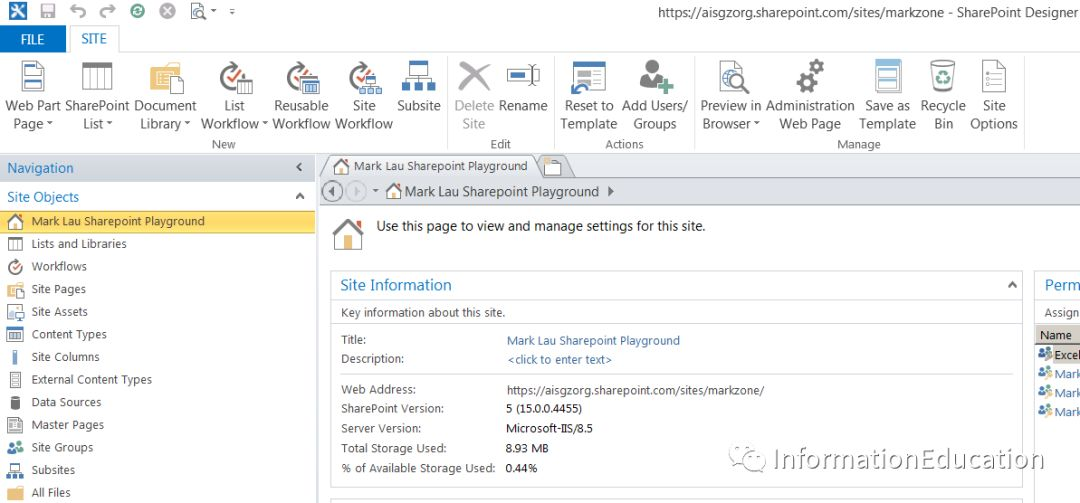
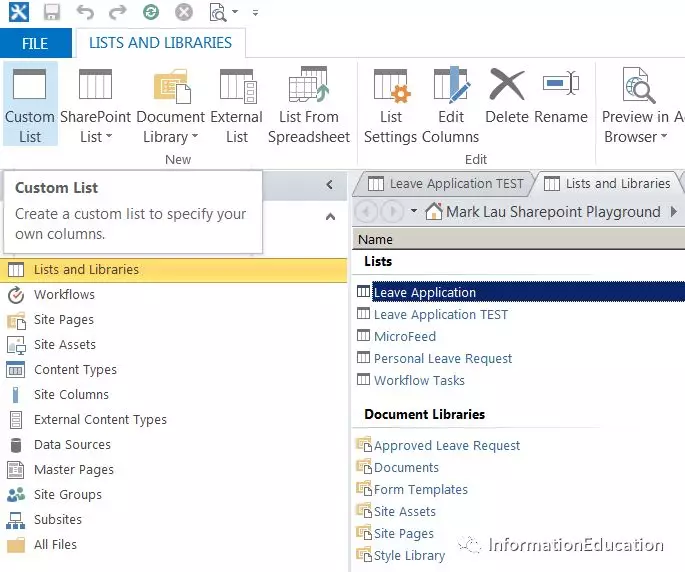
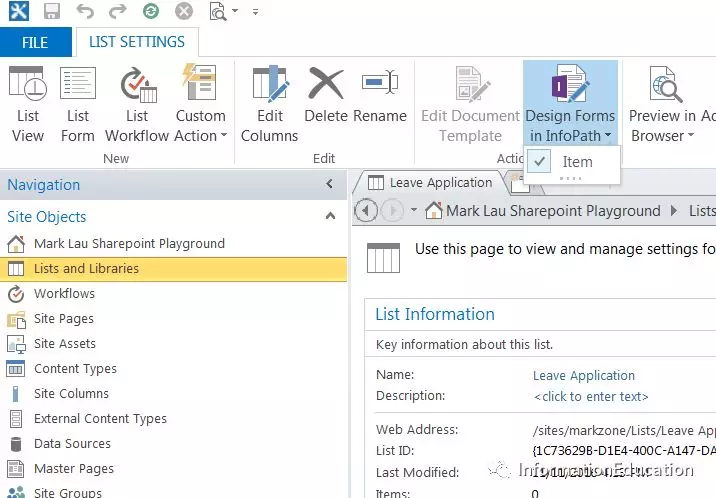
Open the URL of your newly created site by using Sharepoint Designer.
Go to “Lists and Libraries” and create a “Custom List”:Leave Application
Step 3.
Design your online form by InfoPath.
InfoPath supports form elements draw and drop, you may choose the form controls and insert it to your form.
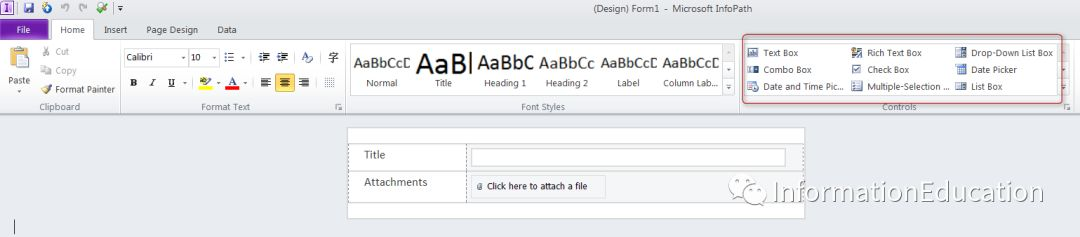
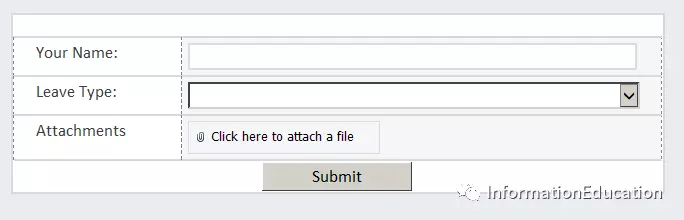
Here is a very basic online leave form I create, teacher or staff fill in names, and the leave type they would like to apply, they may upload lesson plan as attachment.
Step 4.
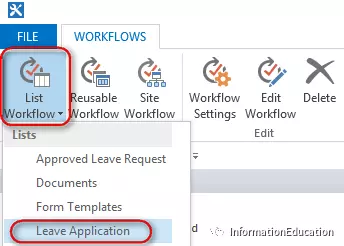
Now, this is the cool part, go back to Sharepoint Designer,and look for Workflow, create a list workflow, which is how you control the actions after user hits submit.
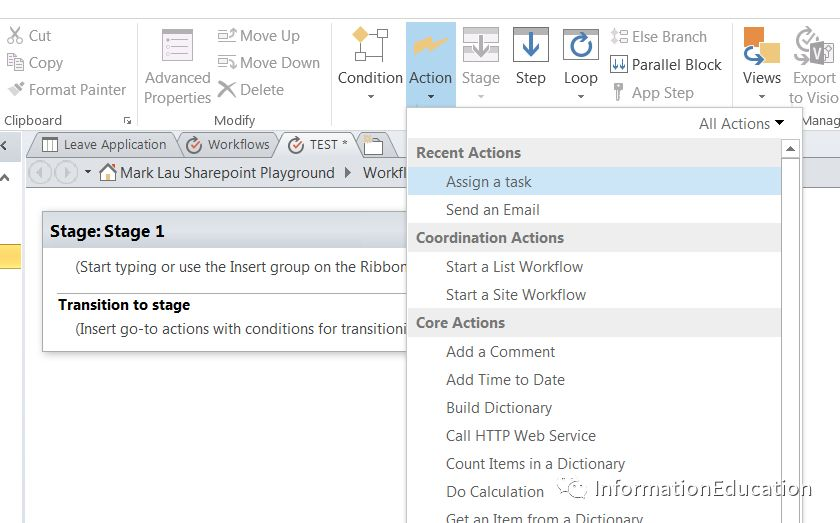
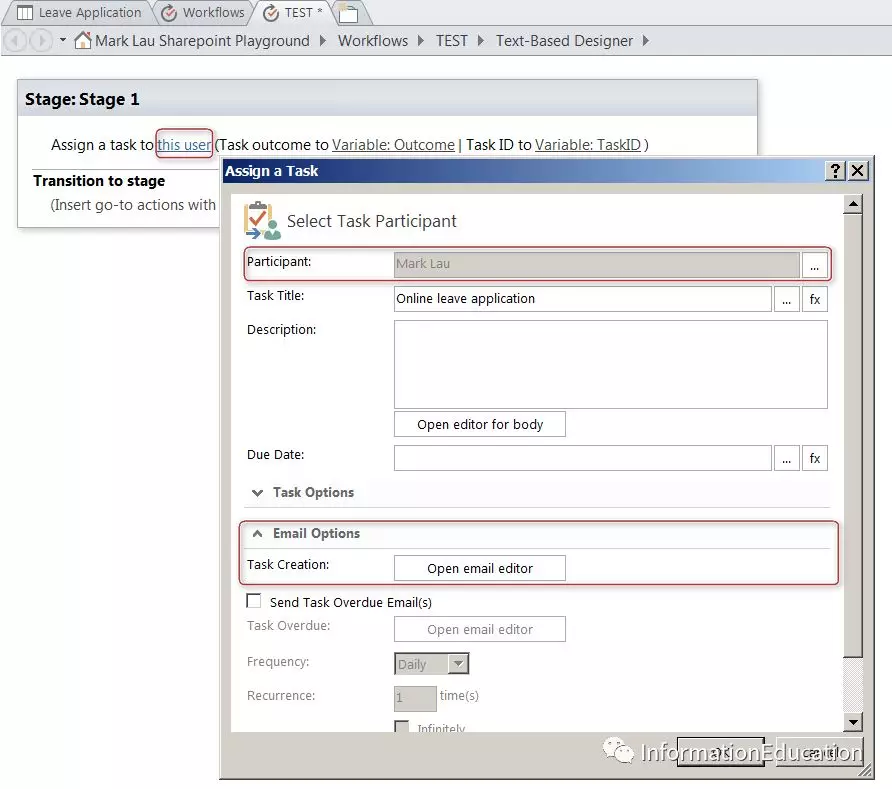
In this example, I would like to assign a task to the school principal after teacher or staff submits the form, principal either approves or rejects it, so I choose action “Assign a task”.
Click on “this user” to add your Principal email address and customize the email message.
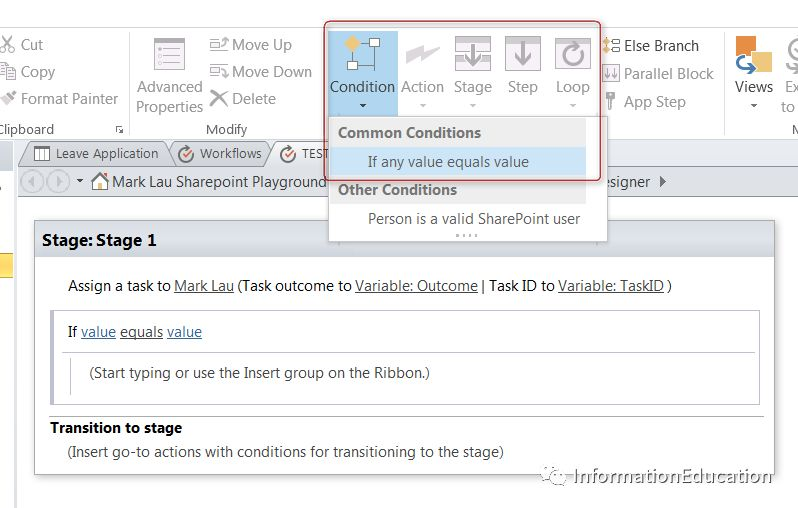
Now insert condition (If any value equals value) when principal approves or rejects the request: once faculty/staff finish filling out the form and click Submit, Principal will receive an email for approval or rejection.
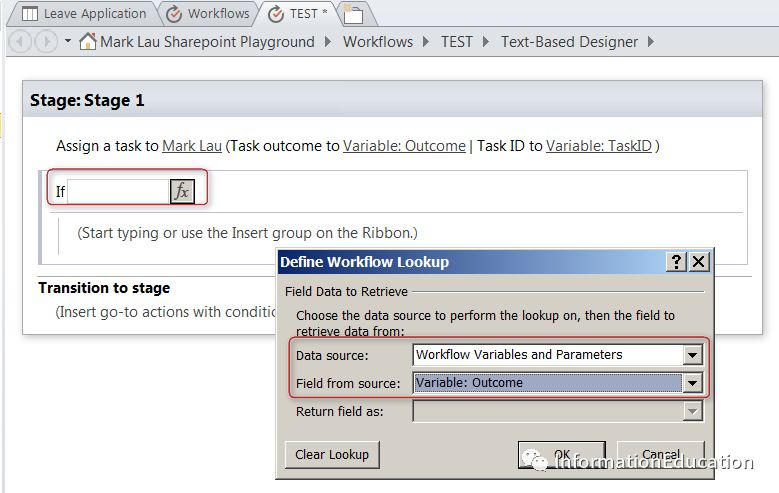
Outcome = Approve
Set the Outcome is equal Approved.

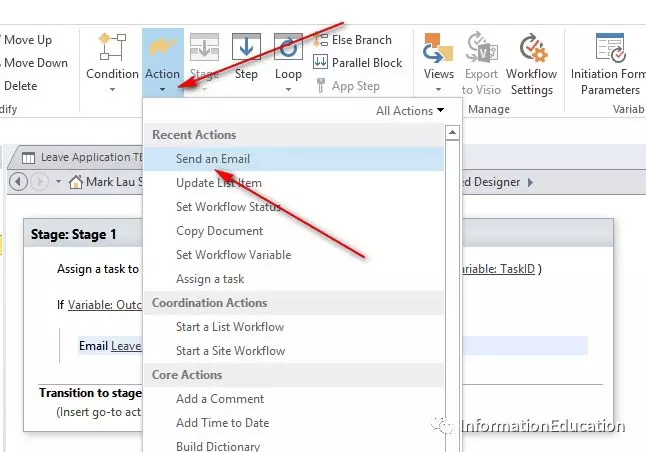
Insert “Send an Email” action: when it is approved by Principal, system sends an email notification to the leave applicant.

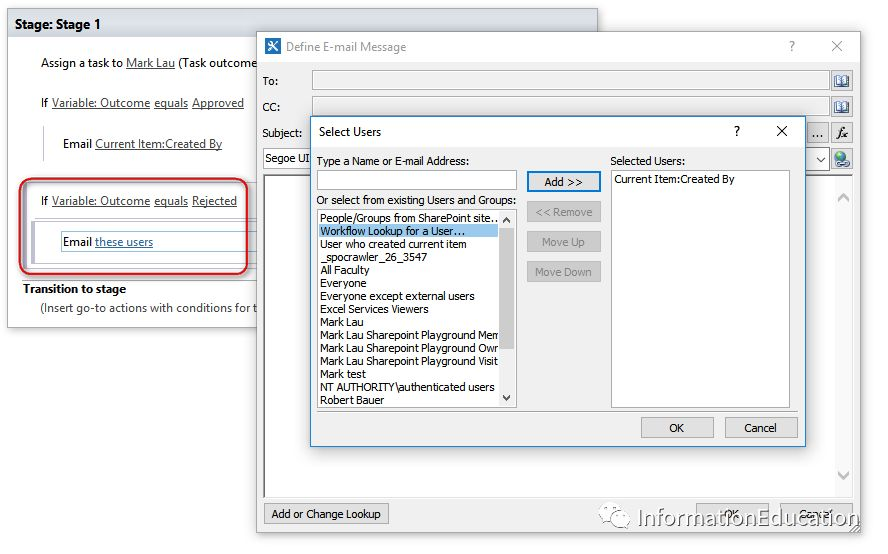
Outcome = Rejected
We apply the similar settings when Principal rejects the request.
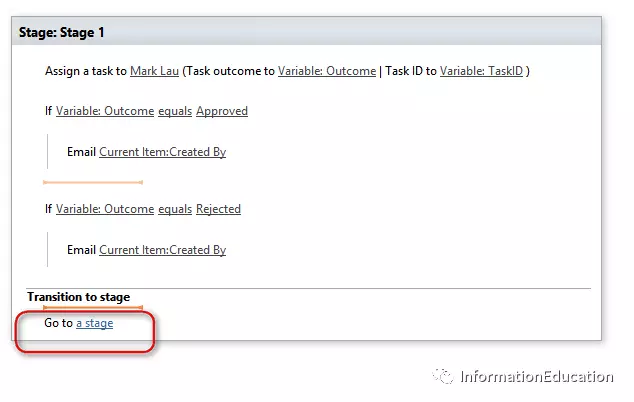
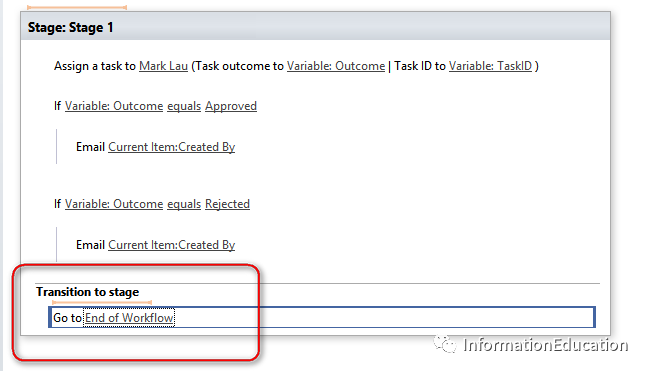
When the submission is either approved or rejected, we insert “Go to a stage” in the “Transition to stage” option to complete the online application.
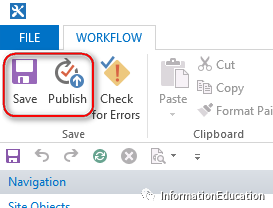
Save all your work in Sharepoint Designer and InfoPath, then publish them onto the site.
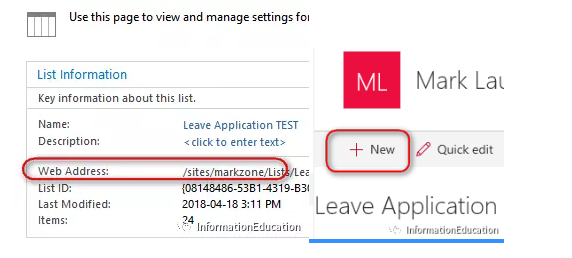
Click on the link from the List Information and click New to create an application.
Summary
Tools we use:
- Sharepoint Designer: Connect to the Sharepoint site, create list and workflow
- InfoPath: Use form elements to design a form
- Workflow: Faculty/Staff fill out the online form and submit -> Principal gets email notification, either approve or reject -> Faculty/Staff get email notification once the application is approved or rejected.
To extend: This example just shows you a basic concept of Sharepoint workflow, you may design more complicate workflow to fit your school’s need, such as, when a middle school faculty submits application, it goes to middle school principal, if high school faculty’s submission goes to high school principal, HR and divisional secretary can always be involved in any of the stages, online PD request, etc.